How To Export An IMovie To MP4: A Step-by-Step Guide For Everyone
So you’ve been editing your videos in iMovie, and now you’re wondering how to export an iMovie to MP4. Let me tell you, my friend, you’re not alone. Exporting your iMovie project as an MP4 file is one of the most common questions people ask, especially when they want to share their creations on social media, YouTube, or just save it for personal use. In this guide, we’re going to break it down step by step, making sure you don’t miss a thing.
But before we dive deep into the nitty-gritty of exporting, let’s talk about why MP4 is such a big deal. It’s like the universal language of video files. Almost every device, platform, and software can play MP4 files without breaking a sweat. So, whether you’re sharing your masterpiece on Instagram or sending it to your grandma via email, MP4 is the way to go.
Now, let’s not sugarcoat it—exporting from iMovie can feel a little overwhelming if you’re new to video editing. But don’t worry, we’ve got your back. By the end of this article, you’ll be exporting iMovie projects like a pro, and trust me, it’s easier than you think.
- Sonya Nicole Hamlin Age The Ultimate Guide To Her Life Career And Achievements
- Dee Jay Mathis Movies The Rising Star Shining Bright In The Film Industry
Why You Should Care About Exporting to MP4
Alright, let’s get real here. If you’re using iMovie, chances are you’re either creating some awesome content or preserving precious memories. But here’s the thing—your iMovie project isn’t a finished product until you export it. And when it comes to exporting, MP4 is the gold standard. Why? Well, here are a few reasons:
- MP4 is compatible with almost every device and platform out there. No more headaches trying to figure out why your video won’t play on someone’s phone.
- It offers a great balance between file size and video quality, so you won’t have to sacrifice clarity for convenience.
- Most importantly, MP4 is widely accepted by social media platforms, video hosting sites, and even email attachments. So, you can share your work with confidence.
Now that you know why MP4 is the go-to format, let’s talk about how to export your iMovie project into this magical file type. Stick with me, because we’re about to make things super clear.
Getting Started: Preparing Your iMovie Project
Before you hit the export button, there are a few things you should do to ensure your final MP4 file looks as amazing as possible. Think of it like prepping for a big event—you want everything to be perfect, right?
- 1movieshd Your Ultimate Streaming Destination Unveiled
- Is Harold Ford Jr Unveiling The Political Trailblazer
Step 1: Finalize Your Edits
Take a moment to review your iMovie project. Make sure all your clips, transitions, and effects are exactly how you want them. This is your last chance to tweak anything before you export. Trust me, it’s better to catch any mistakes now than regret them later.
Step 2: Check Your Audio Levels
Audio is just as important as video, if not more. Use iMovie’s audio controls to adjust the volume levels of your clips. You don’t want your audience straining to hear your voice or getting blasted by loud music. Balance is key.
Step 3: Choose the Right Resolution
Resolution matters, big time. For most purposes, 1080p or 4K is ideal. But if you’re planning to upload your video to platforms like YouTube, consider sticking with 1080p to keep the file size manageable. You can always bump it up to 4K if you’re sharing on a high-resolution display.
Now that your project is all set, let’s move on to the actual exporting process. It’s time to turn your hard work into a beautiful MP4 file.
How to Export an iMovie to MP4: The Ultimate Guide
Alright, let’s get down to business. Here’s a step-by-step breakdown of how to export your iMovie project as an MP4 file. Follow these instructions carefully, and you’ll be golden.
Step 1: Open Your iMovie Project
Start by opening iMovie on your Mac or iOS device. Locate the project you want to export and open it. Easy peasy.
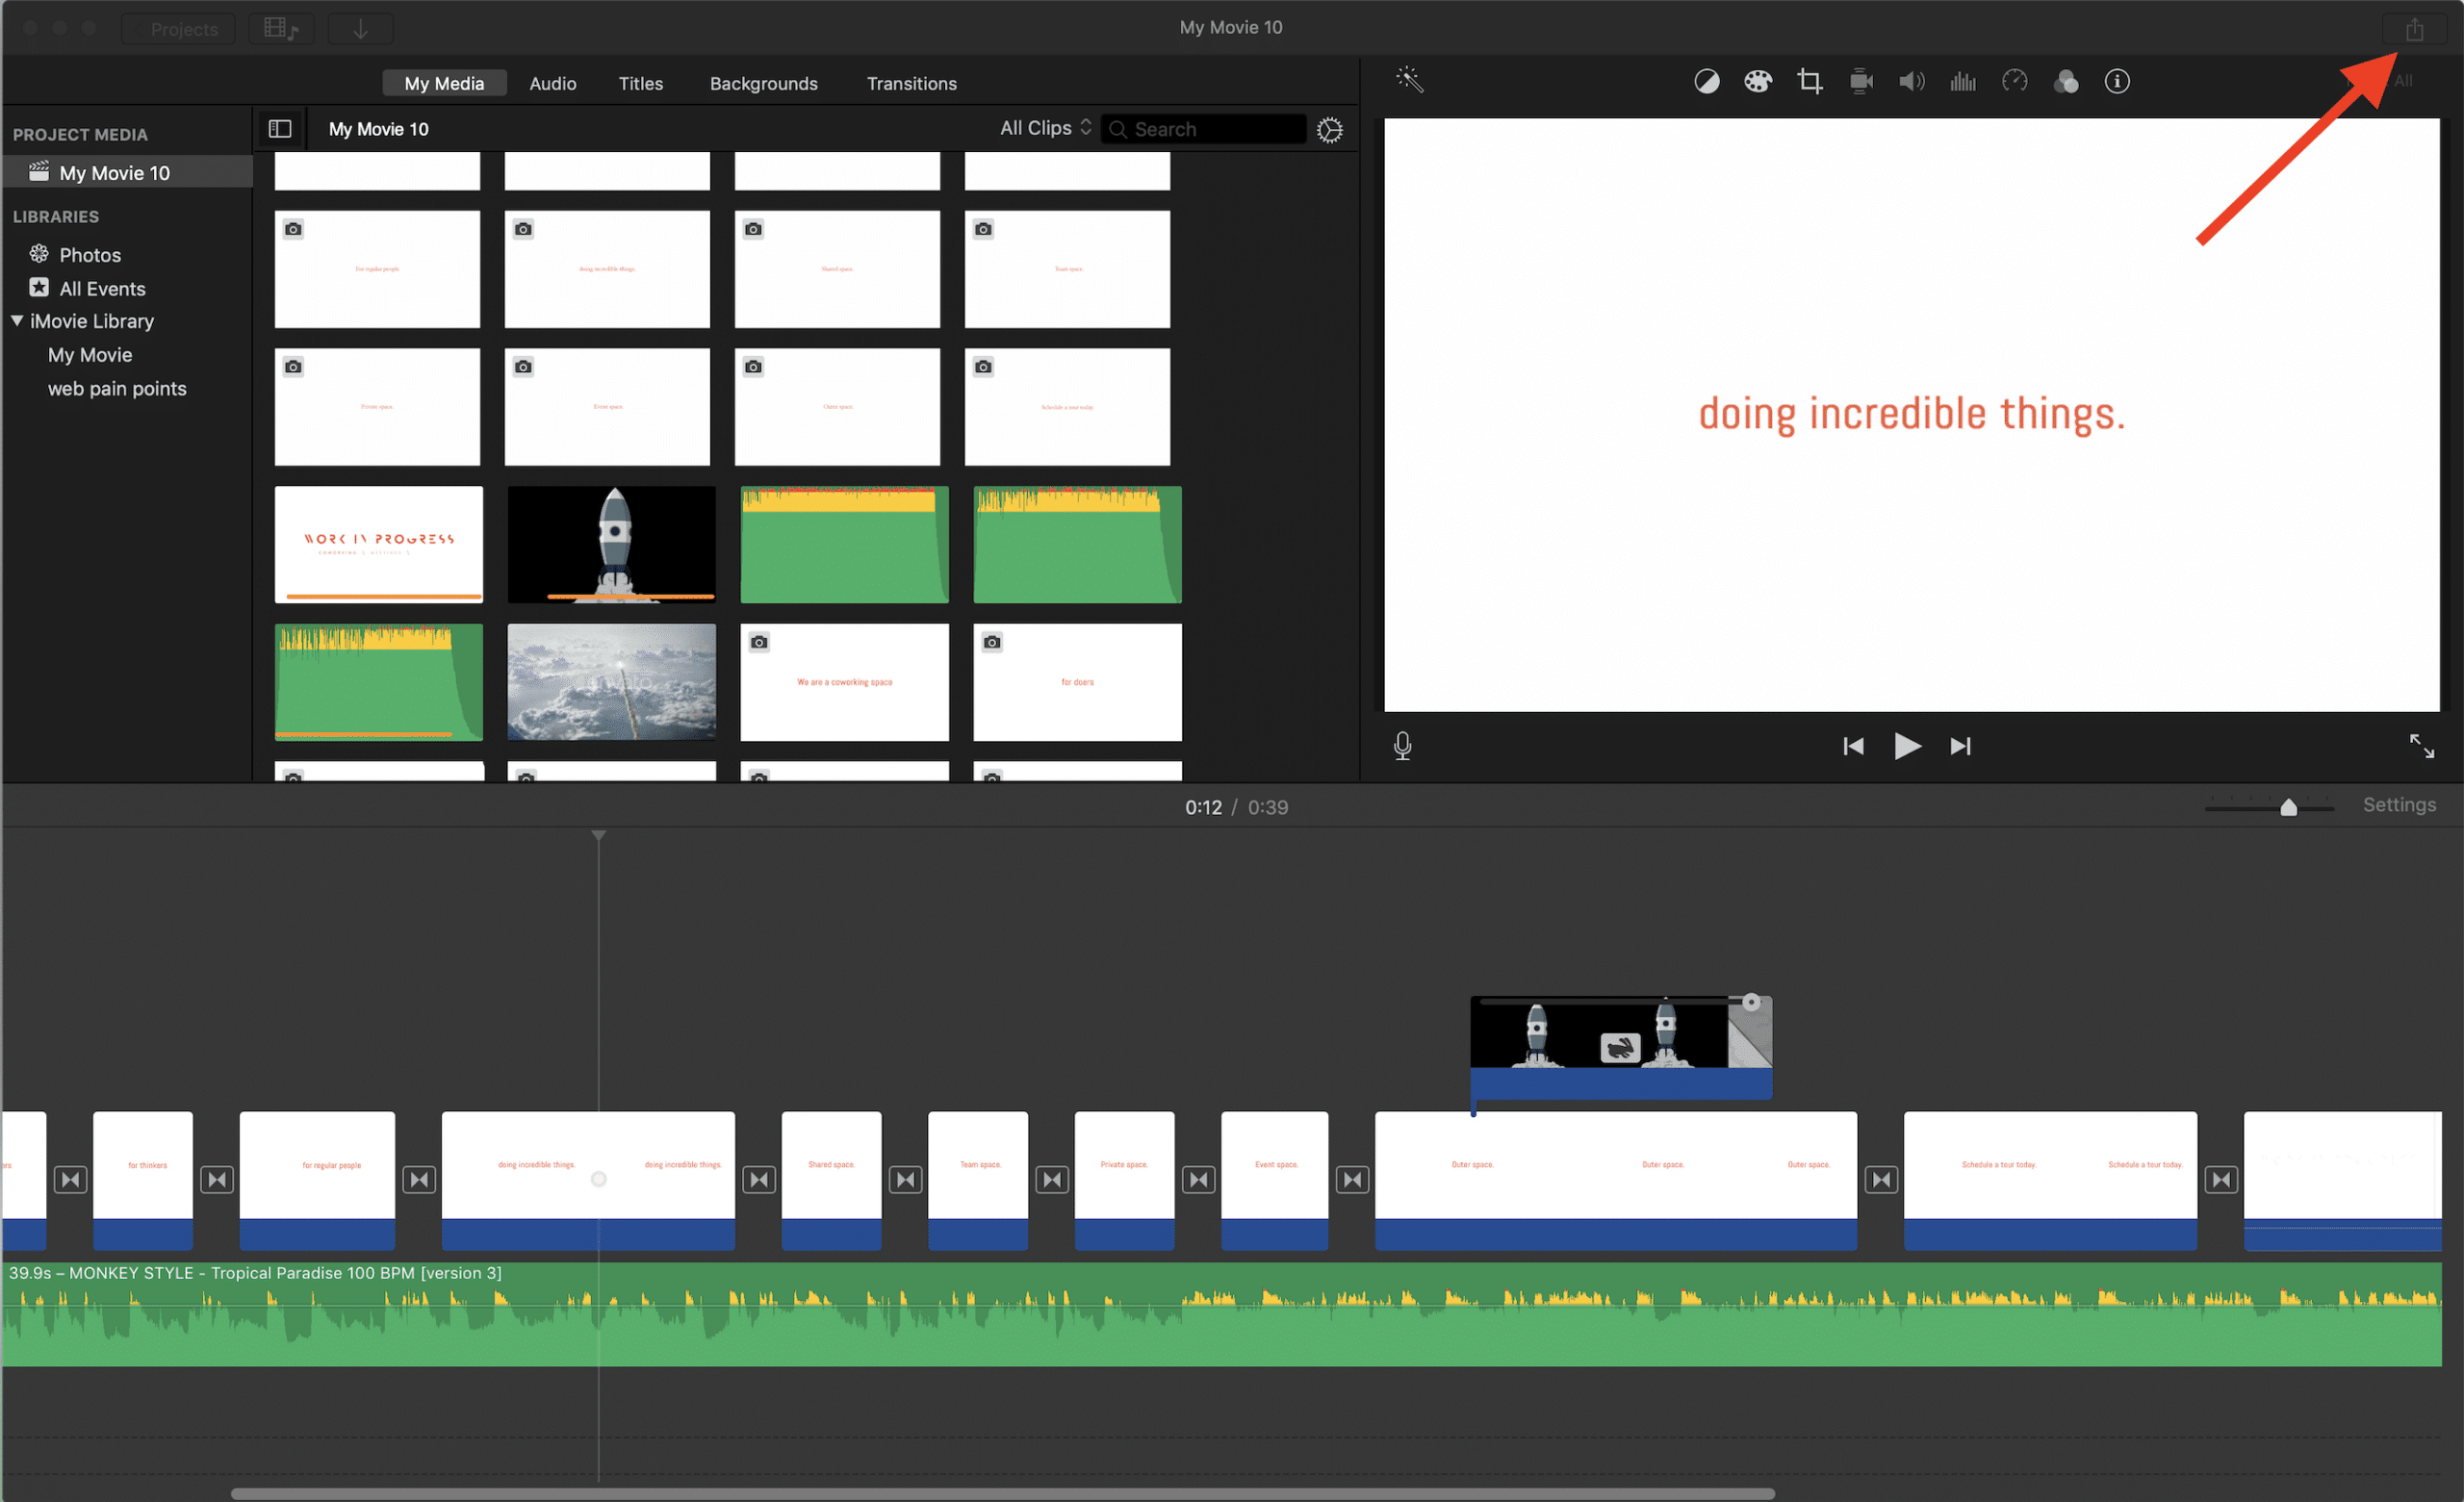
Step 2: Head to the Share Menu
Once your project is open, look for the Share button. On a Mac, it’s usually located in the top-right corner of the screen. On iOS, you’ll find it at the bottom of the screen. Tap or click on it to bring up the sharing options.
Step 3: Select “File” as Your Export Option
From the sharing menu, choose the “File” option. This will allow you to export your project as a standalone file, which is exactly what we want. Don’t worry about the other options for now—we’re focused on MP4.
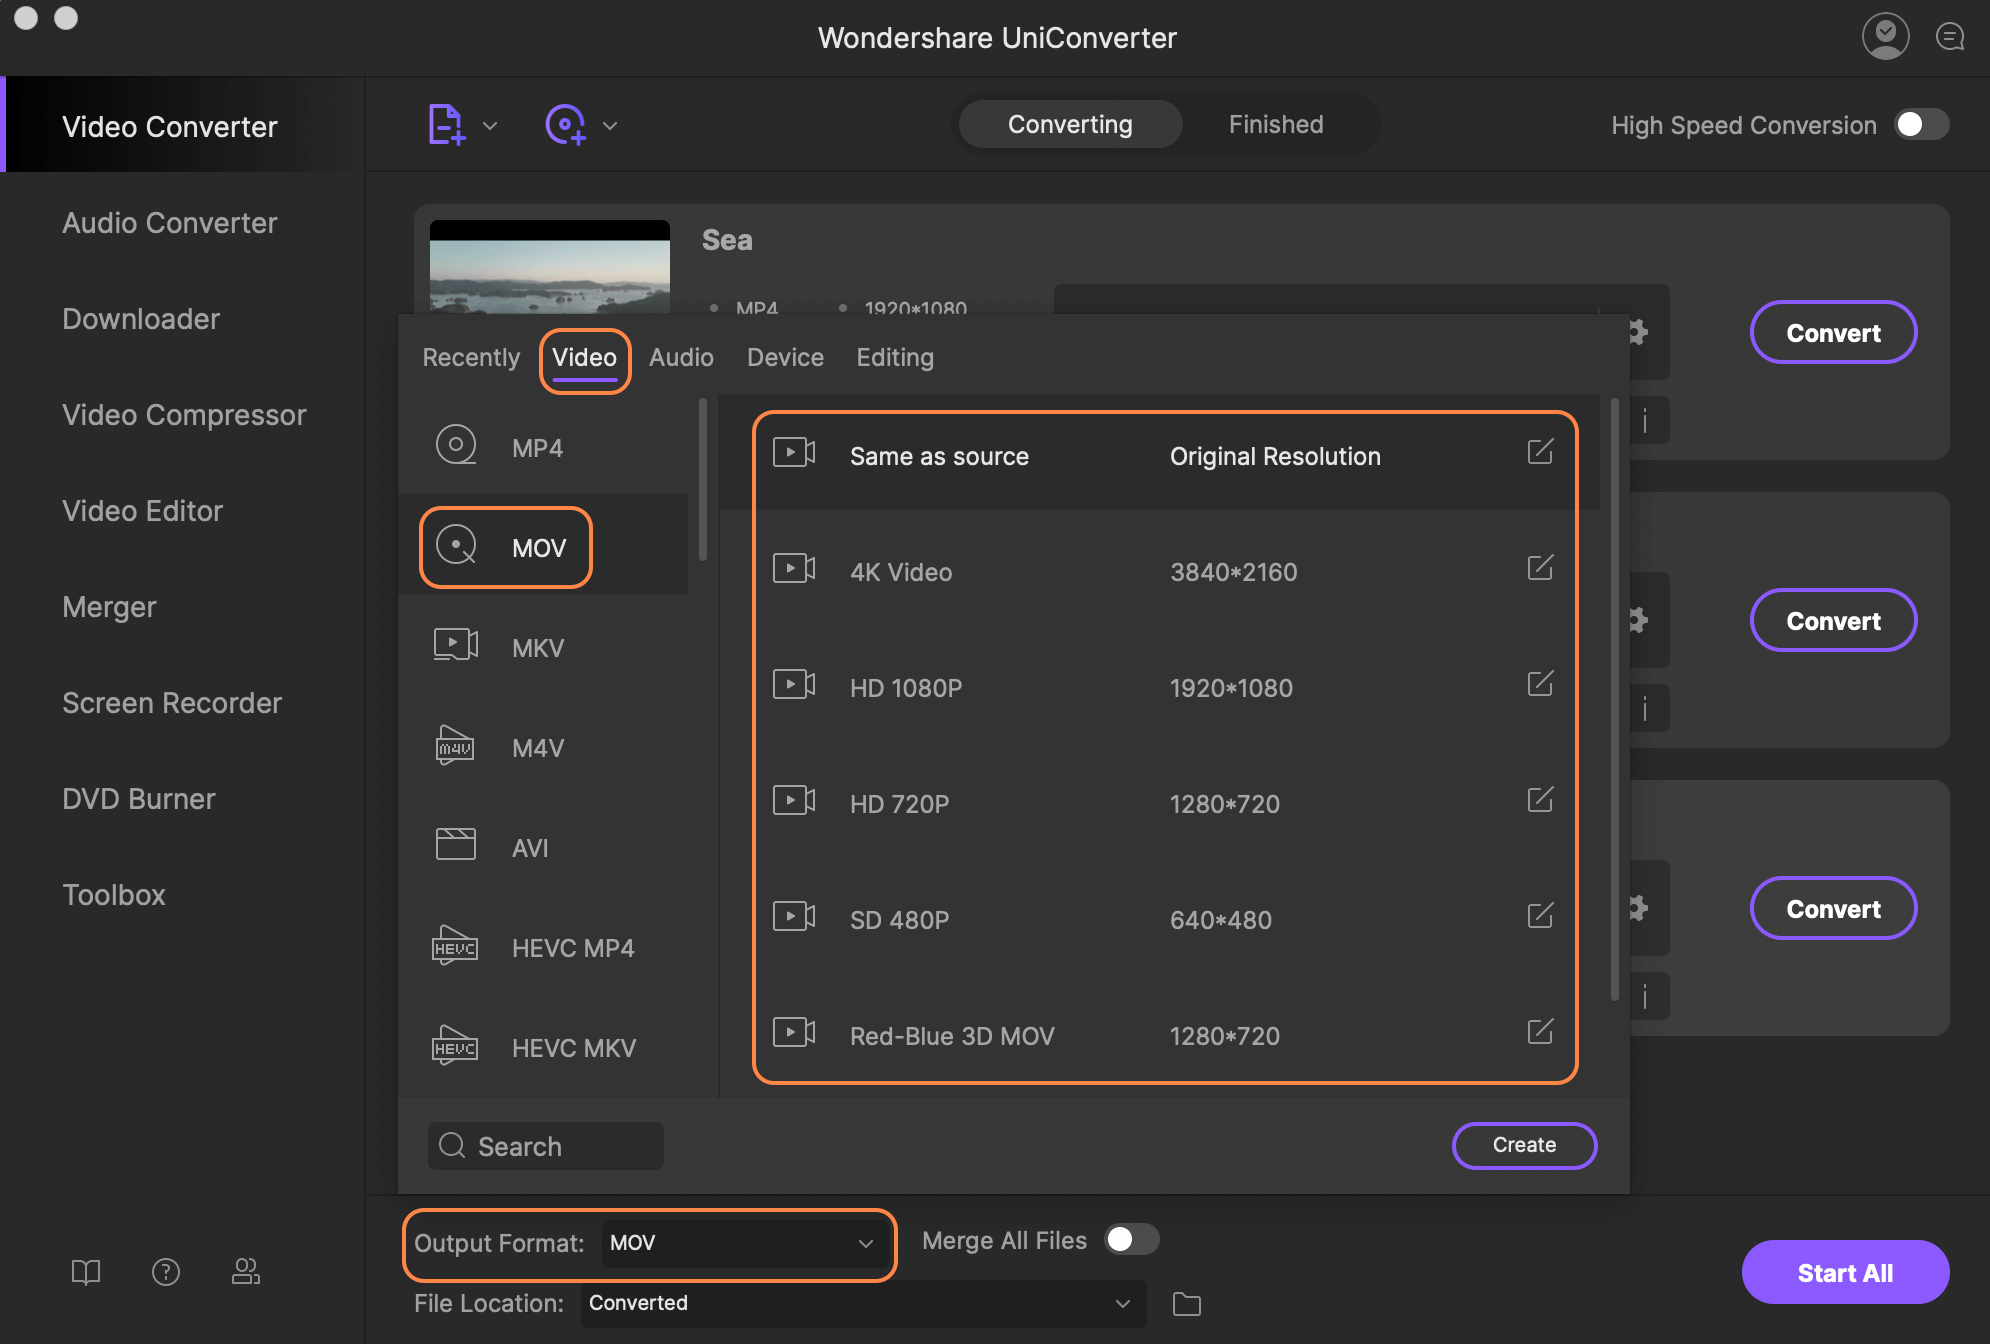
Step 4: Choose Your Export Settings
Now comes the fun part—choosing your export settings. iMovie gives you a few options to customize your output:
- Resolution: As we discussed earlier, go for 1080p or 4K depending on your needs.
- Quality: Choose “High” for the best quality or “Medium” if you’re concerned about file size.
- File Format: Make sure the format is set to MP4. This is crucial, so double-check it before proceeding.
Once you’ve made your selections, click “Next” to move on to the final step.
Step 5: Save Your MP4 File
The last step is to choose where you want to save your MP4 file. On a Mac, you can select a folder on your computer. On iOS, you can save it to your Camera Roll or iCloud Drive. Give your file a name that’s easy to recognize, and hit “Export” or “Save.”
And that’s it! Your iMovie project is now exported as a beautiful MP4 file. Wasn’t that easy?
Troubleshooting Common Issues
Even the best-laid plans can hit a snag sometimes. If you’re having trouble exporting your iMovie project to MP4, here are a few tips to help you troubleshoot:
Issue 1: Export Takes Too Long
Exporting large projects can take time, especially if you’re using high resolutions or complex effects. To speed things up, try reducing the resolution or simplifying your edits. Patience is key here.
Issue 2: File Won’t Play on Some Devices
If your MP4 file isn’t playing on certain devices, it might be due to incompatible settings. Double-check your export settings and make sure you’re using a widely supported resolution and codec. If all else fails, try re-exporting the file.
Issue 3: Audio or Video Quality Is Poor
Poor quality can happen if you choose the wrong export settings. Go back and select a higher quality option, or try re-rendering your project. It’s also a good idea to check your original footage for any issues.
Now that we’ve covered the basics and some potential pitfalls, let’s talk about some advanced tips to take your iMovie exports to the next level.
Advanced Tips for Exporting iMovie to MP4
Ready to level up your exporting game? Here are a few advanced tips to help you get the most out of your iMovie projects:
TIP 1: Use Custom Export Presets
iMovie allows you to create custom export presets, which can save you time and effort in the long run. Set your preferred resolution, quality, and format, and save it as a preset for future use. It’s like having your own personalized export template.
TIP 2: Optimize for Social Media
If you’re planning to share your video on social media, consider optimizing it for each platform. For example, Instagram prefers square or vertical videos, while YouTube works best with 16:9 aspect ratios. Tailoring your export settings to fit each platform can make a big difference.
TIP 3: Add Metadata for Better Organization
Adding metadata to your MP4 files can help you keep your videos organized and easily searchable. Include details like the title, description, and keywords to make your life easier down the line.
These advanced tips might seem like extra work, but trust me, they’re worth it. The more you fine-tune your export process, the better your final product will be.
Why iMovie Rocks for Video Editing
While we’re on the topic of iMovie, let’s take a moment to appreciate how awesome this software really is. iMovie is not just a beginner-friendly video editor—it’s a powerful tool that can handle everything from simple home videos to professional-grade content. Here are a few reasons why iMovie is the real MVP:
- It’s free! You don’t need to break the bank to get started with video editing.
- It’s intuitive and easy to use, even for those who’ve never edited a video before.
- It offers a wide range of features, from basic trimming to advanced effects and transitions.
- And most importantly, it integrates seamlessly with other Apple products, making your workflow smoother than ever.
So, whether you’re a seasoned editor or a complete newbie, iMovie has something for everyone. And exporting to MP4 is just one of the many reasons why it’s such a great choice.
Conclusion: Time to Show Off Your Skills
And there you have it, folks—a comprehensive guide on how to export an iMovie to MP4. From preparing your project to troubleshooting common issues, we’ve covered everything you need to know to get the job done right. Remember, exporting is the final step in bringing your vision to life, so take the time to do it properly.
Now that you’ve mastered the art of exporting, it’s time to show off your skills. Share your videos with the world, and don’t forget to come back here and tell us how it went. And if you found this article helpful, why not leave a comment or share it with your friends? Together, let’s make the internet a better place for creators like you.
Happy exporting, and keep those creative juices flowing!
Table of Contents
- Why You Should Care About Exporting to MP4
- Getting Started: Preparing Your iMovie Project
- How to Export an iMovie to MP4: The Ultimate Guide
- Troubleshooting Common Issues
- Advanced Tips for Exporting iMovie to MP4
- Why iMovie Rocks for Video Editing
Thanks for reading, and happy editing!
- Evelyn Melendez Knight A Journey Through Fame Success And Resilience
- Corrie Bird And Larry Bird The Unlikely Basketball Connection

How to Burn iMovie Projects to DVD Complete Guide
How to export an imovie as mp4 kseski
How to Export iMovie File to iPhone · Kenny Eliason
