How To Change IMovie To MP4: A Simple Guide For Everyday Creators
So, you've just finished editing your masterpiece in iMovie, but now you're stuck trying to figure out how to change iMovie to MP4. Don’t worry, you’re not alone. This is one of the most common questions among content creators, hobbyists, and even pros who use iMovie for quick and easy video editing. Whether you’re planning to upload your video to YouTube, share it on social media, or send it to a friend, converting your iMovie project to MP4 is a must-know skill. And guess what? It’s way easier than you think.
Imagine this: you’ve spent hours perfecting your video—adding transitions, effects, and that perfect soundtrack. But when you export it, you realize the file format isn’t compatible with the platform you want to share it on. That’s where knowing how to change iMovie to MP4 comes in handy. In this guide, we’ll walk you through every step, from exporting your project to converting it into a universally accepted MP4 format. No tech jargon, just simple, straightforward advice.
But hold up—why MP4, you ask? Well, MP4 is like the universal language of video files. It’s supported by almost every platform, device, and app out there. So whether you’re sharing your video on Instagram, TikTok, or even sending it via email, MP4 ensures that your masterpiece will look and sound exactly as intended. Let’s dive in and make sure your video gets the recognition it deserves.
- What Is Corey Harrison Doing Now Unveiling The Latest On The Actors Career And Life
- Debby Clarke And Bill Belichick A Story Thats Got Everyone Talking
Why You Need to Convert iMovie to MP4
Alright, let’s get real for a sec. iMovie is awesome, but it has its quirks. By default, iMovie exports videos in a format called MOV, which is Apple’s proprietary file type. While MOV works great on macOS and iOS devices, it’s not always compatible with other platforms or devices. That’s where MP4 steps in like a superhero. MP4 is a lightweight, versatile format that plays nicely with pretty much everything.
Here’s why converting to MP4 is a game-changer:
- Compatibility: MP4 works on Windows, Android, macOS, iOS—you name it.
- Smaller File Size: MP4 files are usually smaller than MOV, making them easier to upload and share.
- Better Quality: Despite being smaller, MP4 maintains excellent video and audio quality.
- Universal Acceptance: Platforms like YouTube, Vimeo, Facebook, and Instagram all love MP4.
Trust me, once you know how to change iMovie to MP4, you’ll wonder how you ever lived without this knowledge. Let’s move on to the good stuff—how to actually do it!
- Jim Carrey Wife Melissa Womer A Closer Look Into Their Love Story
- Marc Rudolph The Life And Legacy Of Richard Rudolphs Son
Step-by-Step Guide: How to Change iMovie to MP4
Now that you know why MP4 is the way to go, let’s dive into the nitty-gritty of converting your iMovie project. Follow these steps carefully, and you’ll be exporting MP4 files like a pro in no time.
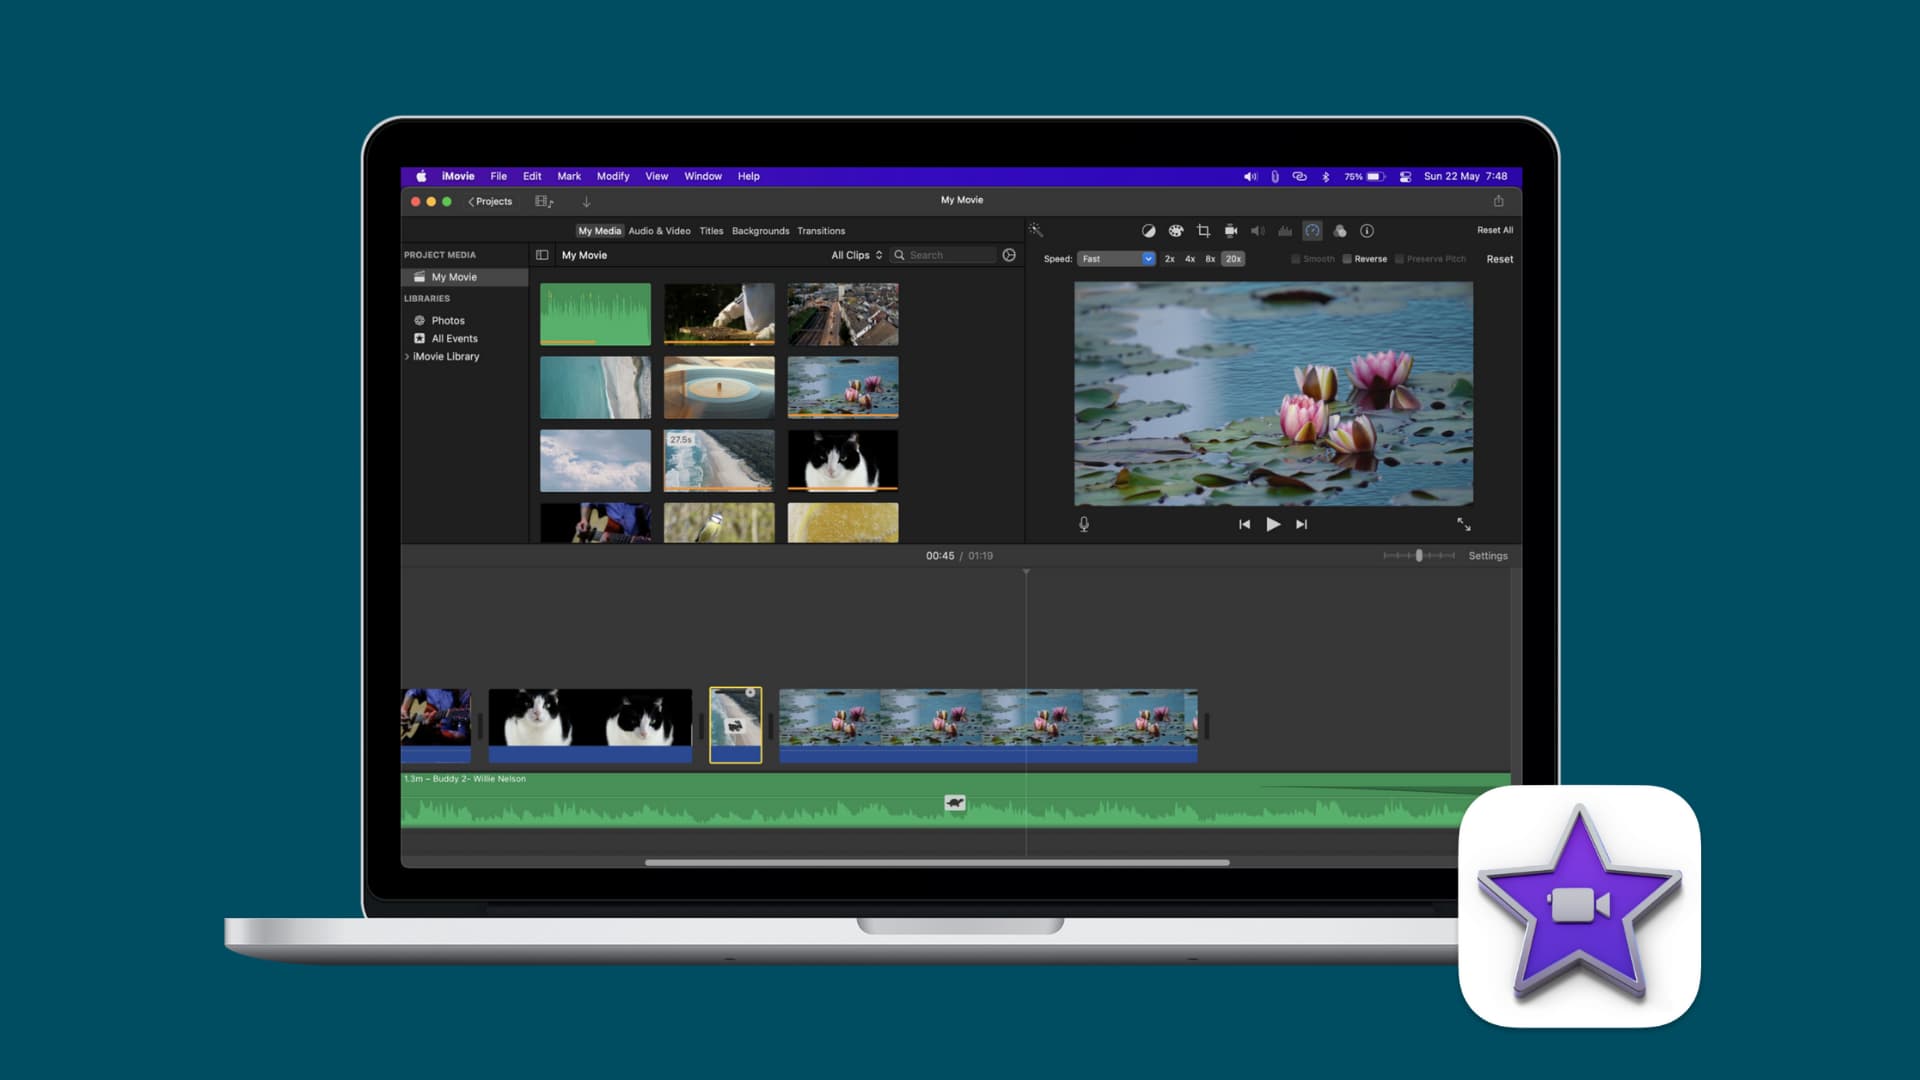
Step 1: Finish Editing Your Project
Before we start exporting, make sure your iMovie project is 100% ready. Double-check everything—transitions, effects, audio levels, and even those tiny details you might’ve missed. Once you’re satisfied, it’s time to move on to the next step.
Step 2: Export Your Video from iMovie
Here’s how you export your video from iMovie:
- Open your iMovie project.
- Click on the Share button at the top-right corner of the screen.
- Select File from the dropdown menu.
- Choose a location to save your video and give it a name.
- Select the quality setting—HD 1080p or HD 720p works best for most platforms.
- Click Export and wait for the process to finish.
Congrats! You’ve just exported your video as a MOV file. But don’t celebrate just yet—we’ve got one more step to go.
How to Convert MOV to MP4
Once your video is exported as a MOV file, the next step is converting it to MP4. There are several ways to do this, but we’ll focus on two of the easiest and most reliable methods: using HandBrake and online converters. Let’s break it down.
Method 1: Using HandBrake
HandBrake is a free and open-source tool that’s perfect for converting video files. Here’s how to use it:
- Download and install HandBrake on your Mac.
- Open HandBrake and click Open Source File to select your MOV file.
- Under the Preset section, choose Fast 720p30 or Normal 1080p30, depending on your desired resolution.
- Choose a destination folder and give your file a name.
- Click Start Encode and let HandBrake work its magic.
Boom! Your MOV file is now an MP4 file. Easy peasy, right?
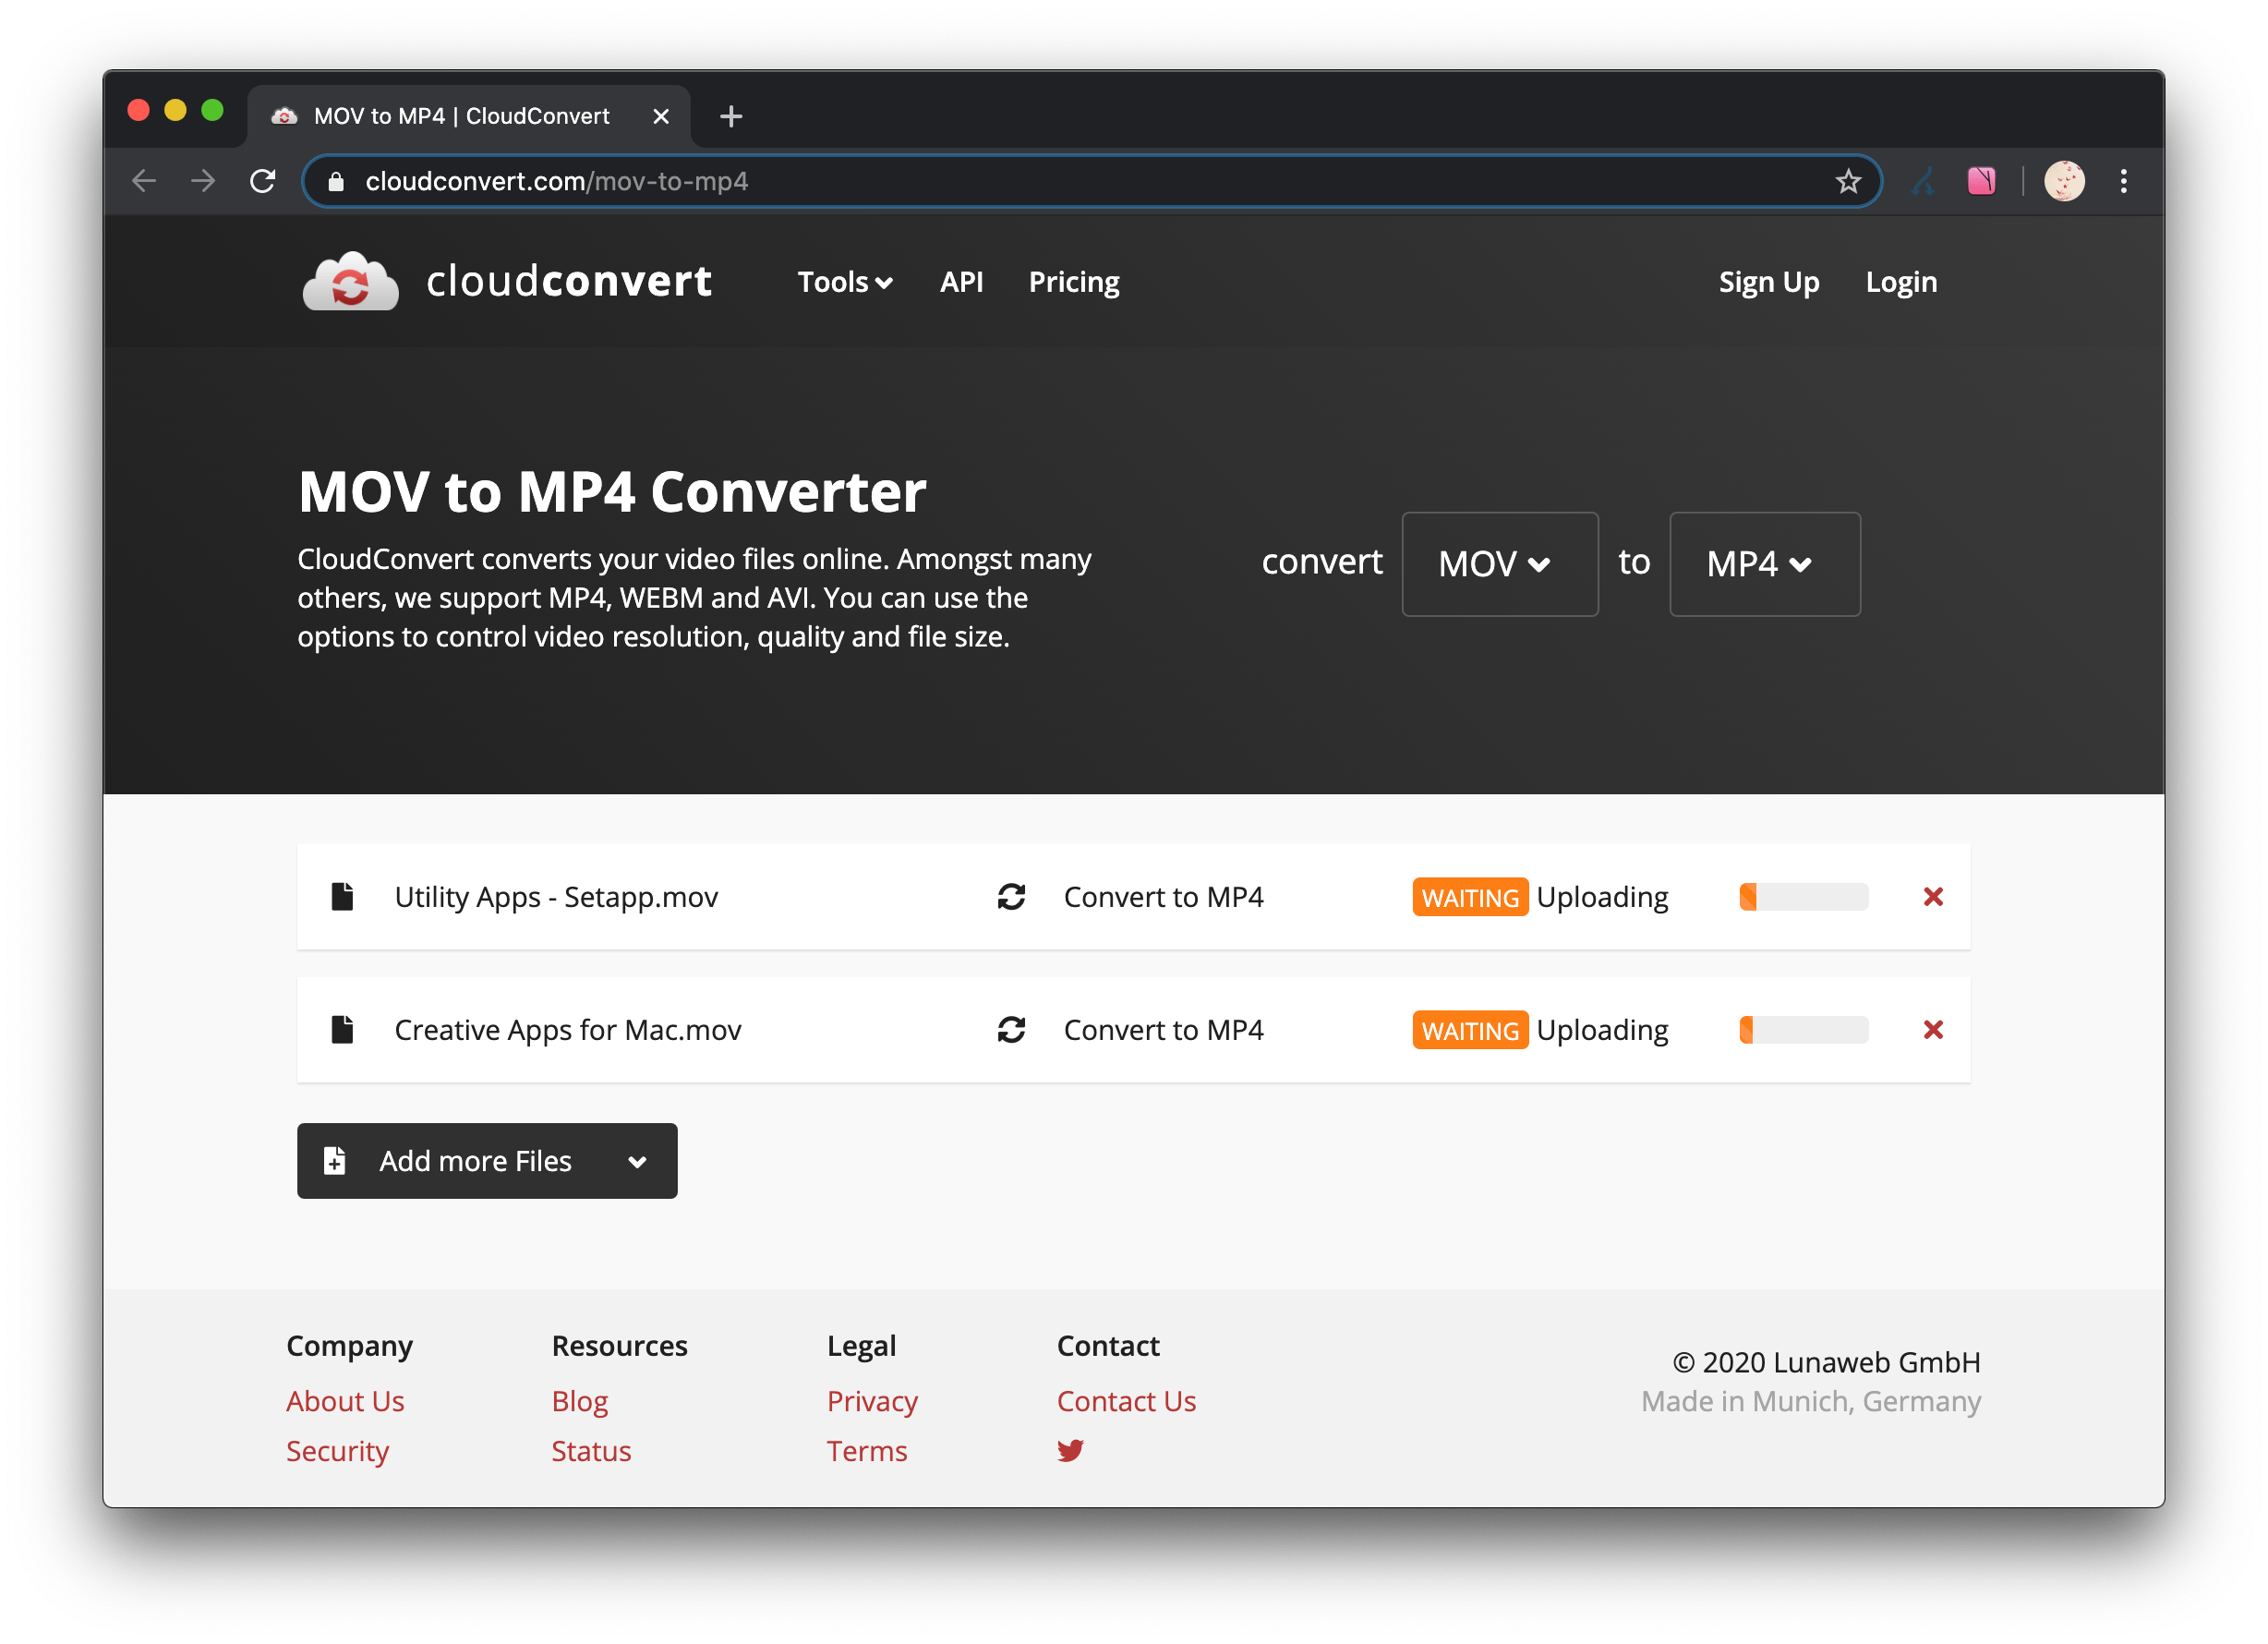
Method 2: Using Online Converters
If you’re not into downloading software, online converters are a great alternative. Here’s how to do it:
- Choose a trusted online converter like CloudConvert or Convertio.
- Upload your MOV file to the converter.
- Select MP4 as the output format.
- Click Convert and wait for the process to finish.
- Download your newly converted MP4 file.
Voilà! Your video is now ready to share with the world. Just remember to stick to trusted websites to avoid any security risks.
Tips and Tricks for Better Results
Now that you know how to change iMovie to MP4, here are a few tips to help you get the best results:
- Optimize File Size: If you’re planning to upload your video to social media, try reducing the file size without sacrificing quality. Adjusting the resolution and bitrate can help.
- Check Compatibility: Before exporting, make sure the platform you’re sharing on supports the resolution and format you’ve chosen.
- Use Compression Wisely: Compression can make your files smaller, but overdoing it might affect video quality. Find the sweet spot that works for you.
- Backup Your Files: Always keep a backup of your original MOV file in case something goes wrong during the conversion process.
These tips might seem small, but they can make a big difference in the final outcome of your video.
Common Issues and How to Fix Them
Even the best-laid plans can hit a snag. Here are some common issues you might encounter when converting iMovie to MP4 and how to fix them:
Issue 1: The Export Process is Taking Forever
Solution: This usually happens when you’re exporting a large file or using a high-resolution setting. Try reducing the resolution or splitting your video into smaller clips before exporting.
Issue 2: The Converted File Won’t Play
Solution: Make sure you’ve selected the correct output format and codec. If the problem persists, try using a different converter or software.
Issue 3: The Audio is Out of Sync
Solution: This can happen if your original MOV file has sync issues. Re-export the file from iMovie and ensure all audio tracks are properly aligned before converting.
By addressing these issues early, you’ll save yourself a lot of frustration down the line.
Why MP4 is the Best Format for Sharing
Let’s take a moment to appreciate why MP4 is the king of video formats. Besides being compatible with almost everything, MP4 offers several advantages:
- High-Quality Compression: MP4 uses advanced compression techniques to deliver high-quality video without bloating the file size.
- Wide Support: From smartphones to smart TVs, MP4 is supported by virtually every device and platform out there.
- Scalability: Whether you’re sharing a short clip or a feature-length movie, MP4 can handle it all.
In short, MP4 is the perfect format for anyone looking to share their videos with the world.
Tools and Software to Help You Along the Way
While iMovie is a fantastic tool for editing, there are other apps and software that can help you take your video game to the next level. Here are a few worth checking out:
- Final Cut Pro: If you’re serious about video editing, Final Cut Pro is the next step up from iMovie.
- Adobe Premiere Pro: For cross-platform editing, Adobe Premiere Pro is a top choice for professionals.
- DaVinci Resolve: Free and powerful, DaVinci Resolve is perfect for color grading and advanced editing.
These tools might have a steeper learning curve, but they offer more features and flexibility than iMovie.
Conclusion: Take Your Video Game to the Next Level
And there you have it—a complete guide on how to change iMovie to MP4. Whether you’re a beginner or a seasoned creator, knowing how to convert your videos to MP4 is an essential skill that’ll save you time and hassle in the long run. Remember, the key to success is preparation, so always double-check your settings and backups before exporting.
Now it’s your turn to take action. Share your newly converted MP4 video with the world and let your creativity shine. Don’t forget to drop a comment below and let us know how it went. Happy creating!
Table of Contents
- Why You Need to Convert iMovie to MP4
- Step-by-Step Guide: How to Change iMovie to MP4
- Method 1: Using HandBrake
- Method 2: Using Online Converters
- Tips and Tricks for Better Results
- Common Issues and How to Fix Them
- Why MP4 is the Best Format for Sharing
- Tools and Software to Help You Along the Way
- Conclusion
- Matt Leblanc Children The Family Life Of A Hollywood Icon
- Matt Leblanc Kids A Dive Into The Life Beyond Friends
How to change speed of a video in iMovie on Mac and iOS
runnerroc Blog
MP4 Converter 100 Free
