Converting IMovie To MP4: Your Ultimate Guide For Seamless Video Export
Let’s face it, folks—converting iMovie to MP4 is one of those tasks that can feel like solving a riddle wrapped in an enigma, especially if you’re new to the video editing world. But don’t sweat it! Whether you’re a creative enthusiast or just trying to share your latest travel vlog with friends, understanding how to export your iMovie projects as MP4 files is a game-changer. In this guide, we’re breaking it down step by step so you can breeze through the process like a pro.
Now, why does this matter? Well, iMovie is Apple’s gift to users who want to dabble in video editing without breaking the bank. It’s powerful, user-friendly, and packed with features that let you unleash your inner Spielberg. But here’s the catch—when you finish your masterpiece, you might find yourself stuck trying to export it in a format everyone can play. That’s where MP4 comes in. It’s like the universal language of video files, compatible with pretty much any device or platform out there.
So, buckle up because we’re diving deep into the world of iMovie-to-MP4 conversion. By the end of this article, you’ll know everything from the basics of iMovie exporting to some pro tips that’ll make your videos pop. Let’s get to it!
- Larry Bird Girlfriend The Untold Stories And Fascinating Journey
- The Blackest Women Celebrating Beauty Diversity And Resilience
Here’s a quick roadmap of what we’re covering today:
- Biography (if applicable)
- What is iMovie?
- Why Convert to MP4?
- Basic Steps to Convert iMovie to MP4
- Common Issues and Troubleshooting
- Advanced Tips for Exporting
- Third-Party Software Options
- Optimizing Your MP4 Files
- Frequently Asked Questions
- Wrapping It All Up
What is iMovie?
Alright, let’s start with the basics. iMovie is Apple’s very own video editing software, and it’s been around for longer than most people realize. It’s like that trusty sidekick that’s always there when you need to cut, trim, or add some cool effects to your videos. Whether you’re on a Mac or an iPhone, iMovie has got your back.
But what makes iMovie so special? For starters, it’s super easy to use, even for beginners. Drag-and-drop editing, a wide range of templates, and a library of sound effects and music make it a go-to choice for anyone who wants to create polished videos without the headache of complex software.
- Dylan Tays Husband The Untold Story Behind The Power Couple
- Hallie Gnatovich On Destination Truth The Mysterious Journey
Key Features of iMovie
- Simple interface for seamless editing
- Support for 4K video editing
- Integration with iCloud for easy access across devices
- Built-in effects and transitions
However, there’s one little hiccup. When you finish editing, iMovie doesn’t automatically save your project in MP4 format. Instead, it uses its own native format, which can be a bit tricky to share with others. That’s why learning how to convert iMovie to MP4 is essential.
Why Convert to MP4?
Here’s the deal—MP4 is the gold standard for video sharing. It’s like the universal key that opens every door in the digital world. Whether you’re uploading your video to YouTube, sharing it on social media, or sending it to a friend, MP4 is the format that works everywhere.
But why is MP4 so popular? Let’s break it down:
- Compatibility: Almost every device and platform supports MP4.
- Quality: MP4 files maintain high-quality video and audio without taking up too much space.
- File Size: MP4 uses efficient compression, meaning your files won’t be huge and unwieldy.
So, if you want your iMovie creations to reach a wider audience, converting them to MP4 is the way to go.
Basic Steps to Convert iMovie to MP4
Alright, let’s get into the nitty-gritty. Converting your iMovie project to MP4 is simpler than you think. Here’s a step-by-step guide to help you through the process:
Step 1: Finalize Your Project
Before you export, make sure your video is exactly how you want it. Check the cuts, transitions, and effects one last time. You don’t want to export only to realize you missed something important.
Step 2: Choose the Right Export Settings
Once your project is ready, go to the “Share” menu in iMovie. From there, select “File” and choose the MP4 option. You’ll be prompted to set some export settings, like resolution and file size. Stick with the default settings unless you have a specific reason to change them.
Step 3: Save Your File
After you’ve set your preferences, save your file to a location on your computer where you can easily find it. Give it a name that makes sense, like “VacationVlog.mp4,” so you don’t lose it in the chaos of your downloads folder.
And just like that, you’ve got yourself an MP4 file ready for sharing!
Common Issues and Troubleshooting
Let’s be real—things don’t always go smoothly, especially when you’re dealing with technology. Here are some common issues you might encounter while converting iMovie to MP4 and how to fix them.
Issue 1: Export Takes Forever
Solution: If your export is taking ages, try reducing the resolution or file size. Sometimes, high-quality settings can slow things down. Also, make sure your computer isn’t running too many other programs in the background.
Issue 2: File Won’t Play
Solution: Double-check your export settings. Sometimes, selecting the wrong format or codec can cause playback issues. Stick with MP4 and H.264 codec for best results.
Advanced Tips for Exporting
If you’re ready to take your iMovie-to-MP4 game to the next level, here are some pro tips to enhance your exporting process:
- Batch Export: If you have multiple projects, export them all at once to save time.
- Custom Presets: Create your own export presets for consistent quality across all your videos.
- Cloud Sharing: Use iCloud or Dropbox to share large files without worrying about email size limits.
Third-Party Software Options
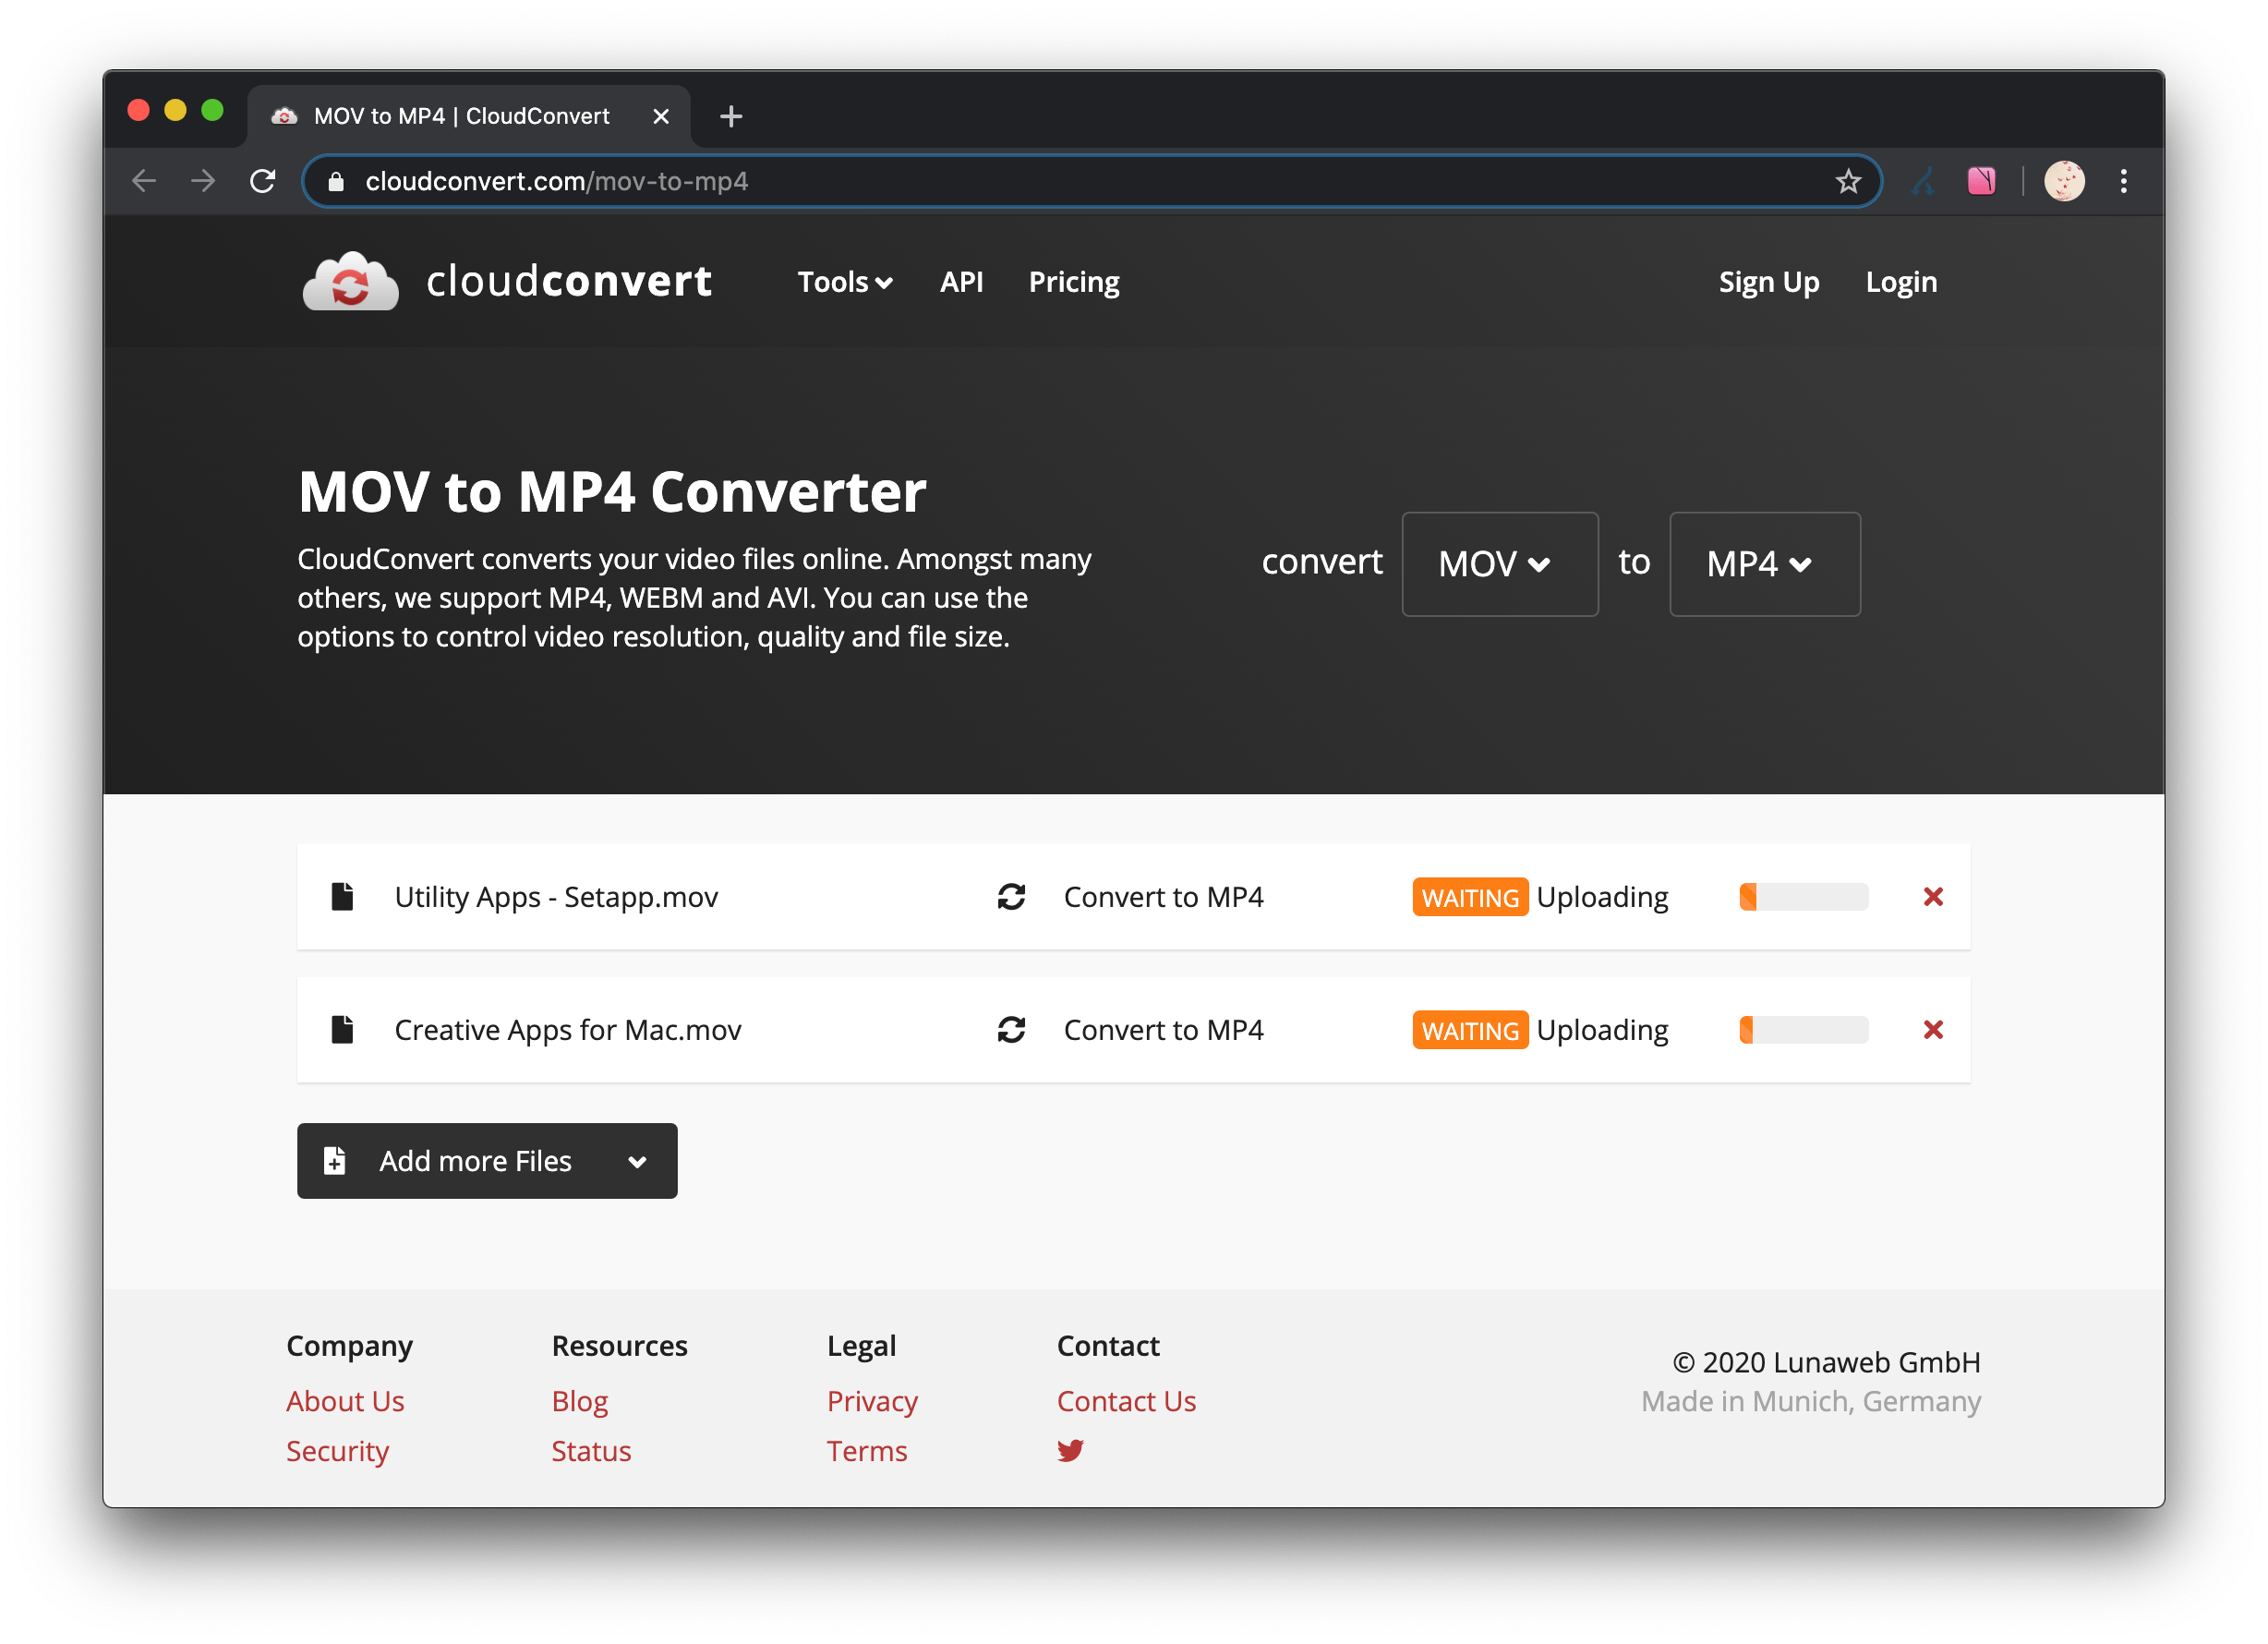
While iMovie does a great job of exporting to MP4, sometimes you might need a little extra help. That’s where third-party software comes in. Tools like Handbrake, Adobe Premiere Pro, and Final Cut Pro offer advanced features for converting and editing your videos.
For example, Handbrake is a free, open-source tool that’s perfect for converting video files. It’s easy to use and gives you tons of customization options. If you’re serious about video editing, investing in software like Final Cut Pro might be worth it.
Optimizing Your MP4 Files
Once you’ve converted your iMovie project to MP4, you might want to optimize it for different platforms. Here’s how:
For YouTube
YouTube loves MP4 files, but they have specific requirements for resolution and aspect ratio. Stick with 1080p or 4K for the best quality, and make sure your video is in a 16:9 aspect ratio.
For Social Media
When sharing on platforms like Instagram or TikTok, consider resizing your video to fit the platform’s preferred dimensions. Vertical videos tend to perform better on social media, so don’t be afraid to crop or rotate your footage.
Frequently Asked Questions
Got more questions? Here are some common ones we’ve heard from fellow iMovie enthusiasts:
Q: Can I edit MP4 files in iMovie?
A: Absolutely! You can import and edit MP4 files just like any other video format in iMovie.
Q: Is there a limit to file size when exporting?
A: Technically, no. However, extremely large files might take longer to export and share. Try to keep your files under 4GB for smoother handling.
Q: Do I need to pay for iMovie?
A: Nope! iMovie is free for all Apple users and comes pre-installed on most Macs and iOS devices.
Wrapping It All Up
There you have it, folks—a comprehensive guide to converting iMovie to MP4. Whether you’re a seasoned editor or just starting out, mastering this process will open up endless possibilities for sharing your creative work. Remember, the key is to experiment, tweak your settings, and most importantly, have fun with it!
So, what are you waiting for? Grab your iMovie project, follow the steps we’ve outlined, and get ready to share your masterpiece with the world. And hey, if you found this guide helpful, drop a comment below or share it with your friends. Let’s keep the creative juices flowing!
- Shane Gillis Girlfriend The Inside Scoop Youve Been Waiting For
- Halle Berrys Parents A Closer Look Into Her Family Background
runnerroc Blog
MP4 Converter 100 Free

iMovie
