How To Create A WebP Animation: Your Ultimate Guide To Mastering This Game-Changer
Creating a WebP animation might sound like a techy challenge, but trust me, it’s way easier than you think. In today’s digital world, where speed and quality matter more than ever, WebP animations are your secret weapon. They’re lightweight, super-fast, and look stunning on any device. If you’ve been wondering how to create a WebP animation, you’re in the right place. We’re about to break it down step by-step so you can dive right in.
Now, let’s be real. Animations can make or break your website or app. They grab attention, convey messages, and keep users engaged. But here’s the catch—traditional formats like GIFs are bulky and slow things down. That’s where WebP steps in like a superhero. It’s optimized for performance without sacrificing quality. So, if you’re ready to level up your game, this is the guide for you.
By the end of this article, you’ll not only know how to create a WebP animation but also understand why it’s worth the effort. Whether you’re a developer, designer, or just someone curious about digital trends, this guide has got your back. Let’s get started, shall we?
- Who Is Larry Bird Married To Unveiling The Life And Love Of The Nba Legend
- Did Gabriel Iglesias Get Divorced The Full Story Behind The Comedians Love Life
Why WebP Animation is the Future
Before we dive into the nitty-gritty of creating a WebP animation, let’s talk about why it’s such a big deal. WebP is Google’s brainchild, and it’s been around for a while now. But recently, it’s gained serious traction because of its ability to deliver high-quality images and animations at a fraction of the size of other formats. Here’s why WebP animation is the future:
- Smaller File Size: WebP files are up to 30% smaller than JPEGs and PNGs, making them perfect for websites and apps that need to load quickly.
- Better Quality: Unlike GIFs, WebP supports lossless compression, meaning your animations will look crisp and sharp without losing detail.
- Transparency Support: If your animation needs transparency, WebP’s got you covered. It handles alpha channels like a pro.
- Cross-Platform Compatibility: WebP is supported by most modern browsers, including Chrome, Firefox, and Edge, ensuring your animations look great everywhere.
These features make WebP animations a no-brainer for anyone serious about web performance. So, if you’re still using GIFs or other outdated formats, it’s time to upgrade.
What You Need to Know Before Getting Started
Creating a WebP animation isn’t rocket science, but there are a few things you should know before diving in. First off, you’ll need the right tools and software to convert your animations into WebP format. Don’t worry—most of these tools are free or affordable, and some even come pre-installed on your system. Here’s a quick rundown:
- Larry Bird Daughter The Inspiring Journey And Untold Stories
- Noelle Watters The Untold Story Of Jesse Watters First Wife
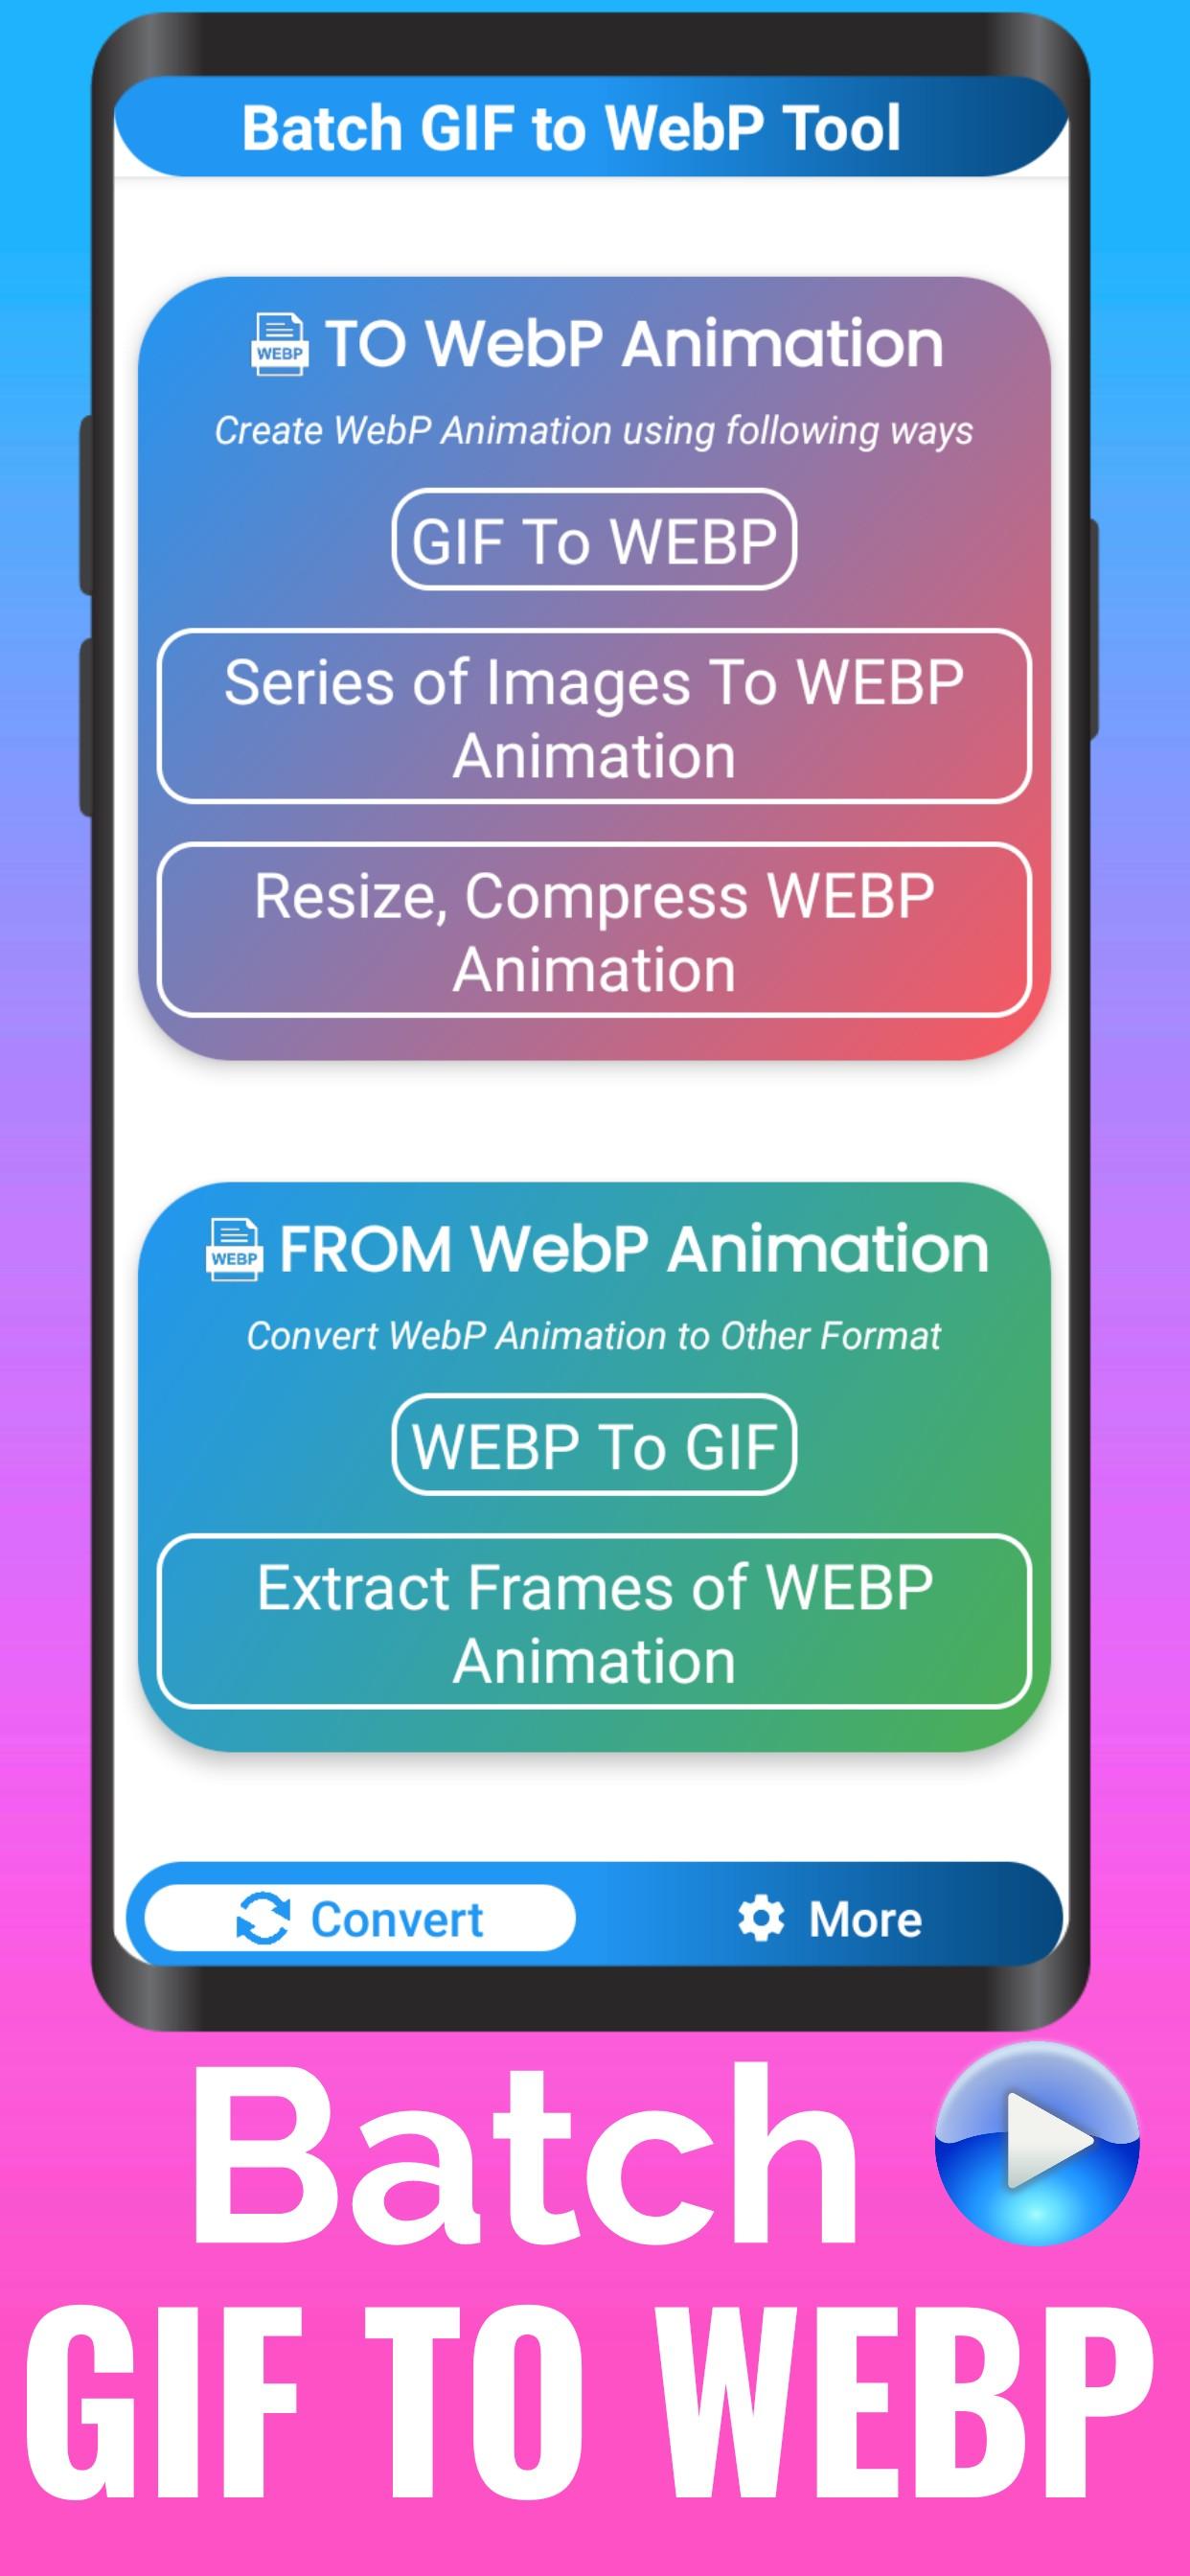
Tools You’ll Need
- ImageMagick: A powerful command-line tool for converting images and animations to WebP.
- GIMP: A free, open-source image editor that supports WebP export.
- Photoshop: If you’re already using Photoshop, you can install a WebP plugin to export your animations.
- Online Converters: For quick and easy conversions, online tools like Squoosh or Convertio are great options.
Once you’ve got your tools sorted, it’s time to think about the design and structure of your animation. Ask yourself: What story do I want to tell? What message do I want to convey? These questions will guide your creative process and help you create an animation that truly stands out.
Step-by-Step Guide to Creating a WebP Animation
Now that you’ve got the basics down, let’s get into the meat of it. Here’s a step-by-step guide to creating a WebP animation:
Step 1: Choose Your Animation Source
The first step is deciding what you want to animate. Do you have a GIF you want to convert? Or are you starting from scratch with a series of images? Either way, make sure your source material is high-quality and ready to go.
Step 2: Install the Right Software
Depending on your choice of tool, you’ll need to install or set up the software. For example, if you’re using ImageMagick, you’ll need to install it via the command line. If you’re using GIMP or Photoshop, make sure you have the latest version and any necessary plugins installed.
Step 3: Import Your Files
Once your software is ready, import your animation source files. If you’re working with a GIF, you can simply drag and drop it into your editor. If you’re using a series of images, make sure they’re in the correct order and properly named.
Step 4: Optimize Your Animation
This is where the magic happens. Use your software’s optimization tools to tweak your animation’s settings. Adjust the frame rate, resolution, and compression level to strike the perfect balance between quality and file size.
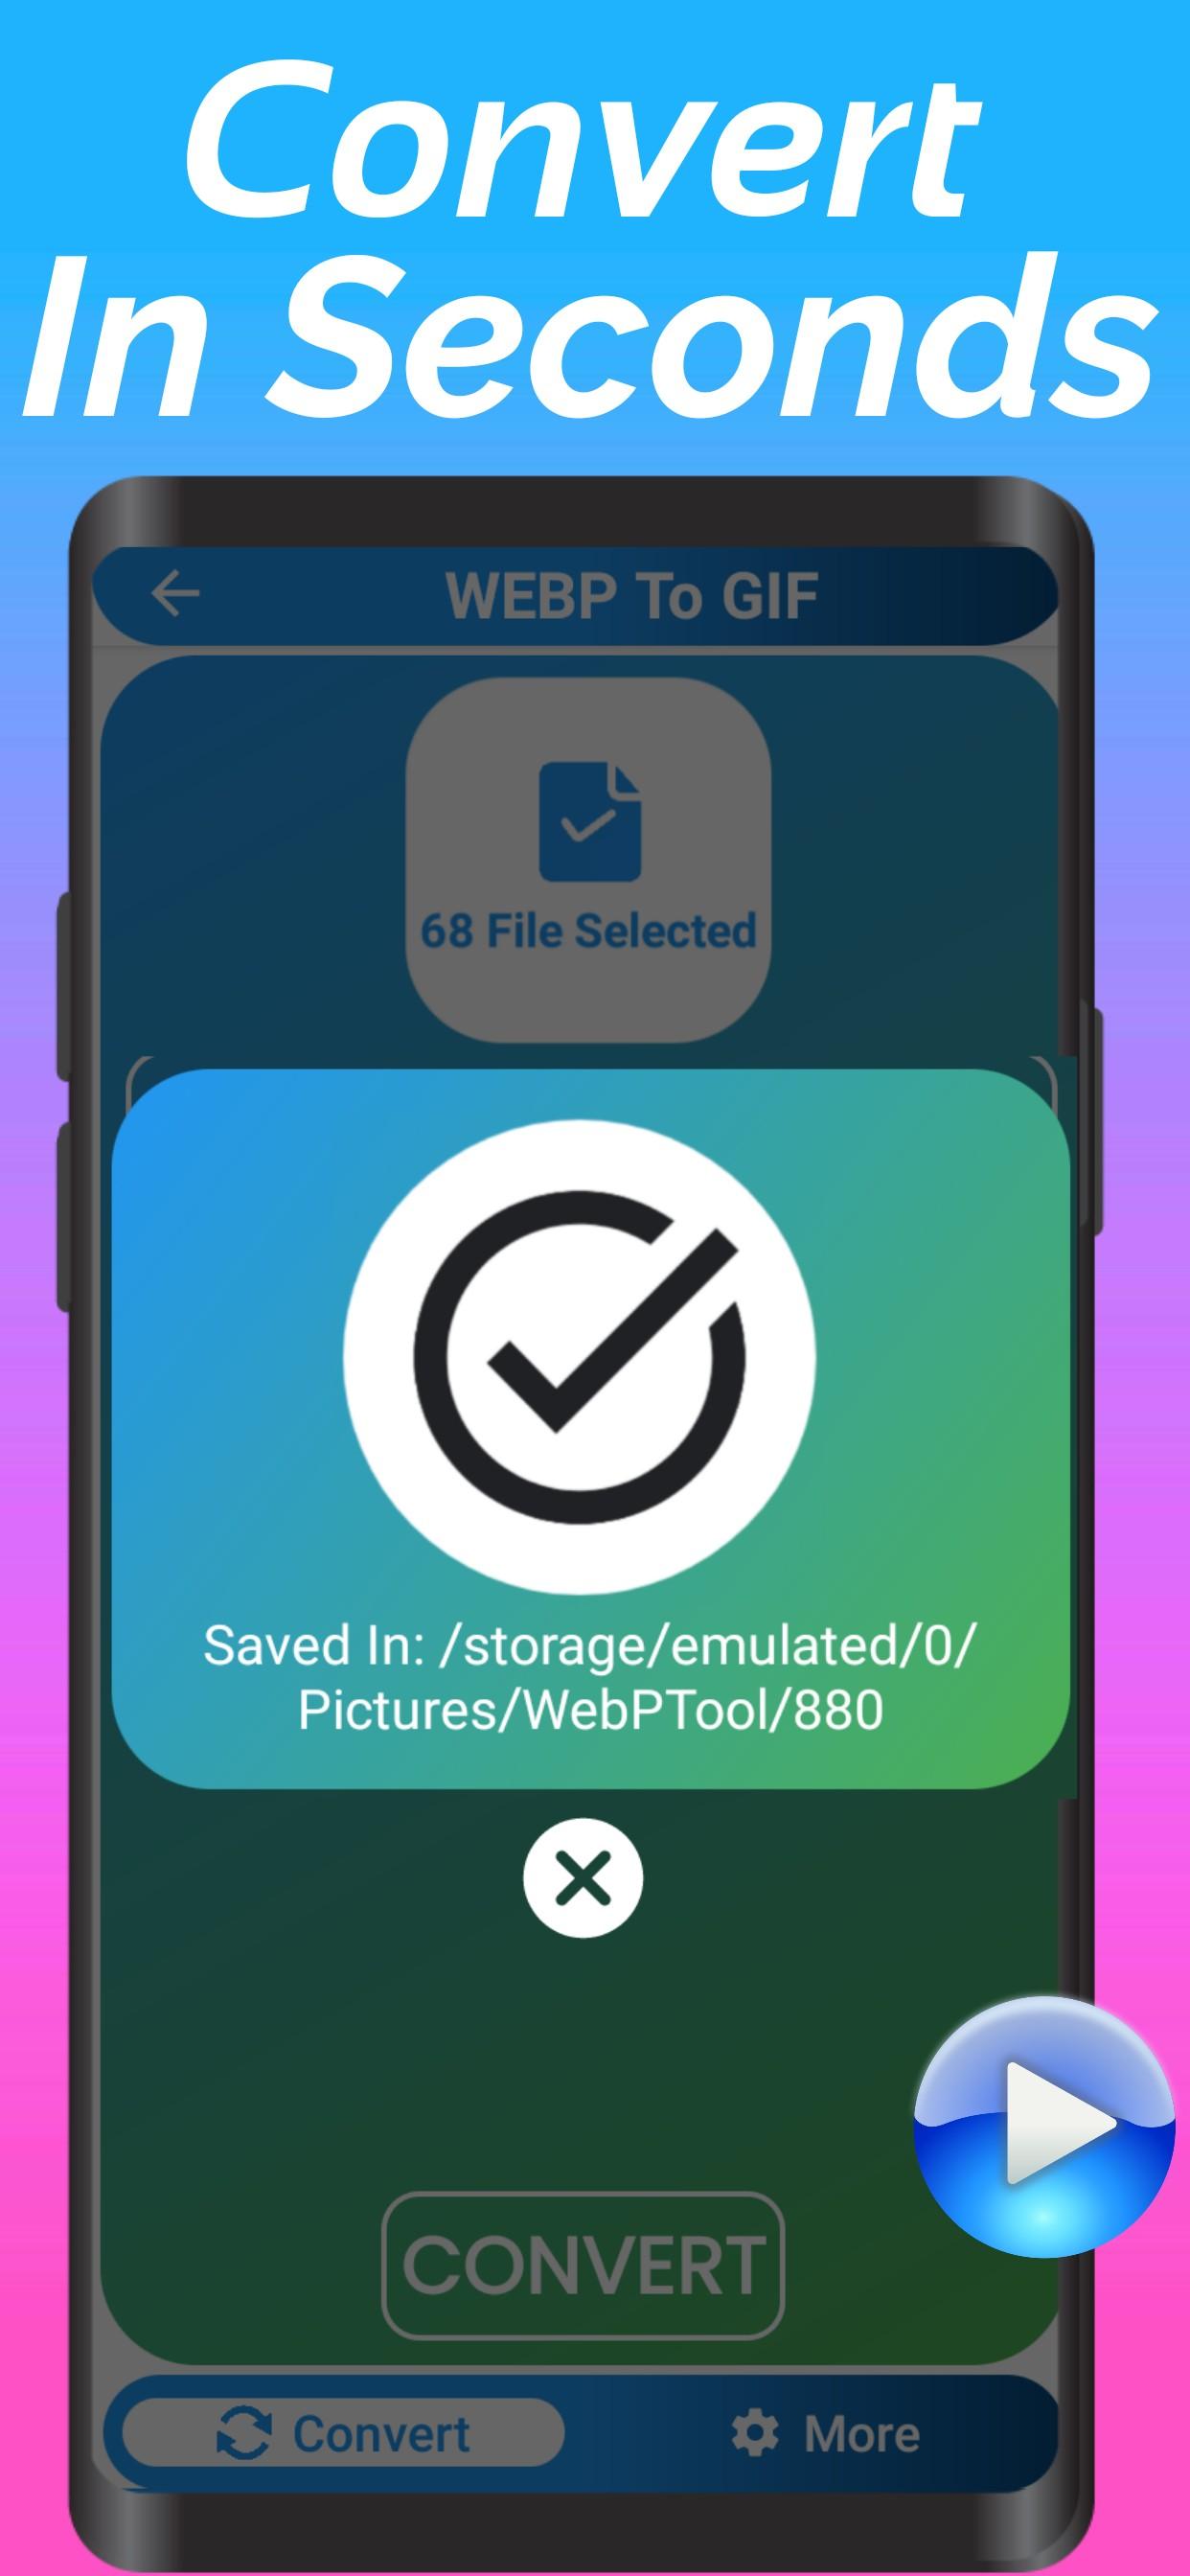
Step 5: Export as WebP
Finally, it’s time to export your animation as a WebP file. In GIMP or Photoshop, you’ll find the export option under the “File” menu. In ImageMagick, you can use a simple command like this:
convert input.gif output.webp
And just like that, your WebP animation is ready to rock!
Common Mistakes to Avoid
While creating a WebP animation might seem straightforward, there are a few common mistakes that can trip you up. Here’s what to watch out for:
- Over-Compression: While WebP is all about optimization, over-compressing your animation can lead to loss of quality. Always test your output to ensure it meets your standards.
- Ignoring Browser Support: Not all browsers support WebP yet, so it’s a good idea to include a fallback option for unsupported browsers.
- Forgetting to Optimize: Don’t just export your animation without optimizing it first. Take the time to tweak the settings and ensure your file is as small as possible without sacrificing quality.
Avoiding these mistakes will help you create WebP animations that look great and perform well.
Real-World Examples of WebP Animation in Action
To give you a better idea of what WebP animations can do, let’s take a look at some real-world examples:
Example 1: E-commerce Websites
Many e-commerce sites are now using WebP animations to showcase their products. These animations are lightweight and load quickly, making the shopping experience smoother and more engaging.
Example 2: Social Media Platforms
Social media platforms like Instagram and Twitter are increasingly adopting WebP for their image and video content. This reduces load times and improves user experience.
Example 3: Gaming Apps
Gaming apps use WebP animations to create stunning visuals without bogging down the app’s performance. This is especially important for mobile games where speed and efficiency are key.
These examples show just how versatile and powerful WebP animations can be.
Benefits of Using WebP Animation
Now that you know how to create a WebP animation, let’s talk about the benefits. Here are just a few reasons why you should consider using WebP for your animations:
- Faster Load Times: WebP files are smaller, which means they load faster. This improves user experience and can even boost your SEO rankings.
- Improved SEO: Google loves fast-loading websites, and using WebP can help you rank higher in search results.
- Cost Savings: Smaller file sizes mean less bandwidth usage, which can save you money on hosting and data transfer costs.
- Environmental Impact: Faster load times and reduced bandwidth usage also mean less energy consumption, making WebP a more sustainable choice.
These benefits make WebP a no-brainer for anyone looking to improve their website or app’s performance.
Challenges and Limitations
While WebP animation has many advantages, it’s not without its challenges. Here are a few things to consider:
- Browser Support: Not all browsers support WebP, so you’ll need to include a fallback option for unsupported browsers.
- Learning Curve: If you’re new to WebP, there might be a bit of a learning curve as you get familiar with the tools and settings.
- File Size Trade-Offs: While WebP is generally smaller than other formats, certain types of images or animations might not compress as well.
Despite these challenges, the benefits of WebP animation far outweigh the drawbacks. With a little practice and patience, you’ll be creating stunning WebP animations in no time.
Expert Tips for Mastering WebP Animation
Ready to take your WebP animation skills to the next level? Here are a few expert tips to help you master the art:
- Experiment with Settings: Don’t be afraid to play around with the settings in your software to find the perfect balance between quality and file size.
- Use Pre-Optimized Assets: Start with pre-optimized assets to save time and ensure the best results.
- Test Across Devices: Always test your animations on different devices and browsers to ensure they look great everywhere.
- Stay Updated: Keep up with the latest trends and developments in WebP technology to stay ahead of the curve.
By following these tips, you’ll be well on your way to becoming a WebP animation expert.
Conclusion: Take Your Animations to the Next Level
Creating a WebP animation might seem daunting at first, but with the right tools and knowledge, it’s a breeze. WebP offers so many advantages over traditional formats that it’s hard to ignore. From faster load times to better SEO, the benefits are clear. So, why not give it a try?
Now it’s your turn. Take what you’ve learned and start creating your own WebP animations. And don’t forget to share your creations with the world. Whether it’s on your website, social media, or app, WebP animations are sure to impress. So, what are you waiting for? Get animating!
Call to Action: If you’ve enjoyed this guide, leave a comment below and let us know how you plan to use WebP animations in your projects. And be sure to check out our other articles for more tips and tricks on mastering digital design.
Table of Contents
- Why WebP Animation is the Future
- What You Need to Know Before Getting Started
- Step-by-Step Guide to Creating a WebP Animation
- Common Mistakes to Avoid
- Real-World Examples of WebP Animation in Action
- Benefits of Using WebP Animation
- Challenges and Limitations
- Expert Tips for Mastering WebP Animation
- Conclusion: Take Your Animations to the Next Level
- Shame Gillis Girlfriend The Untold Story Youve Been Missing
- Unveiling The Allure Of Selina Green Vargas A Deep Dive Into Her World
Gif to Webp Animation Convert for Android APK Download
Gif to Webp Animation Convert for Android APK Download

Webp Windows Shops
