How To Export Your IMovie Projects As MP4: The Ultimate Guide
Hey there, fellow video enthusiasts! If you're here, chances are you're diving deep into the world of iMovie and wondering how on earth you can export your masterpiece as an MP4 file. Well, buckle up because we're about to take you through the ins and outs of exporting your iMovie projects in the most popular video format out there. iMovie export as MP4 is not just a simple task; it’s an art form that every creator needs to master.
You’ve probably spent hours editing, tweaking, and fine-tuning your footage, and now it’s time to share it with the world. But wait—how do you make sure your video is compatible with every platform? MP4 is the answer, my friend. It’s universally accepted, easy to upload, and ensures your hard work shines brightly on any device. So, let’s get started!
Before we dive into the nitty-gritty, let’s set the stage. This guide is crafted for creators like you who want to unlock the full potential of iMovie. Whether you’re a beginner or a seasoned pro, this article will equip you with everything you need to know about exporting your projects as MP4. Trust me, by the end of this, you’ll be exporting like a pro!
- Johnny Mathis Wedding A Journey Through Love Music And Time
- Jasper Breckinridge Johnson The Rising Star Whos Making Waves In The Industry
Understanding iMovie and Why MP4 Matters
iMovie has become the go-to tool for millions of creators around the globe. It’s user-friendly, packed with features, and best of all—it’s free! But once you’ve crafted your masterpiece, the real magic happens when you export it. And that’s where MP4 comes in. This format is like the golden ticket of the video world. It’s lightweight, high-quality, and plays smoothly on almost every device imaginable.
When you export as MP4, you’re ensuring your video is ready for prime time. Whether you’re sharing it on YouTube, Instagram, or even sending it via email, MP4 is the format that keeps on giving. Plus, it retains the quality of your original footage without bloating the file size. Sounds pretty awesome, right? Let’s break it down further.
Why Choose MP4 Over Other Formats?
Let’s face it—there’s no shortage of video formats out there. But MP4 stands out for a reason. Here’s why:
- Taylor Fritz Married The Inside Scoop You Didnrsquot Know You Needed
- Matt Leblanc Kids A Dive Into The Life Beyond Friends
- Compatibility: MP4 works seamlessly across all major platforms and devices.
- Quality: It delivers crystal-clear audio and video without compromising on file size.
- Flexibility: You can easily edit, compress, or convert MP4 files as needed.
- Universally Accepted: From social media to professional platforms, MP4 is the format of choice.
Now that you know why MP4 is the king of formats, let’s move on to the next step: preparing your iMovie project for export.
Preparing Your iMovie Project for Export
Before you hit that export button, there are a few things you need to get in order. Think of this as the pre-flight checklist for your video. First up, make sure your timeline is clean and organized. Remove any unnecessary clips, adjust your transitions, and double-check your audio levels. You don’t want to export a video only to realize you’ve left a random sound effect in there.
Next, ensure your project settings are optimized for the platform you’re targeting. Are you uploading to YouTube? TikTok? Or maybe a professional portfolio site? Each platform has its own requirements, so it’s crucial to tailor your export settings accordingly. For example, YouTube prefers a resolution of 1080p or higher, while TikTok works best with square or vertical videos.
Key Tips for Preparing Your iMovie Project
- Check Your Resolution: Make sure it matches the platform’s requirements.
- Adjust Your Aspect Ratio: Whether it’s 16:9, 1:1, or 9:16, get it right before exporting.
- Finalize Your Audio: Ensure your sound levels are balanced and free of distortion.
- Review Your Timeline: Remove any unwanted clips or effects before exporting.
Once you’ve got everything in order, you’re ready to move on to the export process. But first, let’s talk about the different export options iMovie offers.
iMovie Export Options: What You Need to Know
iMovie gives you several export options, each tailored to different use cases. Here’s a quick rundown:
- Export for QuickTime: This option saves your video in MOV format, which is great for editing but not ideal for sharing.
- Export for Web: Perfect for uploading to social media or websites. It automatically optimizes your video for online sharing.
- Export for YouTube: Tailored specifically for YouTube uploads, ensuring your video looks its best on the platform.
- Export for File: This is where you’ll find the option to export as MP4. It gives you full control over the file format and settings.
For our purposes, we’ll focus on the “Export for File” option. This is where you’ll find the MP4 export feature. Let’s dive deeper into how to use it.
How to Export as MP4 in iMovie
Ready to export? Here’s a step-by-step guide:
- Open your iMovie project and make sure everything is ready to go.
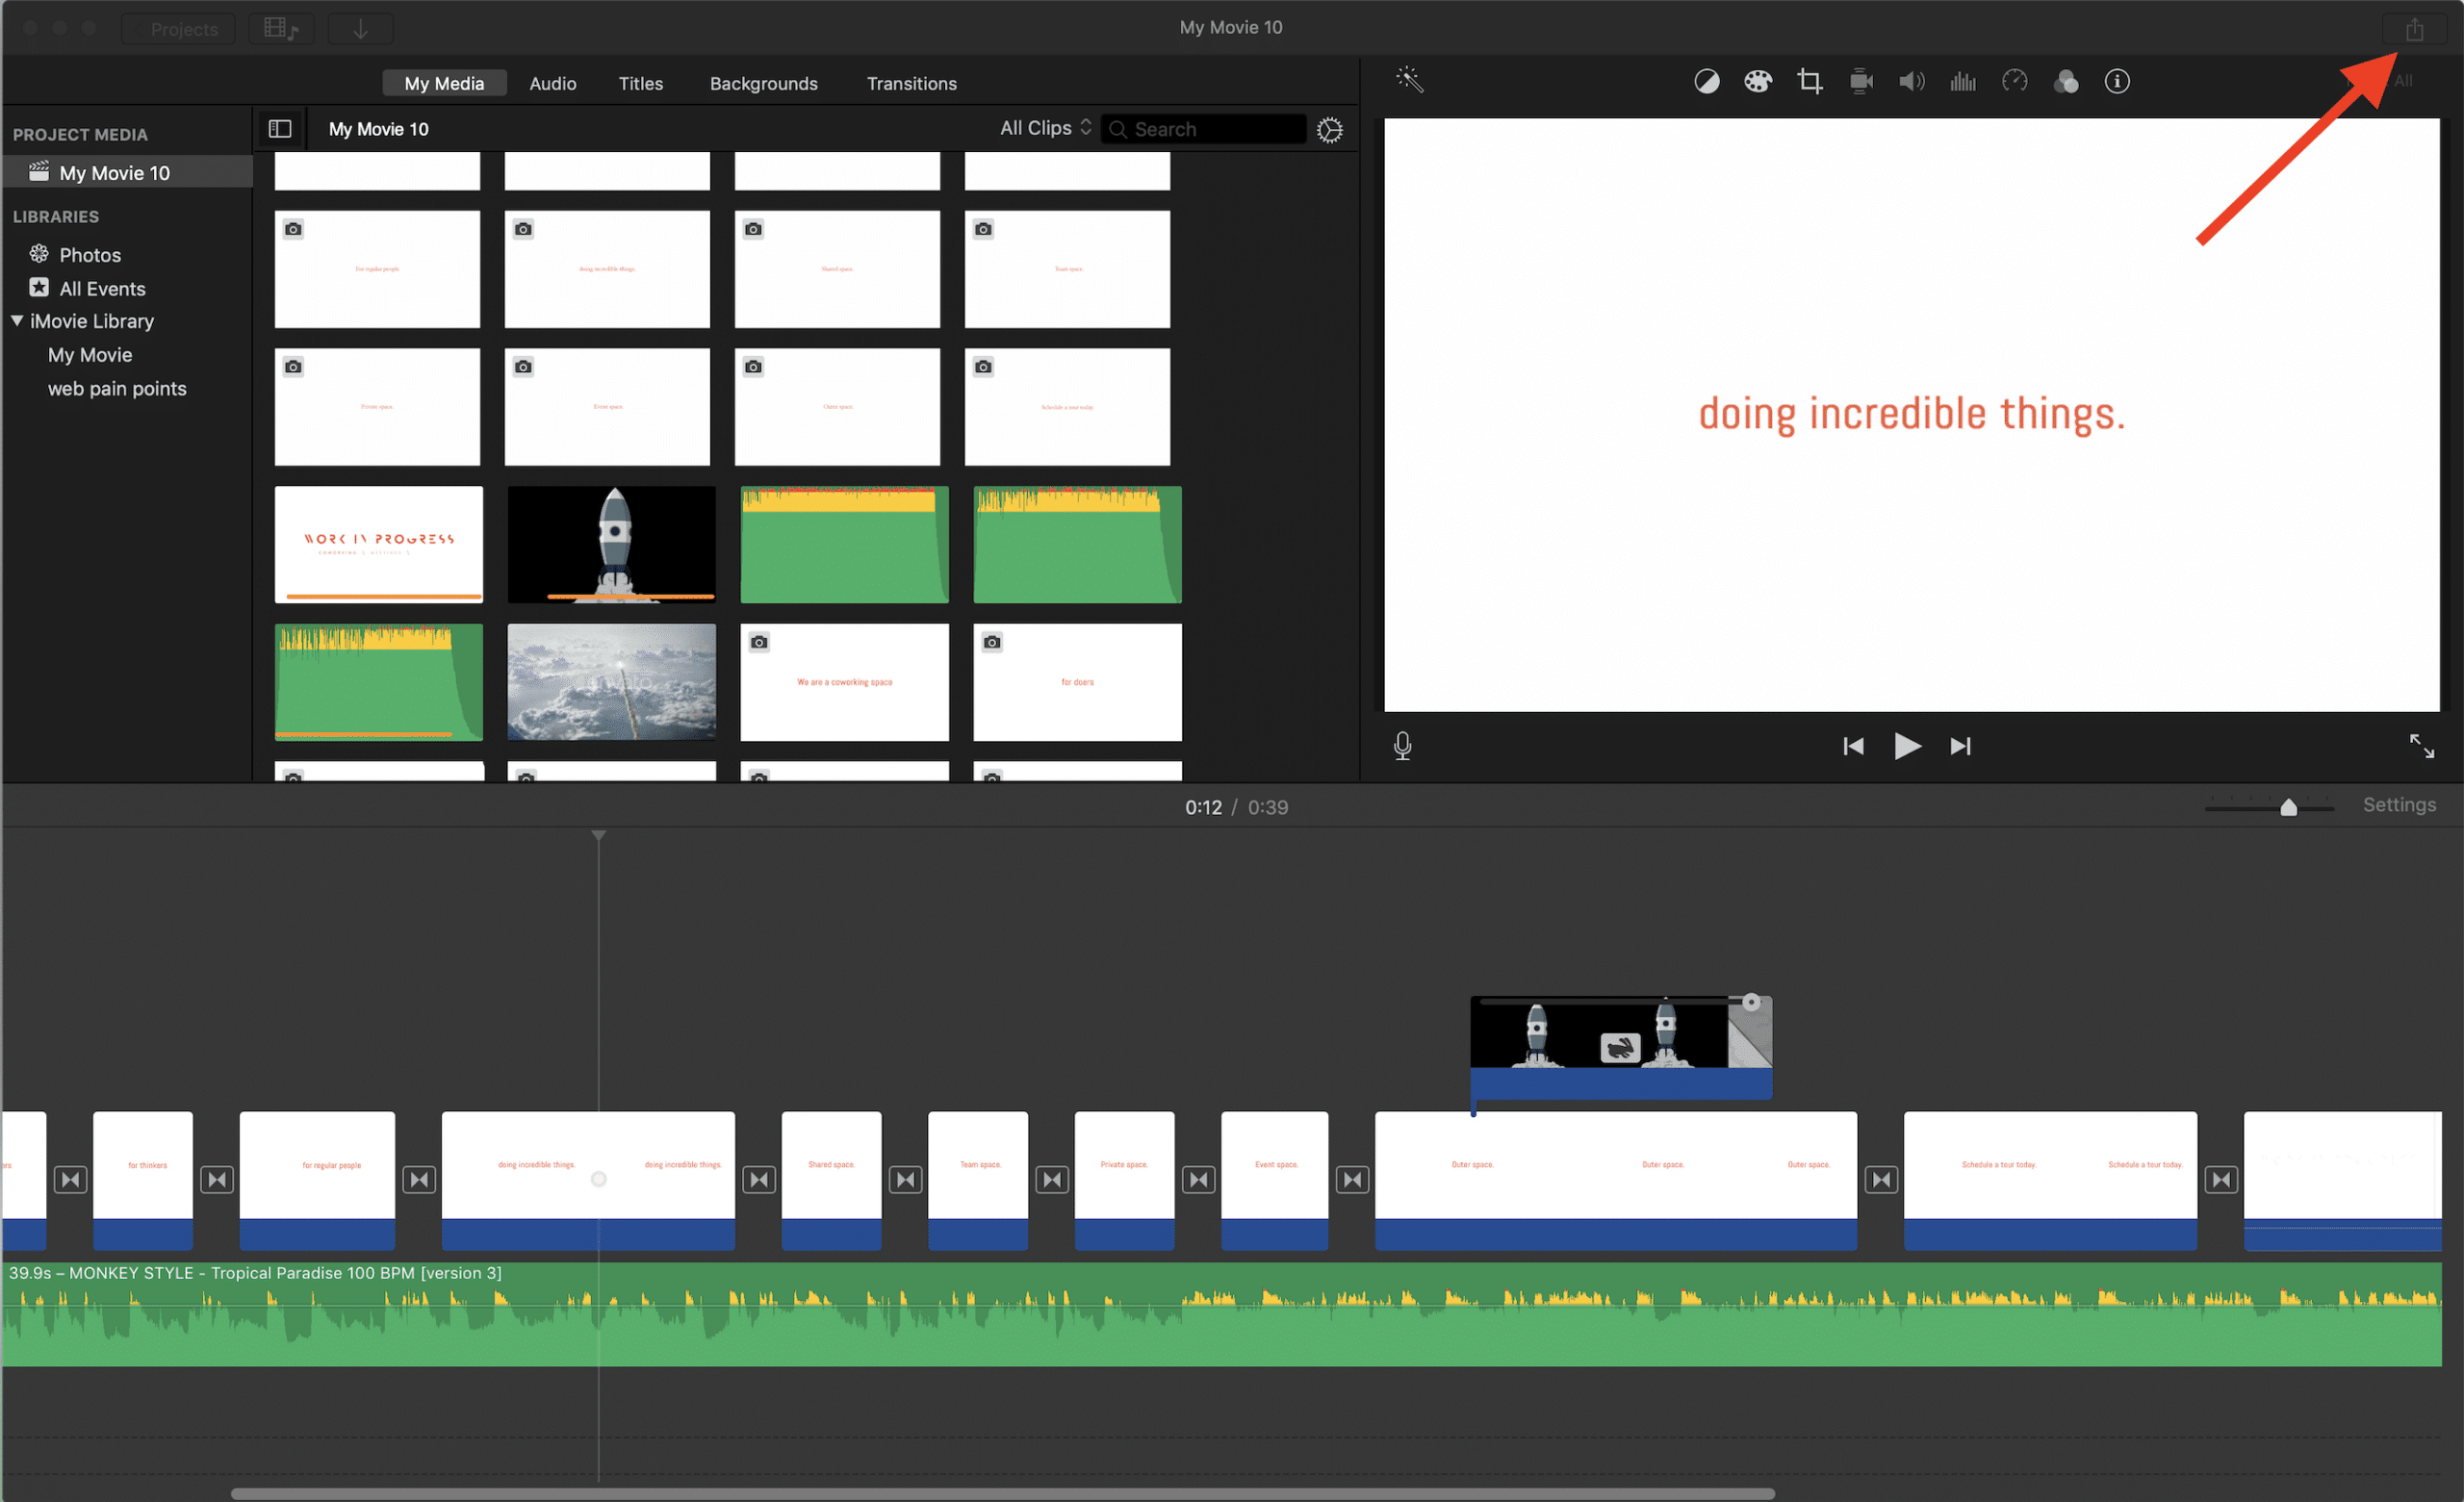
- Click on the “Share” button in the top menu.
- Select “File” from the dropdown menu.
- In the export window, choose “MP4” as your file format.
- Set your desired resolution (720p, 1080p, etc.) and frame rate.
- Click “Next” and choose a location to save your file.
- Hit “Export” and watch as your masterpiece is saved as an MP4 file.
And just like that, you’ve successfully exported your iMovie project as an MP4. But wait—there’s more! Let’s talk about optimizing your export settings for the best results.
Optimizing Your MP4 Export Settings
Exporting as MP4 is just the beginning. To truly make your video shine, you need to optimize your settings. Here are a few tips:
- Resolution: Stick to 1080p or higher for HD quality. If you’re targeting mobile platforms, 720p might be sufficient.
- Frame Rate: 24fps is great for cinematic effects, while 30fps or 60fps works better for action-packed footage.
- Bitrate: Higher bitrate means better quality, but it also increases file size. Find the sweet spot that works for your needs.
- Compression: Use H.264 or H.265 codecs for efficient compression without sacrificing quality.
By tweaking these settings, you can ensure your video looks its best while remaining lightweight and easy to share. Now, let’s talk about troubleshooting common export issues.
Troubleshooting Common Export Issues
Let’s face it—things don’t always go as planned. If you’re having trouble exporting your iMovie project as MP4, here are a few solutions:
- Export Fails: Make sure your project isn’t too large. Break it into smaller segments if necessary.
- Quality Issues: Double-check your resolution and bitrate settings. Sometimes, lowering the resolution can help.
- File Size Too Large: Adjust your compression settings or reduce the resolution.
- Audio Problems: Ensure your audio tracks are properly synced and free of distortion.
If none of these solutions work, try restarting iMovie or your computer. Sometimes, a fresh start is all you need.
Advanced Tips for Power Users
For those of you who want to take your export game to the next level, here are a few advanced tips:
- Custom Presets: Create your own export presets for consistent results.
- Batch Export: Export multiple projects at once to save time.
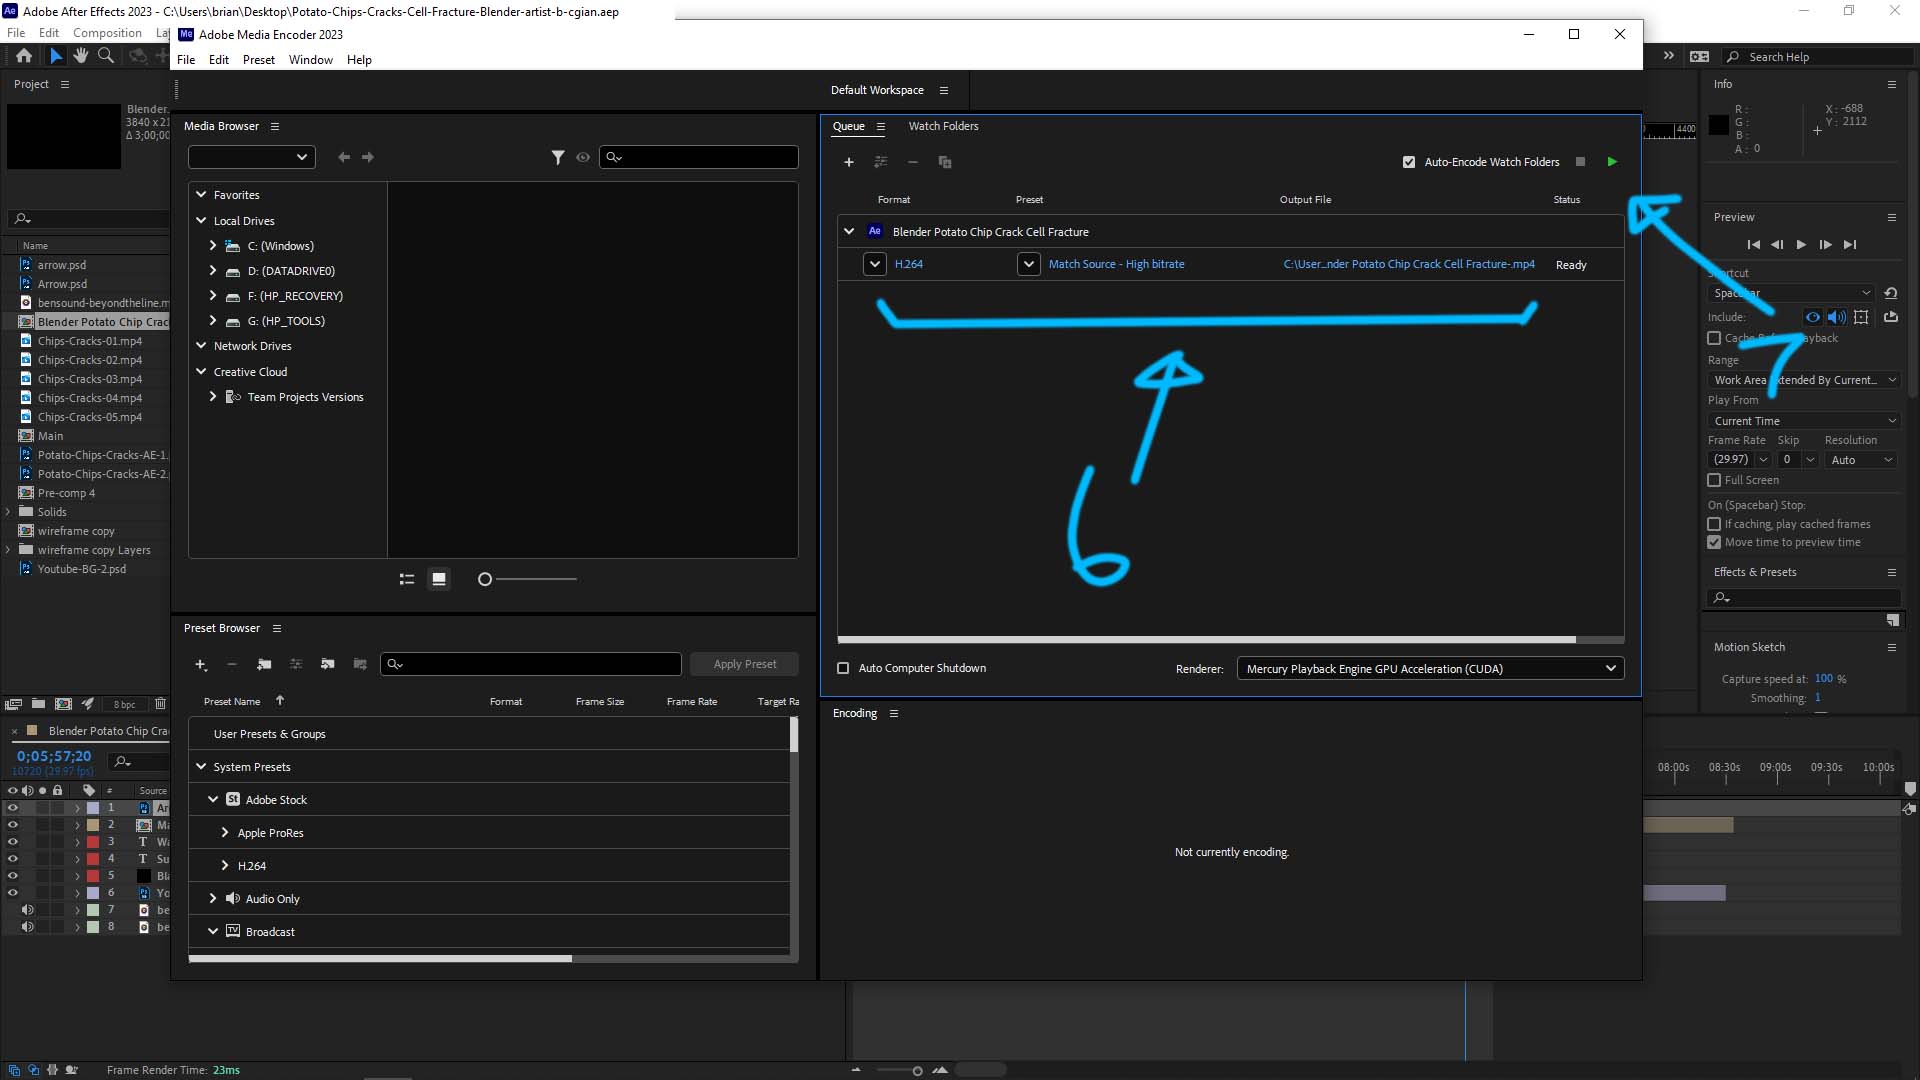
- Third-Party Tools: Use tools like HandBrake or Adobe Media Encoder for even more control over your exports.
These tips are perfect for creators who want to streamline their workflow and achieve professional-grade results.
Common Questions About iMovie Export as MP4
Still have questions? Here are some of the most common ones we hear:
Can I Export HD Videos in MP4 Format?
Absolutely! iMovie supports exporting in HD resolutions, including 720p, 1080p, and even 4K. Just make sure to select the appropriate resolution in your export settings.
Is MP4 the Best Format for Social Media?
Yes, MP4 is widely regarded as the best format for social media platforms. It’s lightweight, high-quality, and compatible with virtually every device.
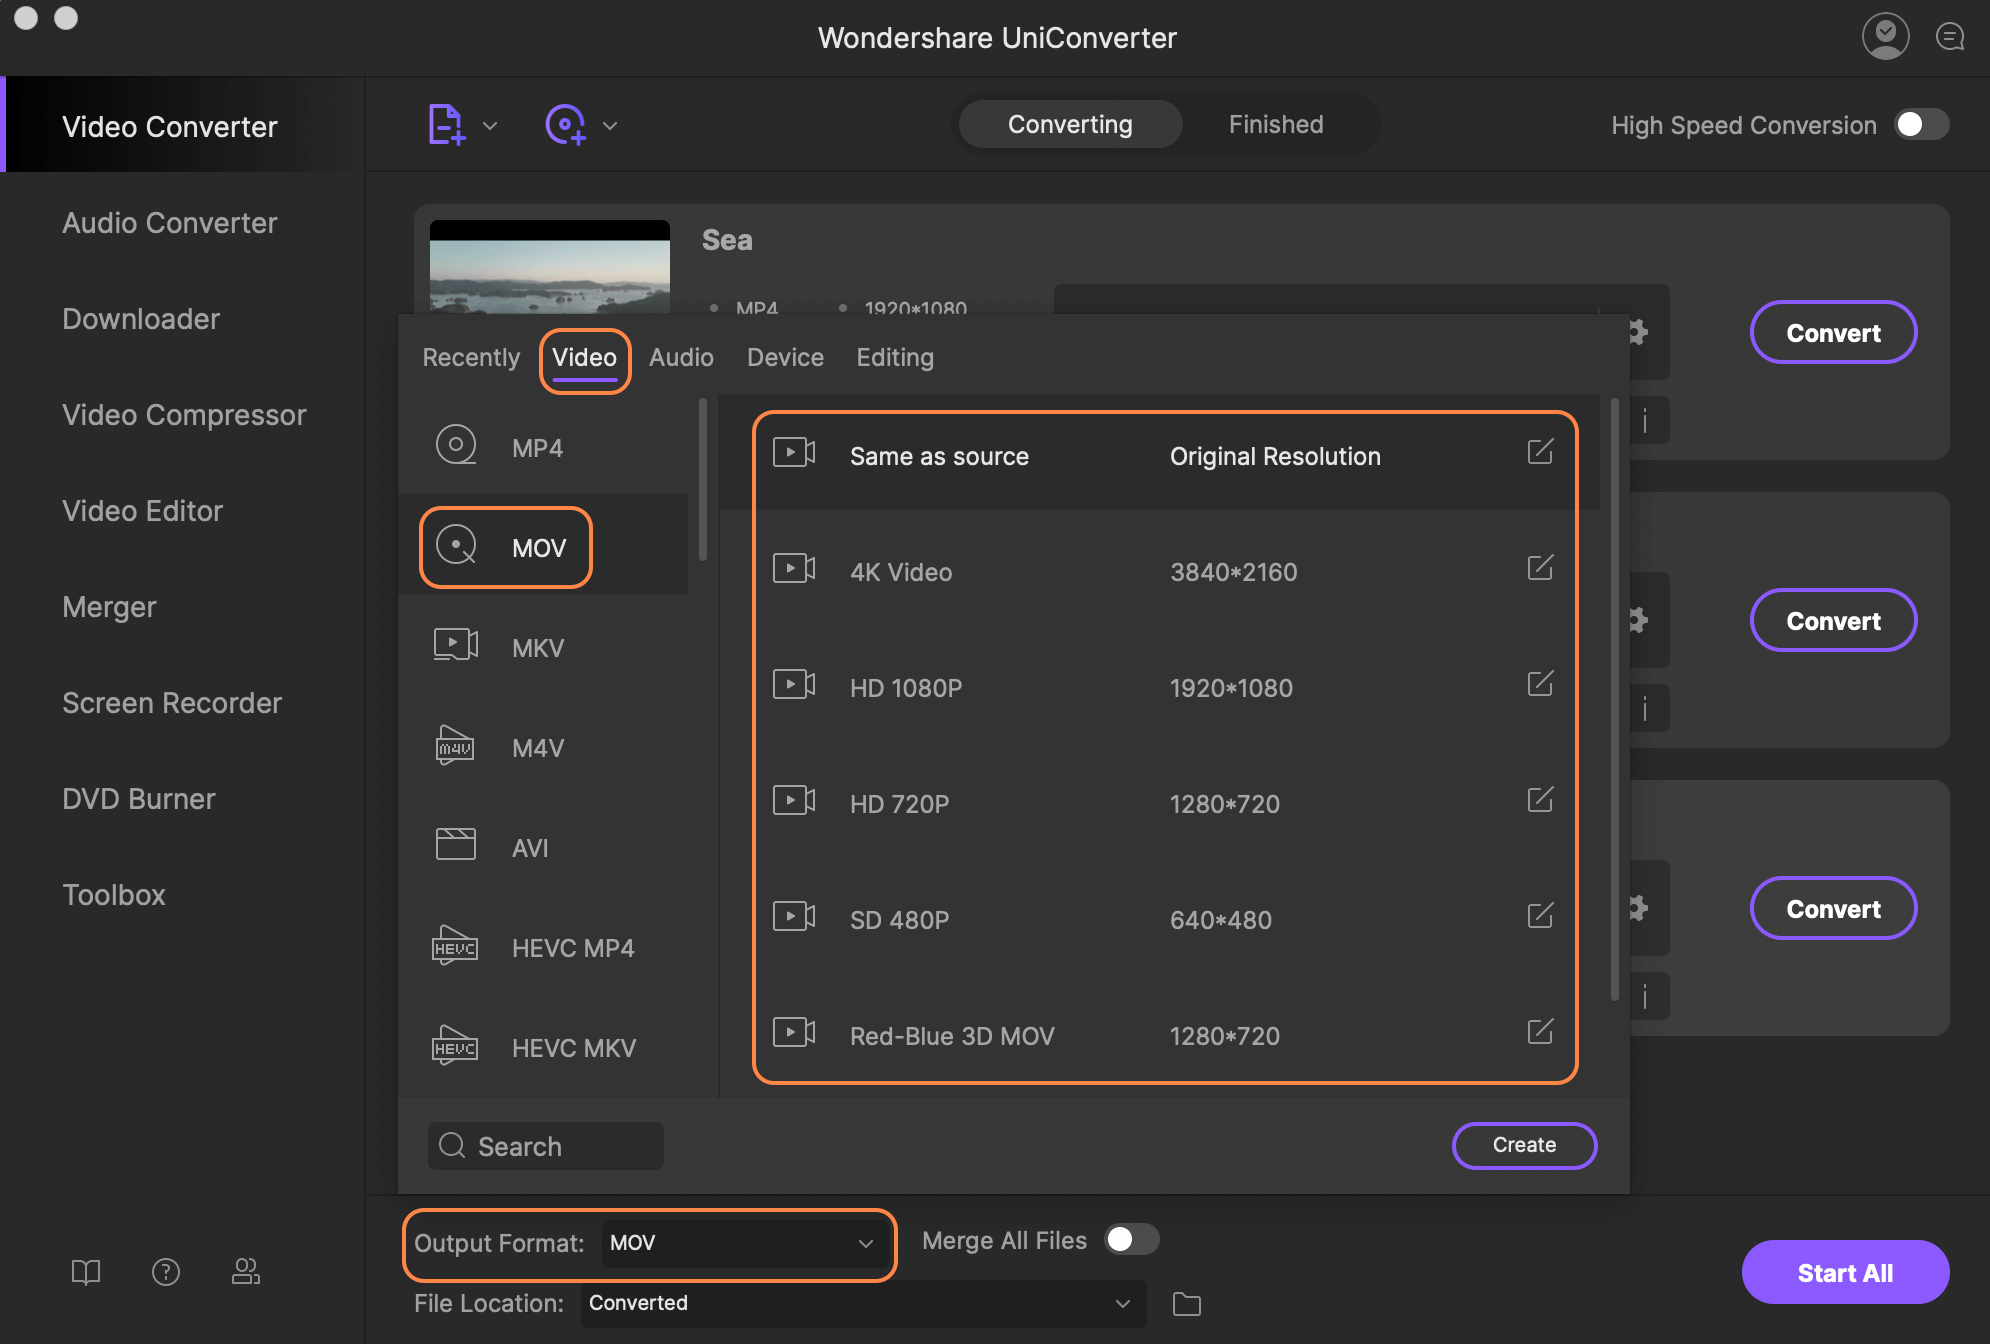
Can I Convert MOV Files to MP4?
Of course! You can easily convert MOV files to MP4 using iMovie or third-party tools like HandBrake. Just make sure to adjust your settings for optimal results.
Now that we’ve covered the basics and beyond, let’s wrap things up with a few final thoughts.
Conclusion: Mastering iMovie Export as MP4
Exporting your iMovie projects as MP4 doesn’t have to be a headache. With the right settings and a bit of practice, you can create stunning videos that are ready for the world to see. Remember to prepare your project thoroughly, optimize your settings, and troubleshoot any issues that arise. And most importantly, have fun with the process!
So, what are you waiting for? Hit that export button and share your masterpiece with the world. Don’t forget to leave a comment below with your thoughts or questions. And if you found this guide helpful, be sure to check out our other articles on all things video editing. Until next time, keep creating!
Table of Contents
- Understanding iMovie and Why MP4 Matters
- Why Choose MP4 Over Other Formats?
- Preparing Your iMovie Project for Export
- Key Tips for Preparing Your iMovie Project
- iMovie Export Options: What You Need to Know
- How to Export as MP4 in iMovie
- Optimizing Your MP4 Export Settings
- Troubleshooting Common Export Issues
- Advanced Tips for Power Users
- Common Questions About iMovie Export as MP4
- Gena Okelly A Rising Star In The Spotlight
- Is Fluffy Married Unveiling The Truth Behind The Fluffy Phenomenon
How to export as mp4 in After Effects
How to export an imovie as mp4 kseski
How to Export iMovie File to iPhone · Kenny Eliason
