How To Convert MP4 Into IMovie: A Simple Guide For Everyday Editors
Ever wondered how to convert MP4 into iMovie without losing quality? Well, you’re in the right place! In today’s digital world, editing videos has become an essential skill, whether you’re a pro or just someone who wants to share cool clips on social media. And when it comes to editing, iMovie is one of the most user-friendly tools out there. But here’s the thing—iMovie loves its own format, and sometimes converting MP4 files can feel like solving a puzzle. Don’t worry, though; we’ve got you covered.
You’ve probably tried dragging that MP4 file into iMovie, only to find out it’s not playing as smoothly as you’d hoped. Or maybe the audio cuts out randomly, or the video looks all pixelated. Frustrating, right? But before you throw your computer out the window, let me tell you this: converting MP4 into iMovie is way easier than it sounds. All you need is the right approach, some patience, and maybe a cup of coffee.
Now, let’s dive in. This guide will take you step-by-step through the process of converting MP4 files so they’re fully compatible with iMovie. Whether you’re a total beginner or already know your way around video editing, this article will give you the tools and tips you need to make your projects look amazing. Ready? Let’s go!
- Hallie Gnatovich Movies Rising Star In The Film Industry
- Zoey Chip The Ultimate Guide To Understanding And Maximizing Its Potential
Table of Contents:
- Why Convert MP4 Into iMovie?
- Understanding iMovie Compatibility
- Methods to Convert MP4 for iMovie
- Best Tools for Conversion
- Step-by-Step Guide to Conversion
- Pro Tips for Seamless Editing
- Common Issues and Solutions
- Alternative Formats for iMovie
- Optimizing Video Performance
- Wrapping It Up
Why Convert MP4 Into iMovie?
Let’s start with the basics. Why would you even need to convert an MP4 file before importing it into iMovie? Well, here’s the deal: MP4 is a widely used video format, but iMovie prefers files that are encoded in specific codecs and resolutions. Think of it like trying to fit a square peg into a round hole—it kinda works, but not perfectly.
When you import an MP4 file directly into iMovie, you might encounter issues like lagging playback, mismatched audio, or poor video quality. These problems happen because the file’s encoding isn’t optimized for iMovie’s system. By converting your MP4 file into a format that iMovie loves, you ensure smoother editing and better overall performance.
- Meet Andre Hakkaks Wife The Untold Story Behind The Scenes
- Forza 5 Account Boost The Ultimate Guide For Gamers
Plus, let’s face it—nobody wants to deal with technical glitches while trying to create something awesome. So, converting your MP4 files beforehand is like giving yourself a safety net. Trust me, it makes life so much easier.
Benefits of Conversion
Here’s a quick list of why converting MP4 into iMovie is worth the effort:
- Improved playback speed and stability.
- Enhanced video and audio quality during editing.
- Reduced risk of compatibility issues.
- Easier sharing of final projects across platforms.
See? Converting MP4 files isn’t just about fixing problems—it’s about setting yourself up for success from the very beginning.
Understanding iMovie Compatibility
Before we jump into the nitty-gritty of conversion, let’s talk about what iMovie actually likes. iMovie supports a variety of video formats, but some work better than others. Here’s a breakdown:
Preferred Video Formats:
- MPEG-4 (with H.264 codec)
- QuickTime MOV
- AVCHD
While MP4 is technically supported, the devil’s in the details. Factors like resolution, frame rate, and audio codec can all affect how well your file plays in iMovie. For example, if your MP4 file uses a non-standard codec or has an unusual resolution, iMovie might struggle to handle it properly.
The good news is that most modern MP4 files can be converted into a format that iMovie adores. You just need the right tools and techniques, which we’ll cover next.
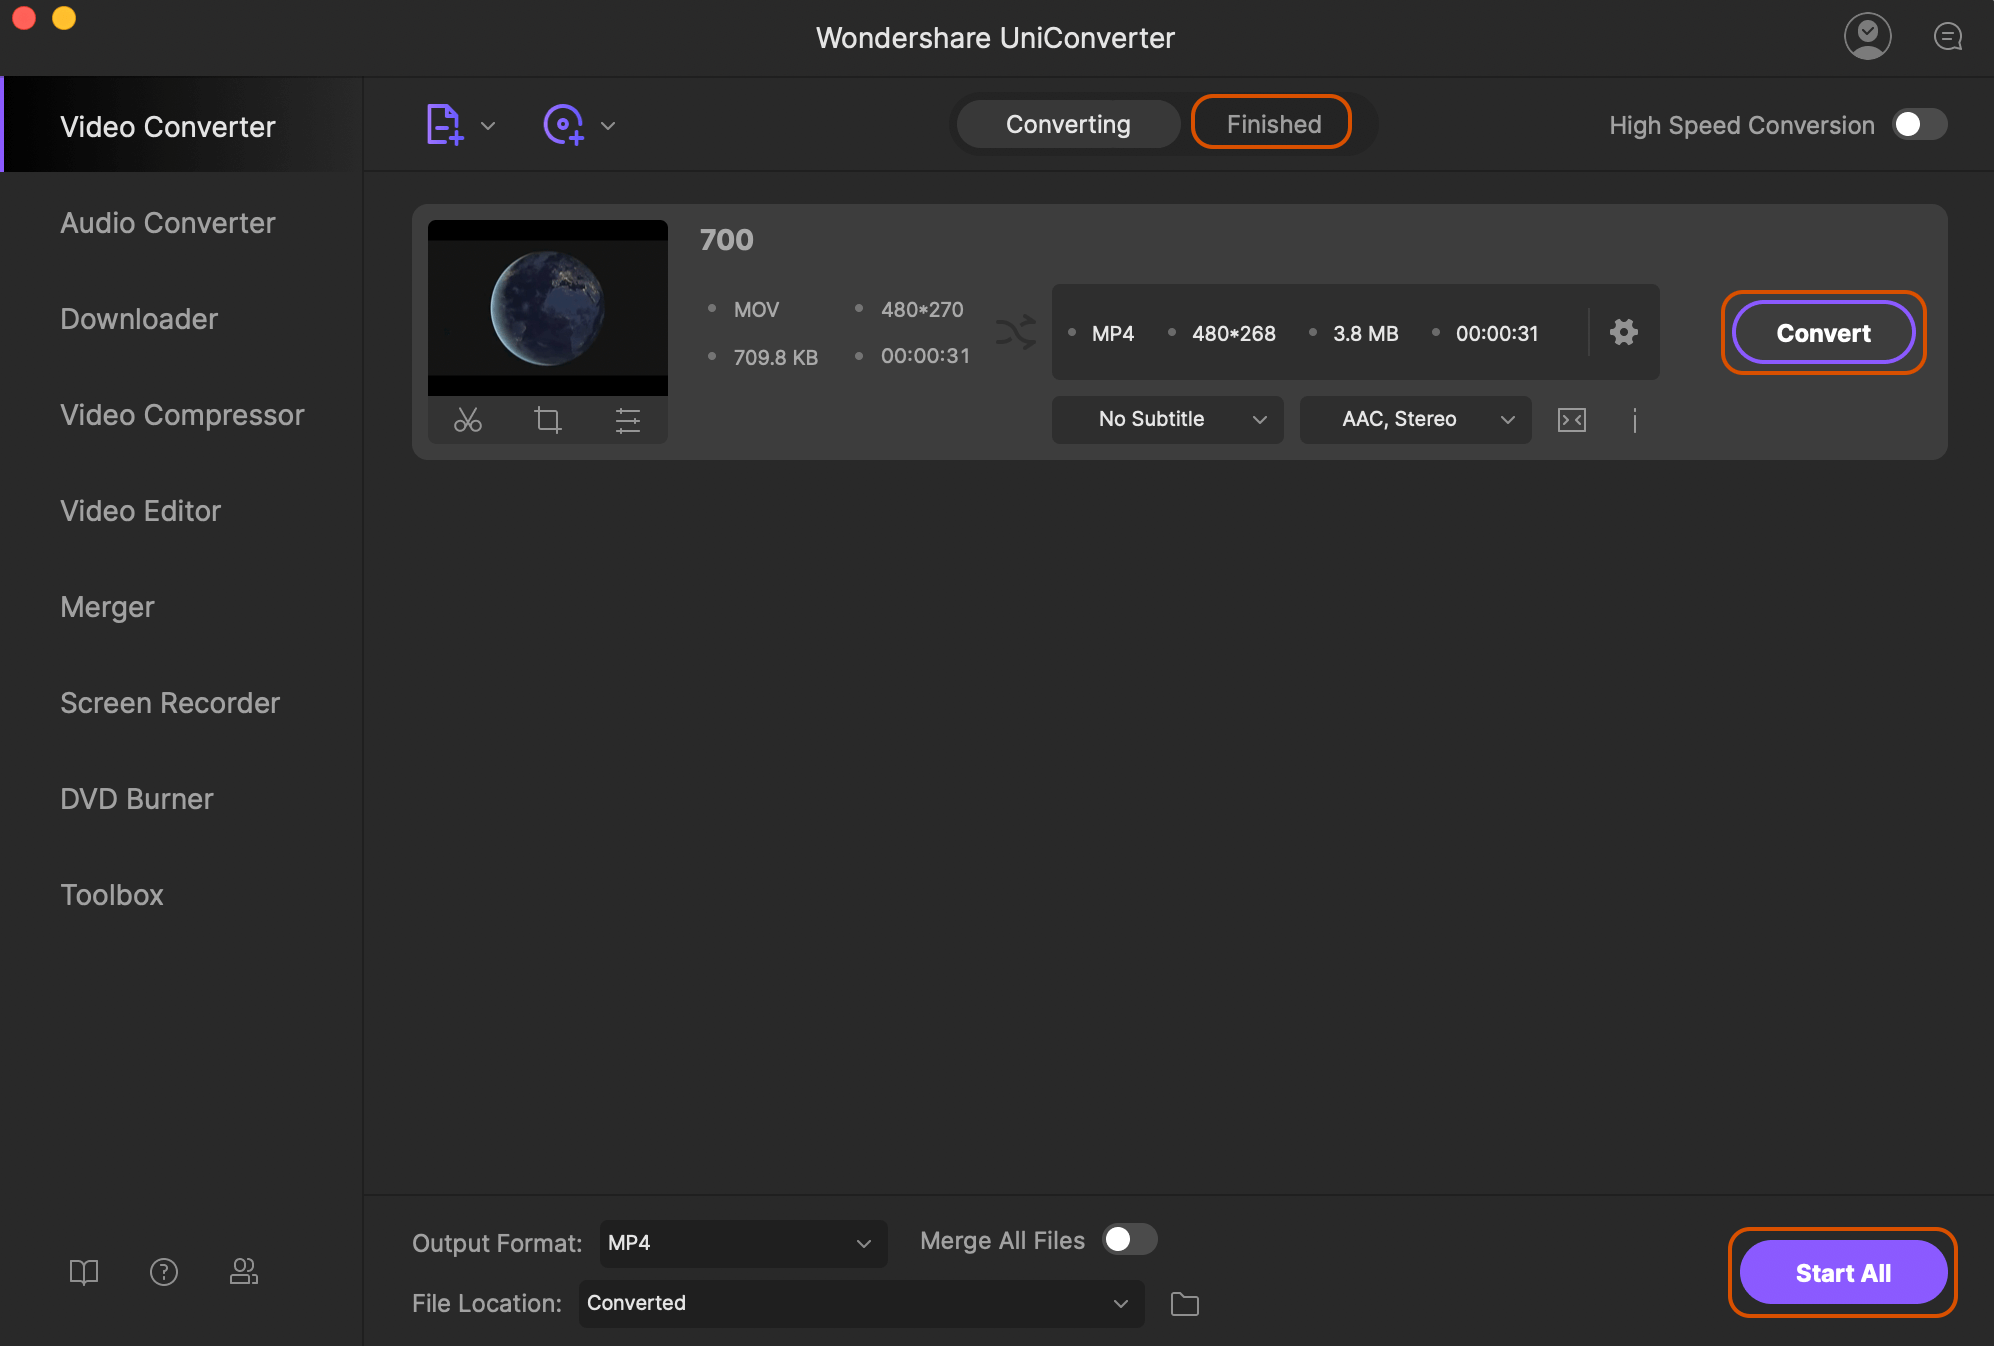
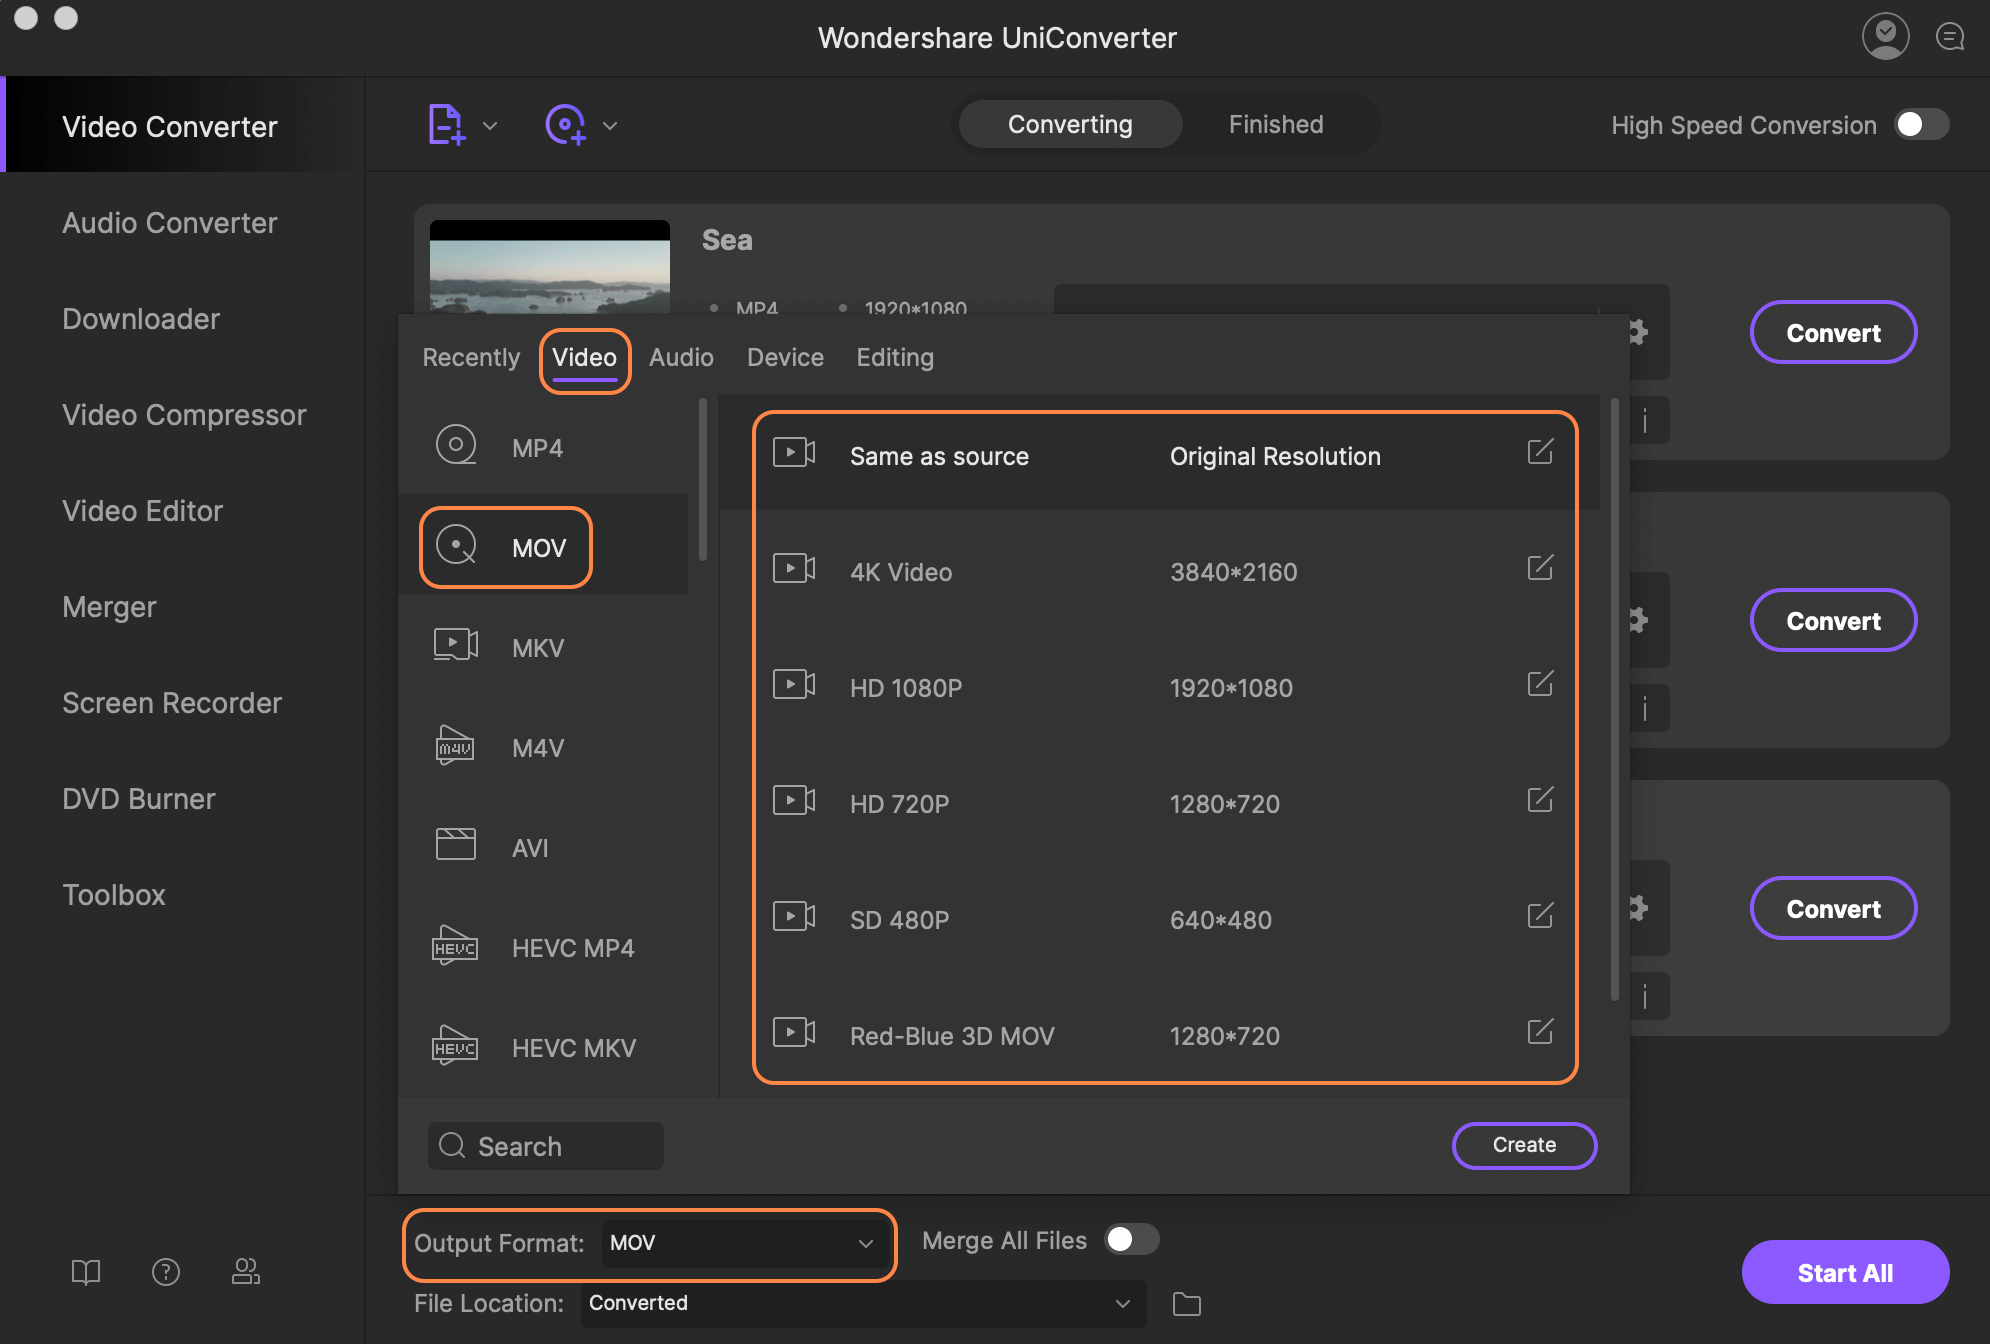
Methods to Convert MP4 for iMovie
There are several ways to convert MP4 files for iMovie, ranging from simple online converters to powerful desktop applications. Here’s a rundown of the most popular methods:
Using Online Converters
Online converters are great for quick and easy conversions. Simply upload your MP4 file, select the desired output format (like MOV or MP4 with H.264), and download the converted file. Some popular options include:
- CloudConvert
- Zamzar
- Online-Convert
However, keep in mind that online converters may have limitations, such as file size restrictions or reduced output quality. They’re perfect for small files, but for larger projects, you might want to consider other options.
Using Desktop Applications
If you’re working on bigger projects or need more control over the conversion process, desktop applications are the way to go. Programs like HandBrake, VLC Media Player, and Adobe Media Encoder offer advanced features and customization options. Plus, they don’t require an internet connection, which is always a plus.
For example, HandBrake is a free and open-source tool that’s incredibly easy to use. Just select your MP4 file, choose the preset for iMovie compatibility, and hit “Start.” Voilà! Your file is ready to go.
Best Tools for Conversion
Now that you know the methods, let’s talk about the best tools for converting MP4 files into iMovie-friendly formats. Here are our top picks:
HandBrake
HandBrake is a free and versatile tool that’s perfect for converting MP4 files. It offers a wide range of presets specifically designed for different devices and software, including iMovie. Plus, it’s super easy to use—just drag and drop your file, select the preset, and let HandBrake do its magic.
VLC Media Player
Did you know VLC can convert videos too? It’s not just a media player! VLC’s conversion feature allows you to change the format and settings of your MP4 file to ensure compatibility with iMovie. And since VLC is free and available on multiple platforms, it’s a great option for anyone looking to save money.
Adobe Media Encoder
If you’re already using Adobe Premiere Pro or other Creative Cloud apps, Adobe Media Encoder is a no-brainer. It integrates seamlessly with your workflow and offers professional-grade encoding options. While it’s not free, the quality and flexibility it provides are well worth the investment for serious editors.
Step-by-Step Guide to Conversion
Ready to convert your MP4 file? Follow these simple steps:
- Choose your conversion tool (e.g., HandBrake, VLC, or Adobe Media Encoder).
- Open the tool and load your MP4 file.
- Select the output format (e.g., MOV or MP4 with H.264 codec).
- Adjust any additional settings, such as resolution or frame rate, if needed.
- Start the conversion process and wait for it to finish.
- Import the converted file into iMovie and start editing!
It’s really that simple. With the right tool and a little patience, you’ll have your MP4 file ready for iMovie in no time.
Pro Tips for Seamless Editing
Here are a few tips to help you get the most out of your converted MP4 files in iMovie:
- Always back up your original files before converting.
- Use high-quality presets to preserve video and audio fidelity.
- Experiment with different resolutions and frame rates to find what works best for your project.
- Test your converted files in iMovie before starting your edit to ensure compatibility.
By following these tips, you’ll avoid common pitfalls and ensure a smoother editing experience.
Common Issues and Solutions
Even with the best tools and techniques, you might still run into issues. Here are some common problems and how to fix them:
Audio Sync Problems
Solution: Reconvert your file using a different codec or adjust the audio settings during conversion.
Lagging Playback
Solution: Lower the resolution or frame rate of your file to reduce processing demands on iMovie.
Quality Loss
Solution: Use a higher bitrate during conversion to maintain better video quality.
Remember, troubleshooting is all about trial and error. If one solution doesn’t work, try another until you find the right fix for your issue.
Alternative Formats for iMovie
If converting MP4 files feels like too much hassle, you might want to consider using alternative formats that are already compatible with iMovie. Here are a few options:
- MOV (QuickTime Movie)
- AVI (Audio Video Interleave)
- WMV (Windows Media Video)
While these formats may not be as widely used as MP4, they’re often easier to work with in iMovie. Just make sure to test them thoroughly before committing to a new format.
Optimizing Video Performance
Once your MP4 file is converted and imported into iMovie, there are still steps you can take to optimize its performance:
- Render your project frequently to reduce lag during editing.
- Use proxy files for smoother playback on slower machines.
- Organize your clips and assets to keep your project file tidy and efficient.
By following these best practices, you’ll ensure that your iMovie project runs smoothly from start to finish.
Wrapping It Up
And there you have it—a comprehensive guide to converting MP4 into iMovie. Whether you’re a seasoned editor or just starting out, understanding how to prepare your files for iMovie is a crucial skill that will save you time and frustration. By using the right tools, following best practices, and troubleshooting common issues, you’ll be able to create stunning projects with ease.
So, what are you waiting for? Grab your MP4 files, fire up your favorite conversion tool, and get ready to edit like a pro. And don’t forget to share your thoughts and experiences in the comments below. We’d love to hear how this guide helped you, and maybe even pick up a tip or two from fellow editors!
Happy editing, and see you on the next project!
- Zoey Chip The Ultimate Guide To Understanding And Maximizing Its Potential
- Diana Mattingly The Inspiring Journey Of A True Trailblazer In The Entertainment World

Twitter convert to mp4 kdausa
How to Convert iMovie to MP4 on Mac iMovie to MP4 Converter
Easy Steps to Convert and Import MP4 to iMovie on Mac
