How To Export IMovie As MP4: The Ultimate Guide For Video Enthusiasts
Editing videos on iMovie is a breeze, but exporting them in the right format can sometimes feel like a puzzle. If you're wondering how to export iMovie as MP4, you're not alone! Many users find themselves stuck at this final step, especially when trying to share their creations across platforms. Whether you're a beginner or a seasoned content creator, mastering the export process is crucial for ensuring your videos look great wherever they're viewed. Let's dive into this step-by-step guide to help you crack the code and export your iMovie projects seamlessly.
Before we jump into the nitty-gritty, let's address the elephant in the room: why MP4? Well, it's simple. MP4 has become the industry standard for video sharing because of its compatibility with almost every platform out there. From YouTube to social media, this format ensures your videos maintain high quality without eating up too much storage space. Plus, it's super easy to share and upload, making it a no-brainer for anyone looking to showcase their work.
Now, whether you're creating a short clip for Instagram or a full-length documentary, the process remains the same. By the end of this guide, you'll be exporting your iMovie projects like a pro. So, grab your favorite drink, sit back, and let's get started on this video-exporting adventure!
- Debby Clarke And Bill Belichick A Story Thats Got Everyone Talking
- Emily Compagno Current Husband The Inside Story Yoursquove Been Waiting For
Table of Contents:
- Biography of iMovie
- Why Choose MP4?
- Step-by-Step Guide to Export iMovie as MP4
- Common Issues and Troubleshooting
- MP4 vs Other Formats
- Pro Tips for Better Exports
- Conclusion
A Quick Biography of iMovie
iMovie is no stranger to the world of video editing. Introduced by Apple way back in 1999, it quickly became a favorite among users who wanted to dabble in filmmaking without breaking the bank. Over the years, it has evolved into a powerful yet user-friendly tool, perfect for both amateurs and professionals.
iMovie's Evolution
From its humble beginnings as a simple drag-and-drop editor to the feature-packed powerhouse it is today, iMovie has come a long way. With updates that focus on enhancing user experience and adding professional-grade features, it continues to be a top choice for Mac users.
- Morris Chestnut Net Worth A Deep Dive Into The Life Career And Wealth Of The Hollywood Star
- Is Harold Ford Jr Unveiling The Political Trailblazer
Here’s a quick look at some key milestones:
- 1999: iMovie launched as part of the iLife suite.
- 2008: Introduction of the timeline-based interface.
- 2019: Major update with enhanced tools and better performance.
Why Choose MP4?
Now that we've covered the history of iMovie, let's talk about why MP4 is the go-to format for exporting your projects. Here's the deal: MP4 isn't just another file type; it's a format designed for versatility and efficiency. Whether you're sharing your videos online or storing them locally, MP4 delivers high-quality playback without compromising on file size.
Advantages of MP4
Let’s break it down:
- Compatibility: Works on almost every device and platform.
- Compression: Keeps file sizes manageable without losing quality.
- Wide Support: Supported by all major video players and editing software.
Plus, it’s future-proof. As technology advances, MP4 continues to be the preferred format for video sharing, making it a safe bet for your projects.
Step-by-Step Guide to Export iMovie as MP4
Alright, here’s the moment you've been waiting for. Let’s walk through the process of exporting your iMovie project as an MP4 file. Follow these steps carefully, and you’ll have your video ready in no time.
Step 1: Finalize Your Project
Before exporting, make sure your project is complete. Check the timeline for any missing clips, adjust transitions, and fine-tune the audio. You don’t want to export only to realize you missed something important!
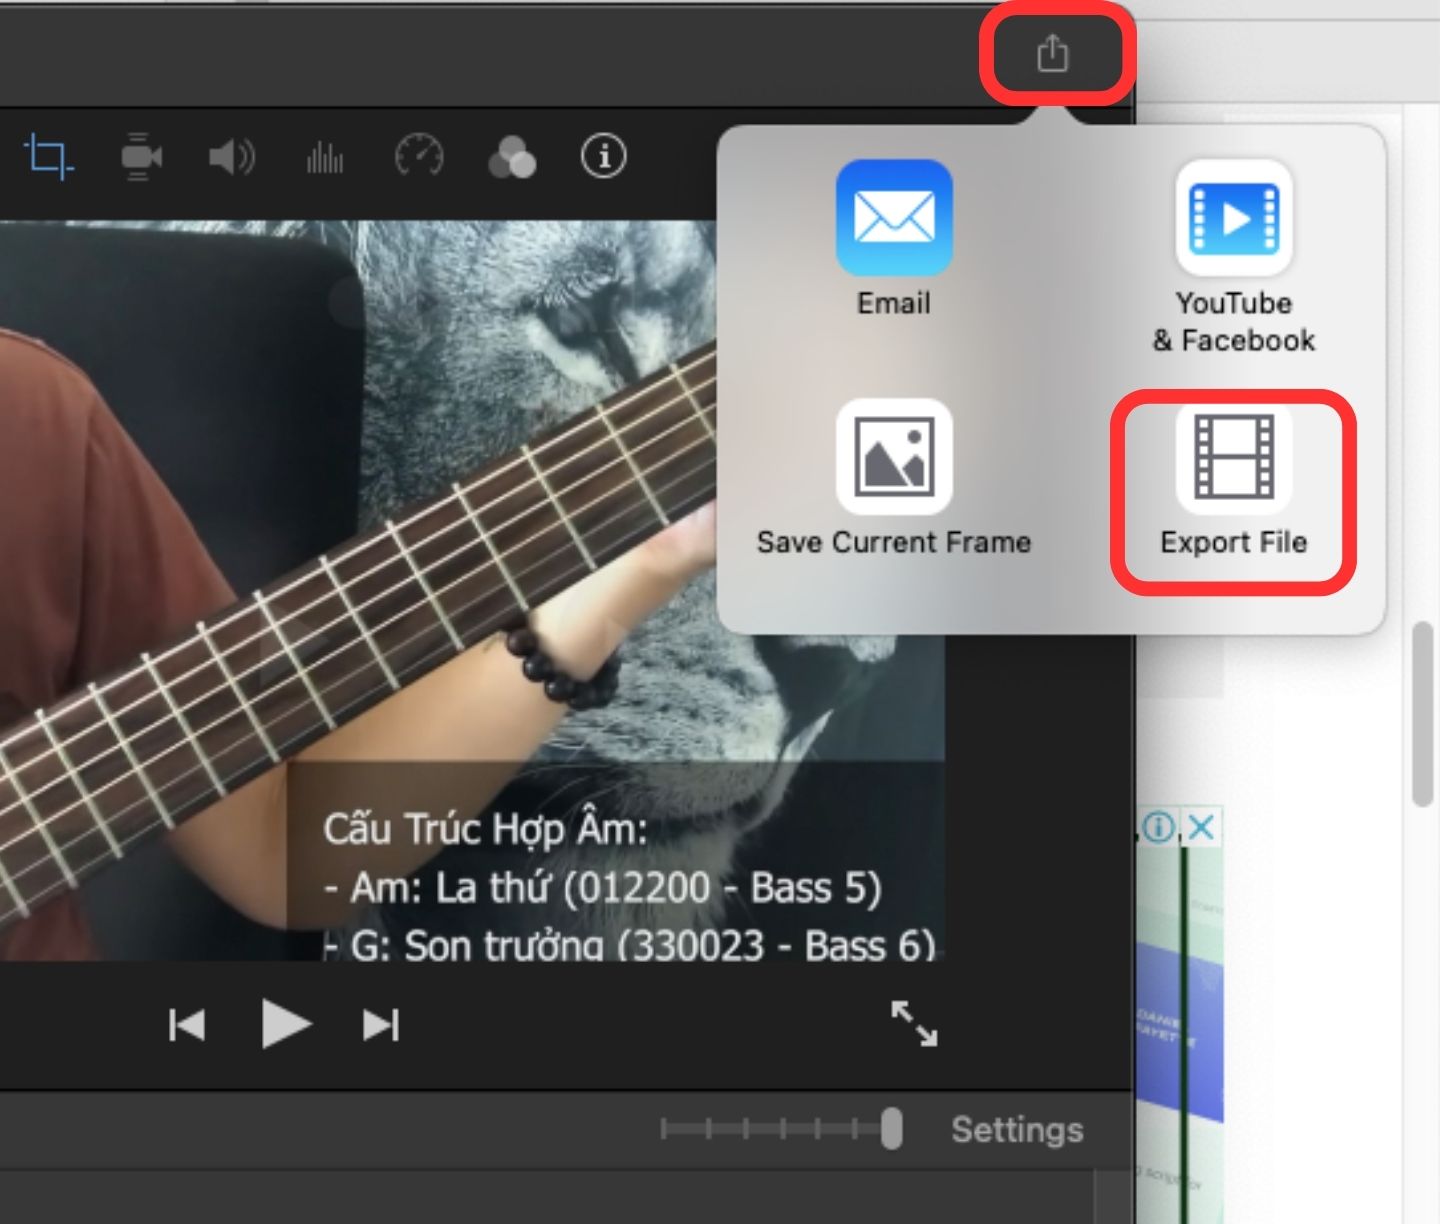
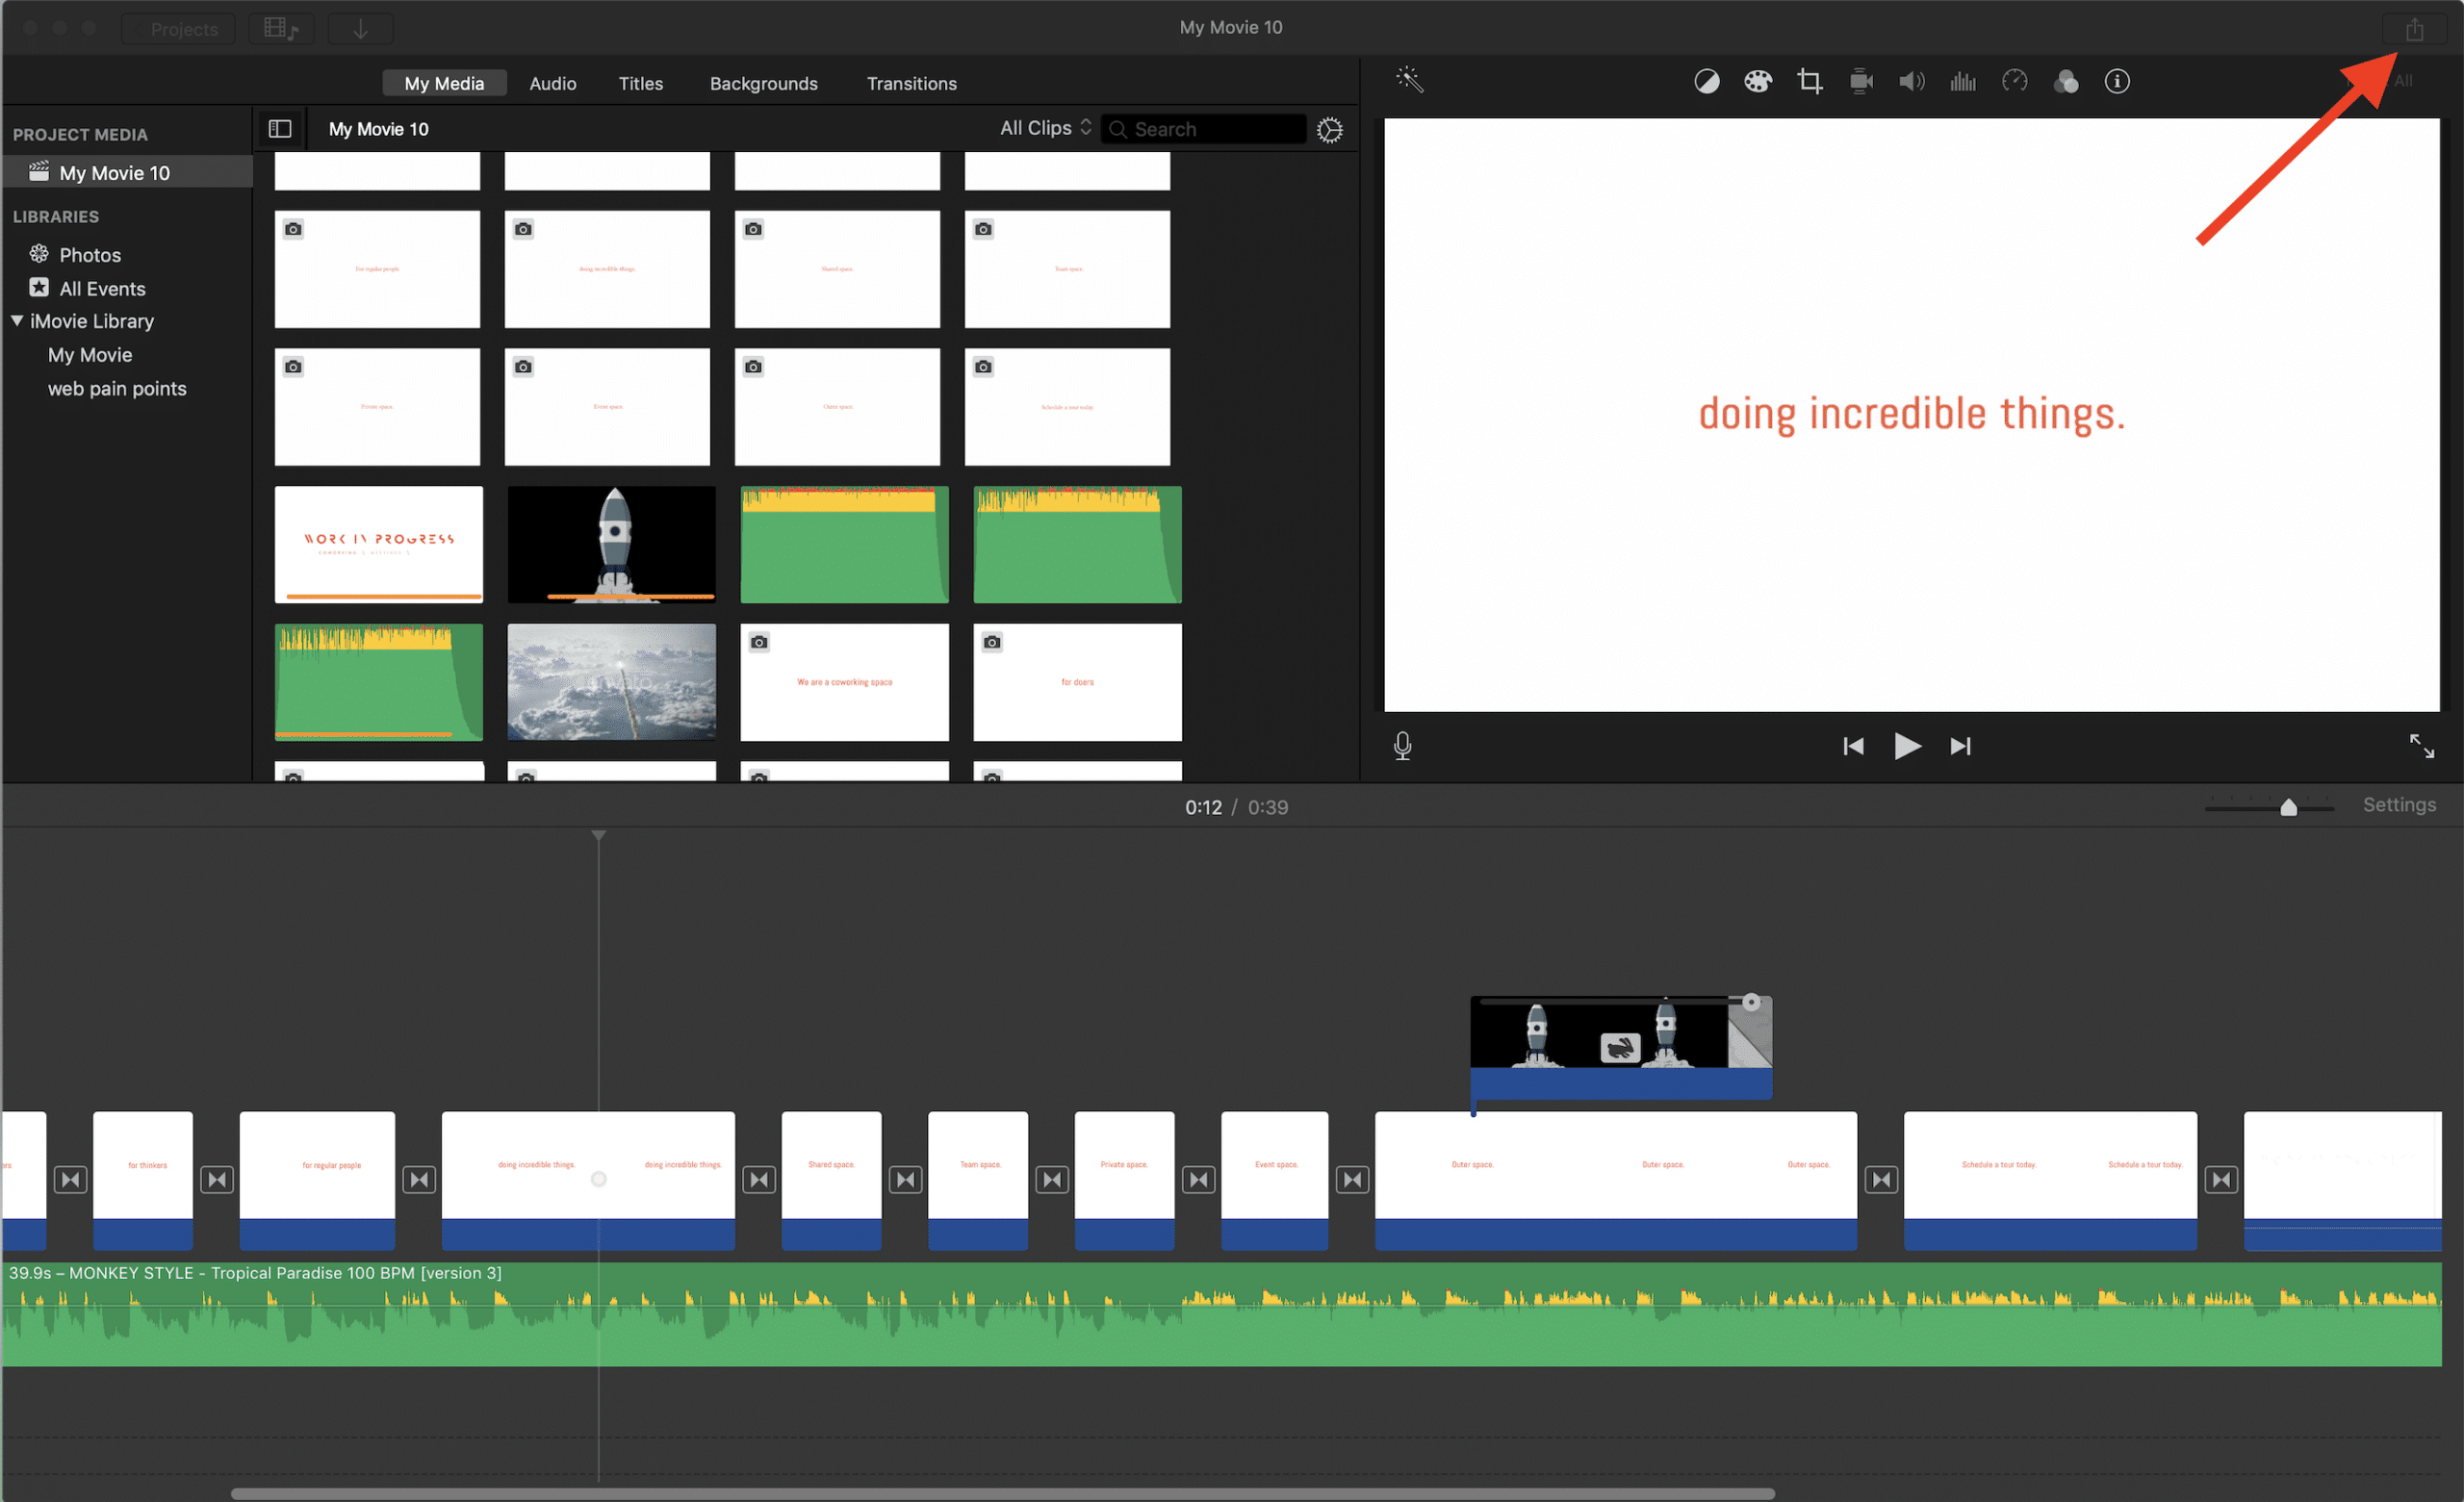
Step 2: Choose the Export Option
Once your project is ready, go to the top menu and click on File. From there, select Share and choose File.... This will open a new window where you can customize your export settings.
Step 3: Select MP4 as Your Format
In the export window, you’ll see an option to choose the file format. Scroll down and select MP4 from the dropdown menu. Trust me, this is the most reliable choice for sharing your videos.
Step 4: Adjust Quality Settings
Quality matters! Depending on your needs, you can choose between Best, Medium, and Smallest. For most purposes, Best is the way to go, but if storage space is an issue, Medium offers a good balance between quality and size.
Step 5: Save Your File
Finally, choose a location to save your file and give it a name. Click Next, and iMovie will start exporting your project. Depending on the length of your video, this might take a few minutes, so grab a snack while you wait!
Common Issues and Troubleshooting
Even the best plans can hit a snag. Here are some common issues users face when exporting iMovie projects and how to fix them:
Problem 1: Export Takes Too Long
Solution: If your export process is taking forever, try reducing the video quality or splitting your project into smaller clips. This can significantly speed things up.
Problem 2: File Won't Play
Solution: Make sure you’ve selected the correct format and quality settings. Sometimes, incompatible settings can cause playback issues. Double-check your export options and try again.
Problem 3: Audio Out of Sync
Solution: This can happen if your project contains multiple audio tracks. Try re-syncing the audio in the timeline before exporting. If the issue persists, export the video and audio separately and merge them using another tool.
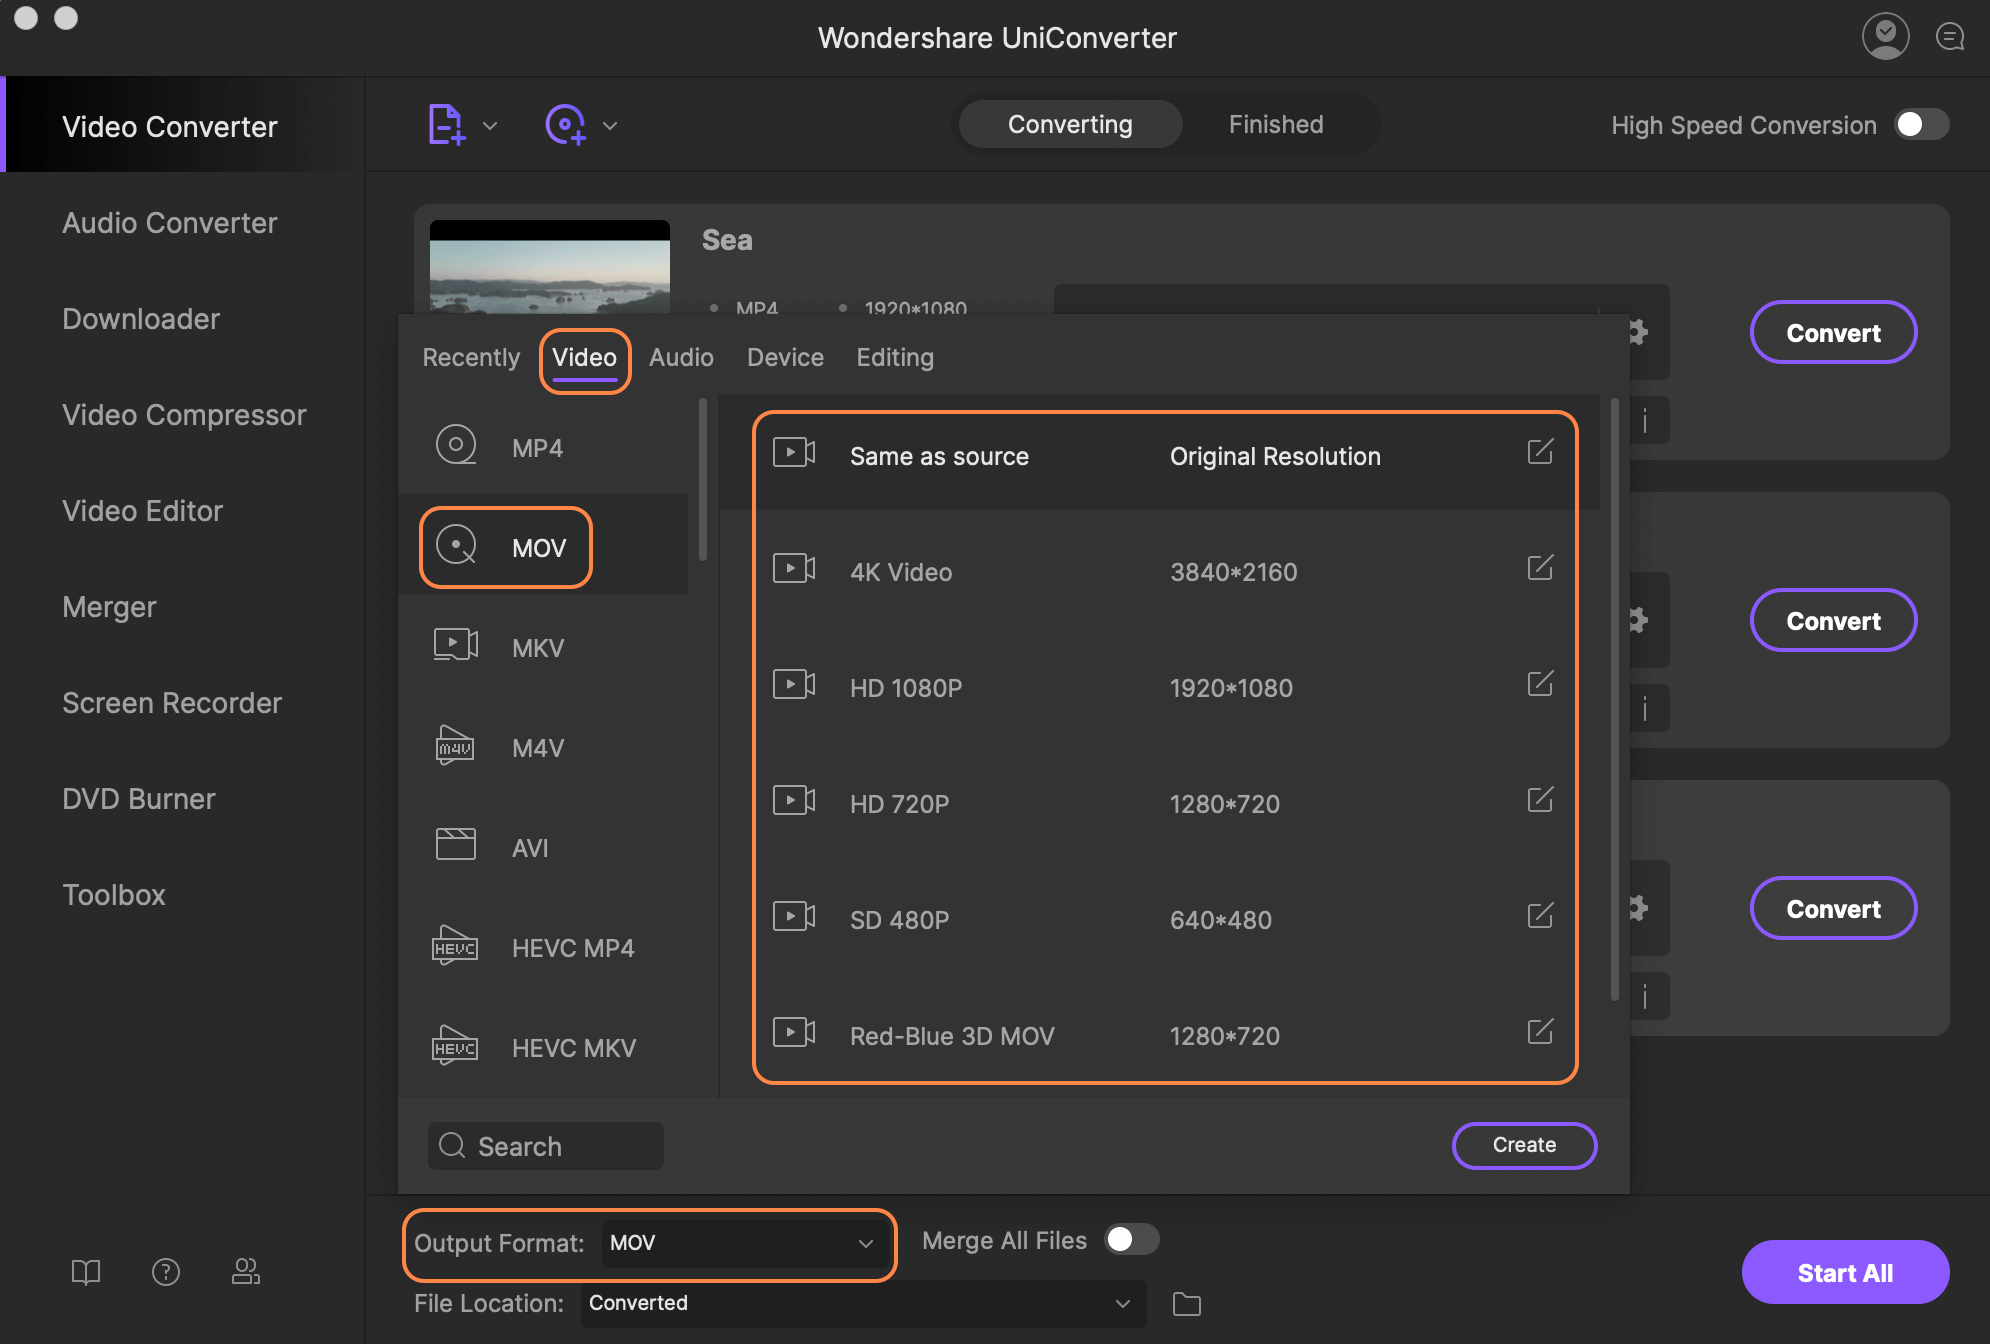
MP4 vs Other Formats
While MP4 is the king of video formats, it’s worth exploring other options to see if they might suit your needs better. Here’s a quick comparison:
MP4 vs MOV
Both MP4 and MOV are excellent choices, but MOV is more commonly used for professional editing due to its higher quality. However, it’s less compatible with non-Apple devices, making MP4 the safer option for most users.
MP4 vs AVI
AVI is an older format that offers high quality but comes with larger file sizes. If storage isn’t an issue and you’re working with older systems, AVI might be worth considering. Otherwise, stick with MP4 for its balance of quality and efficiency.
Pro Tips for Better Exports
Ready to take your exports to the next level? Here are a few pro tips to ensure your videos look their best:
Tips 1: Optimize Your Settings
Experiment with different quality settings to find the perfect balance for your project. Remember, higher quality means larger files, so plan accordingly.
Tips 2: Use External Storage
If you’re working with large projects, consider using an external hard drive to store your files. This will free up space on your Mac and make exporting faster.
Tips 3: Backup Your Projects
Always keep a backup of your original project files. This way, if something goes wrong during export, you can easily start over without losing your hard work.
Conclusion
Exporting iMovie projects as MP4 doesn’t have to be a headache. By following the steps outlined in this guide, you’ll be able to share your videos confidently across any platform. Remember, practice makes perfect, so don’t be afraid to experiment with different settings and techniques.
Now it’s your turn! Share your thoughts in the comments below. Did you find this guide helpful? What challenges did you face while exporting your videos? And don’t forget to check out our other articles for more tips and tricks on video editing. Happy creating!
- Taylor Fritz And Raquel Pedraza The Ultimate Tennis Power Couple
- Meet The Worlds Blackest Man A Fascinating Journey Through Melanin And Identity
How to export a video on iMovie on Mac and iOS Android Authority
How to export an imovie as mp4 kseski
How to Export iMovie File to iPhone · Kenny Eliason
