How To Export IMovie To MP4: The Ultimate Guide For Content Creators
So, you’ve been working hard on your latest masterpiece in iMovie, and now you’re ready to share it with the world—but wait! How do you export iMovie to MP4? Don’t worry, my friend, you’re in the right place. In this guide, we’ll break down everything you need to know about exporting your iMovie projects in the MP4 format so you can upload them to YouTube, Instagram, or anywhere else without losing quality. Let’s dive in!
Whether you’re a beginner or an experienced editor, iMovie is one of the most user-friendly video editing tools out there. It’s free, it’s powerful, and it’s perfect for creating stunning videos on your Mac or iOS device. But when it comes to exporting your projects, things can get a little tricky. That’s why we’ve put together this step-by-step guide to help you master the art of exporting iMovie to MP4.
By the end of this article, you’ll not only know how to export iMovie to MP4 but also understand why this format is so important for sharing your videos online. So grab your favorite drink, sit back, and let’s get started. Your audience is waiting!
- How To Create A Youtube Short Your Ultimate Guide To Shortform Viral Success
- Mygreenbucksnet Jones A Revolutionary Way To Build Wealth Through Green Investments
Table of Contents
- Why MP4 Is the Go-To Format for Video Sharing
- How to Export iMovie to MP4 on Mac
- Key Features of iMovie That Make Exporting a Breeze
- Understanding Quality Settings for MP4 Export
- Exporting iMovie to MP4 on iOS Devices
- Common Issues When Exporting iMovie to MP4
- Pro Tips for Smoother MP4 Exports
- Alternatives to iMovie for MP4 Export
- Frequently Asked Questions About Exporting iMovie to MP4
- Conclusion: Ready to Share Your Masterpiece?
Why MP4 Is the Go-To Format for Video Sharing
Alright, let’s talk about why MP4 is such a big deal in the world of video sharing. First off, MP4 is a universally accepted format that works seamlessly across most platforms, devices, and browsers. Whether you’re uploading your video to social media, embedding it on a website, or sending it to a friend via email, MP4 will get the job done without any hassle.
But here’s the kicker: MP4 offers excellent compression while maintaining high-quality video and audio. This means your files won’t be too large to upload or share, but they’ll still look sharp and sound great. Plus, most video hosting platforms, like YouTube and Vimeo, prefer MP4 because it’s easy to stream and plays smoothly on almost any device.
Why MP4 Rules the Video World
- Compatible with almost all devices and platforms
- High-quality video and audio with efficient compression
- Perfect for streaming and sharing online
- Easy to edit and reformat if needed
Now that you know why MP4 is the way to go, let’s dive into the nitty-gritty of exporting your iMovie projects in this versatile format.
- Sp5der Hoodie The Untold Story Of Its Origins And Creator
- 2006 Sports Illustrated Swimsuit Issue A Dive Into Iconic Moments And Stunning Models
How to Export iMovie to MP4 on Mac
Exporting iMovie to MP4 on a Mac is surprisingly simple, even for beginners. Follow these steps, and you’ll have your video ready to share in no time:
Step 1: Finish Your Project
Before you start exporting, make sure your iMovie project is complete. Double-check your clips, transitions, effects, and audio to ensure everything looks and sounds perfect. Once you’re happy with your masterpiece, it’s time to move on to the export process.
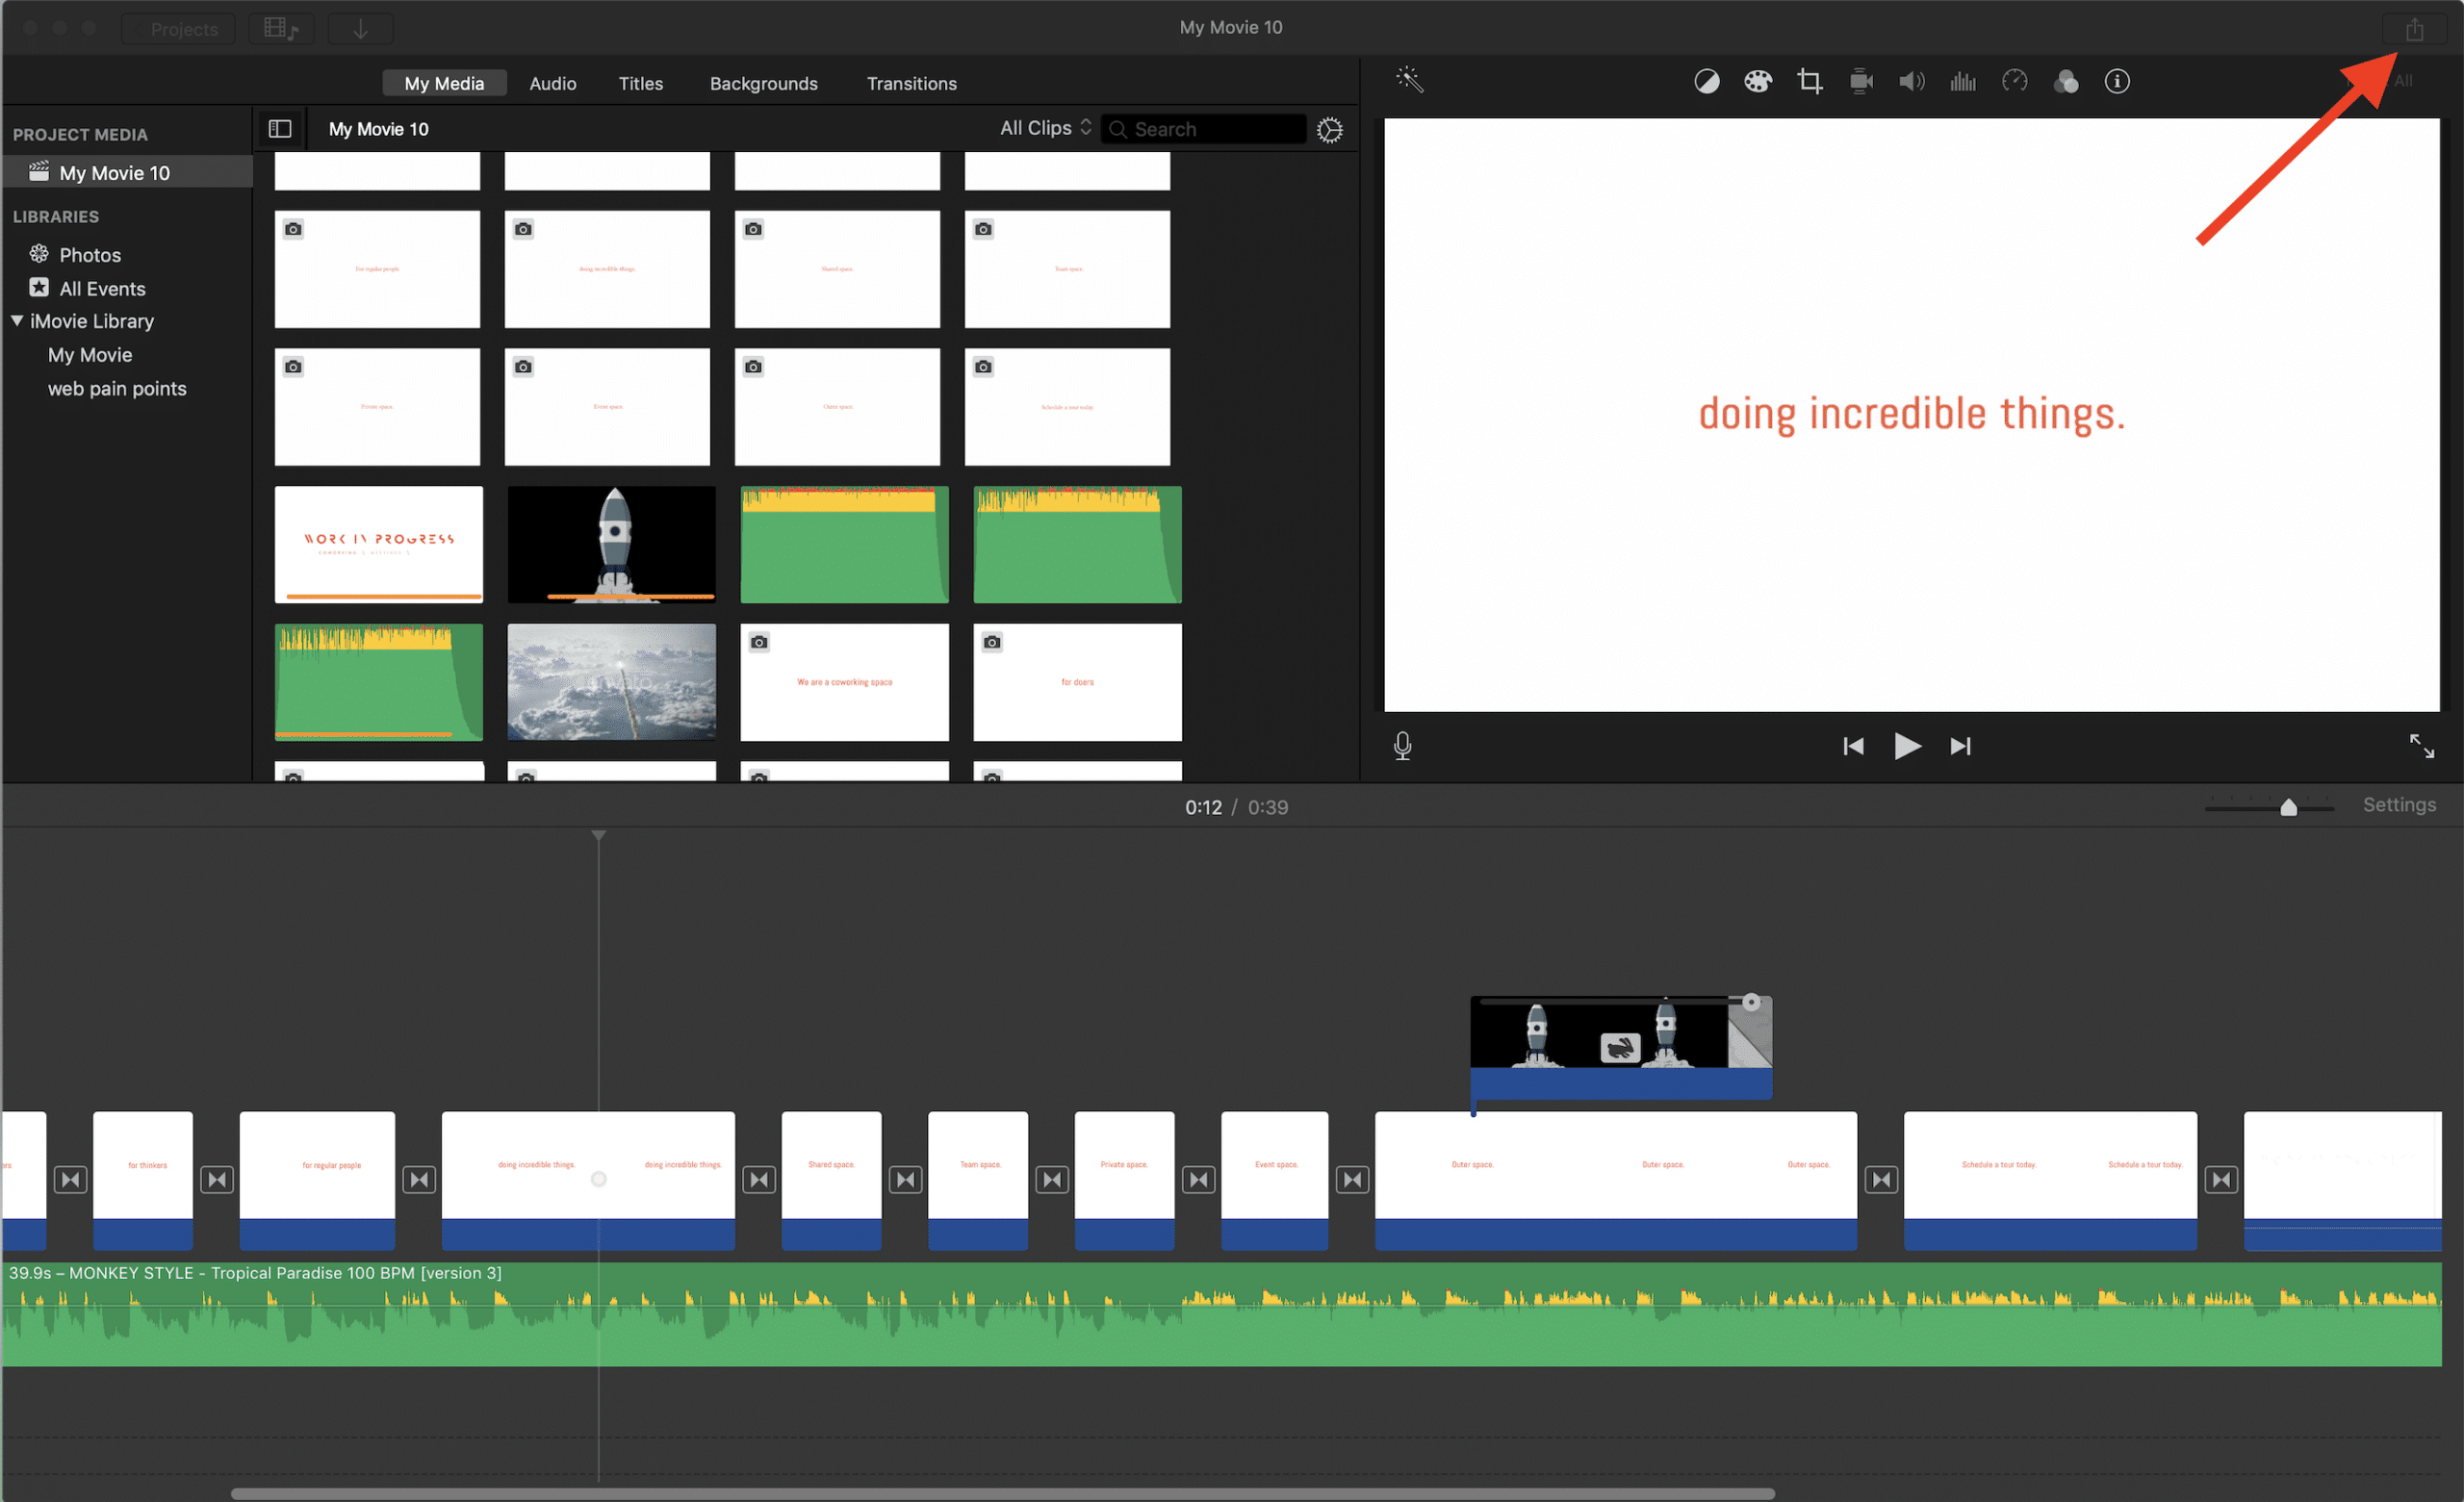
Step 2: Choose Your Export Options
Go to the top menu bar and click on File, then select Share. From there, you’ll see several options, but the one you want is File. This will allow you to export your video in a format of your choice.
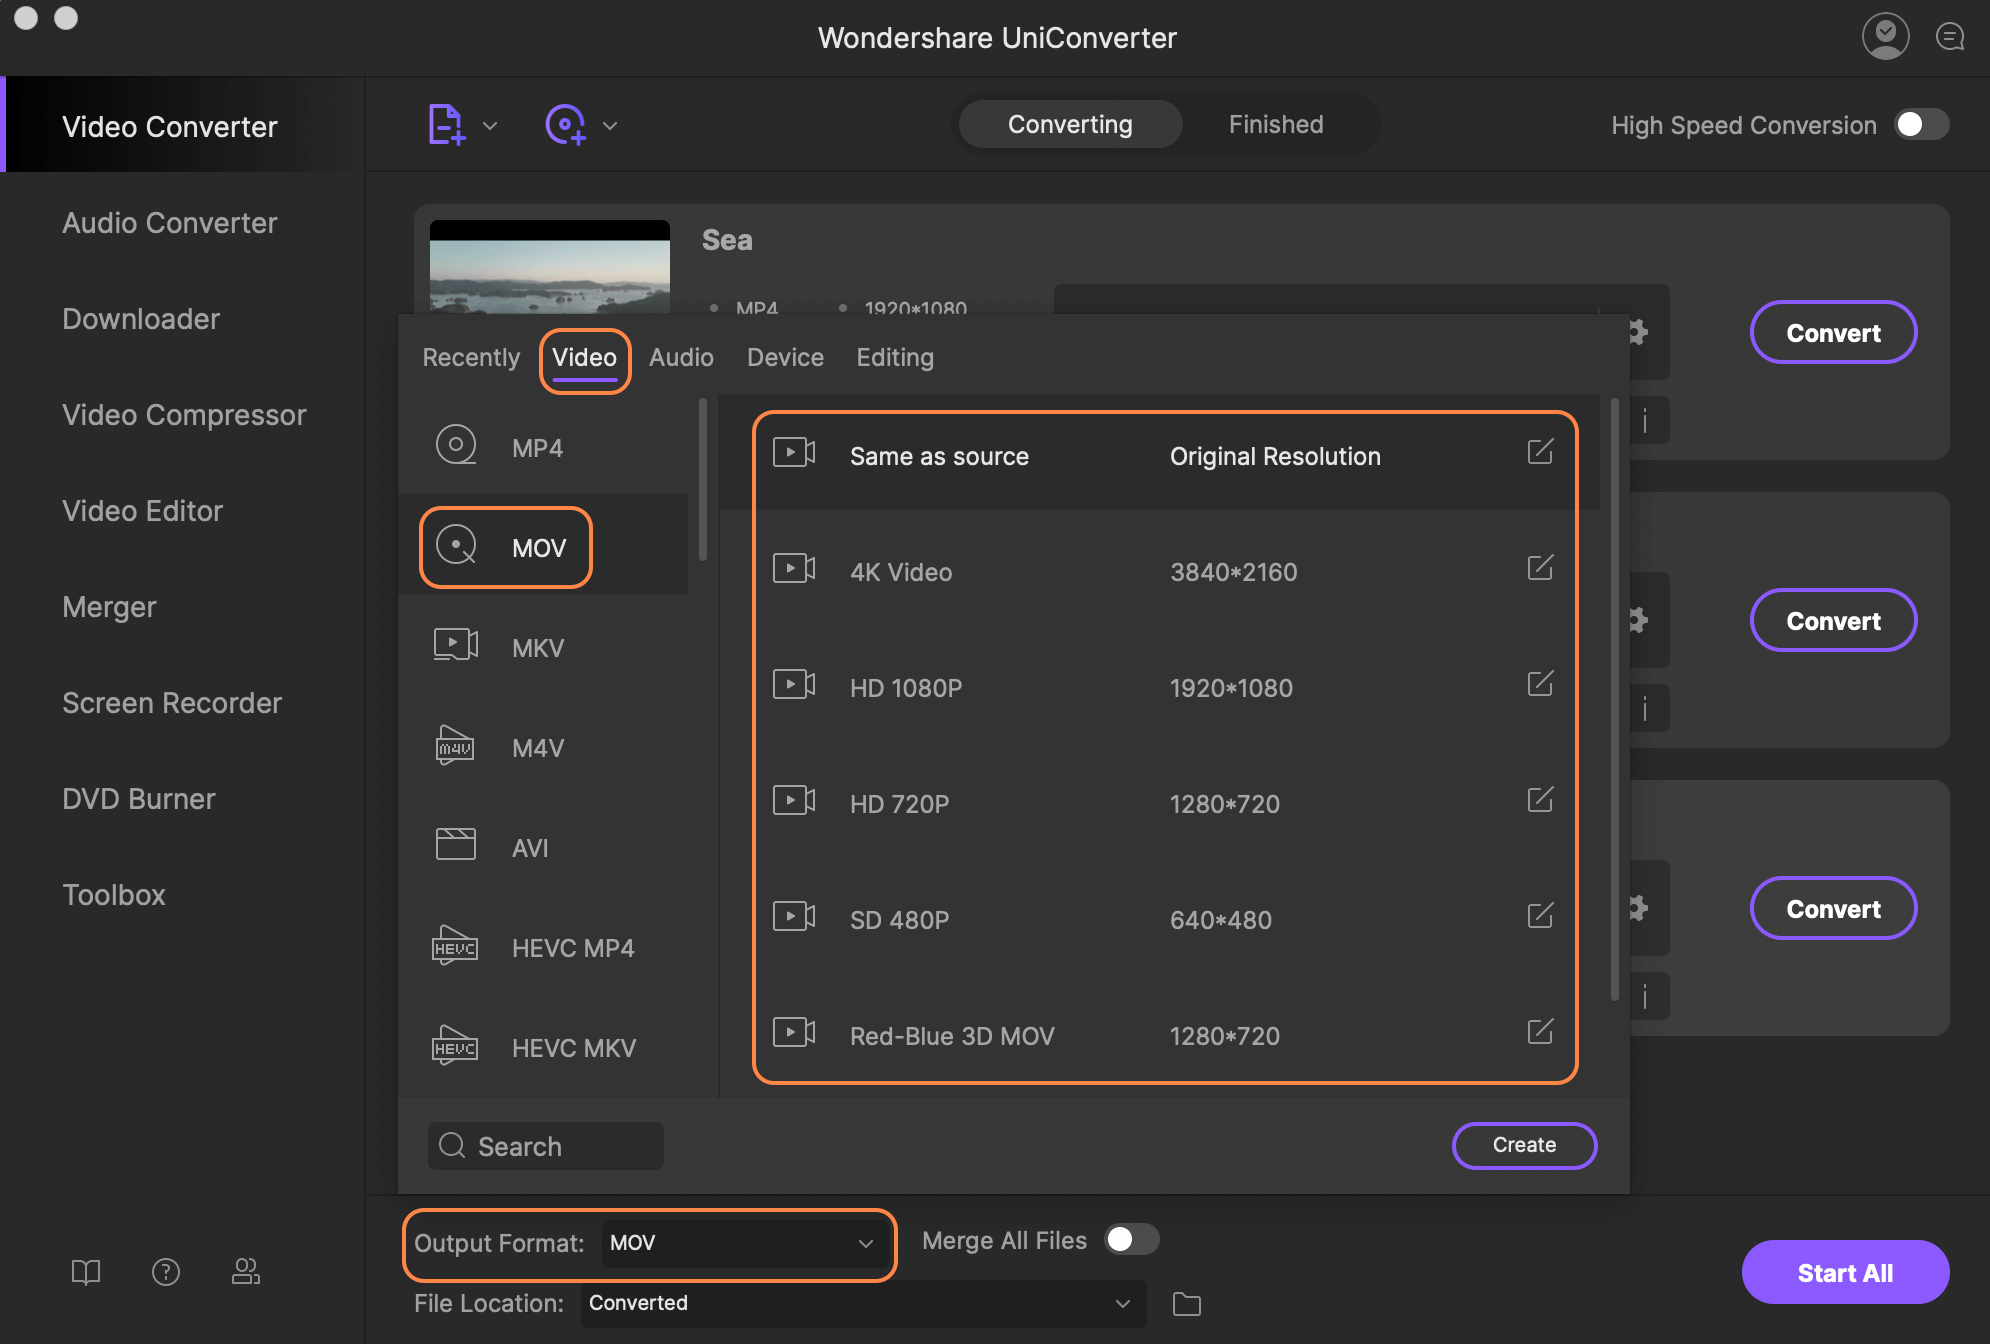
Step 3: Select MP4 as Your Format
In the sharing window, you’ll see options for different formats. Choose MP4 from the dropdown menu. Trust me, this is the best choice for most situations, especially if you’re planning to upload your video online.
Step 4: Adjust Quality Settings
Now it’s time to tweak the quality settings. iMovie offers several presets, such as HD 1080p, HD 720p, and SD. For most purposes, HD 1080p is the way to go, as it provides excellent quality without making your file size too large. If you’re sharing on platforms like Instagram or TikTok, you might want to go with HD 720p to keep the file size smaller.
Step 5: Save Your File
Once you’ve selected your format and quality settings, click Next and choose a location to save your file. Give it a name that’s easy to recognize, and hit Export. Sit back and relax while iMovie does its magic. Depending on the length and complexity of your video, this might take a few minutes.
And that’s it! Your video is now exported in MP4 format and ready to be shared with the world.
Key Features of iMovie That Make Exporting a Breeze
iMovie isn’t just a great tool for editing videos; it also has some awesome features that make exporting a smooth and hassle-free experience. Here are a few highlights:
- Intuitive Interface: iMovie’s user-friendly design makes it easy for anyone to navigate, even if you’re new to video editing.
- Advanced Export Options: With iMovie, you can choose from a variety of export formats and quality settings to suit your needs.
- Preview Before Export: Before you export, you can preview your video to make sure everything looks good. This helps you catch any mistakes before it’s too late.
- Cloud Integration: If you’re using iCloud, you can easily save your exported video to the cloud for quick access from any device.
These features, combined with iMovie’s powerful editing tools, make it an excellent choice for both amateur and professional video creators.
Understanding Quality Settings for MP4 Export
When exporting iMovie to MP4, one of the most important things to consider is the quality setting. The quality you choose will affect both the visual and audio quality of your video, as well as the file size. Here’s a quick breakdown of the most common quality settings:
HD 1080p
This is the highest quality setting available in iMovie. It provides stunning visuals and crisp audio, making it ideal for platforms like YouTube and Vimeo. However, it also results in larger file sizes, so keep that in mind if storage space is a concern.
HD 720p
This setting offers a good balance between quality and file size. It’s perfect for social media platforms like Instagram, TikTok, and Facebook, where smaller file sizes are often preferred.
SD
If you’re sharing your video on a platform that doesn’t require high resolution, or if you need to keep the file size as small as possible, SD is the way to go. Keep in mind, though, that the quality won’t be as sharp as HD.
Remember, the quality you choose should depend on where you plan to share your video and the needs of your audience. Don’t be afraid to experiment with different settings to find what works best for you.
Exporting iMovie to MP4 on iOS Devices
If you’re using iMovie on your iPhone or iPad, don’t worry—exporting to MP4 is just as easy as on a Mac. Here’s how you do it:
Step 1: Open Your Project
Launch iMovie on your iOS device and open the project you want to export. Make sure everything is finalized before moving on to the next step.
Step 2: Tap the Share Button
In the top-right corner of the screen, tap the Share button. From there, select File to export your video in a file format.
Step 3: Choose MP4
In the sharing options, select MP4 as your format. Again, this is the best choice for most situations, especially if you’re planning to upload your video online.
Step 4: Adjust Quality Settings
Just like on a Mac, you can choose between different quality settings, such as HD 1080p, HD 720p, and SD. Pick the one that suits your needs, and keep in mind the trade-off between quality and file size.
Step 5: Save or Share Your Video
Once you’ve set everything up, tap Export and choose where you want to save or share your video. You can save it to your camera roll, upload it directly to a platform like YouTube, or send it via email or messaging apps.
And there you have it! Your iMovie project is now exported in MP4 format and ready to go.
Common Issues When Exporting iMovie to MP4
Even with a tool as user-friendly as iMovie, things can sometimes go wrong. Here are a few common issues you might encounter when exporting to MP4 and how to fix them:
Issue 1: Export Takes Too Long
If your export process is taking forever, it might be due to a large file size or complex effects in your video. Try simplifying your project or reducing the quality setting to speed things up.
Issue 2: Video Quality Looks Bad
If your exported video looks blurry or pixelated, you might need to adjust the quality settings. Try exporting in HD 1080p instead of HD 720p or SD to improve the visual quality.
Issue 3: Audio Is Out of Sync
Audio sync issues can happen if your video contains a lot of clips or effects. To fix this, try rendering your project before exporting. You can do this by clicking Render in the top menu bar on a Mac or by simplifying your project on iOS.
By addressing these issues early on, you can ensure a smoother export process and a higher-quality final product.
Pro Tips for Smoother MP4 Exports
Want to take your iMovie exports to the next level? Here are a few pro tips to help you get the best results:
- Render Your Project: Rendering your video before exporting can help reduce processing time and improve quality.
- Use Cloud Storage: If you’re working on a large project, consider saving your exported video to iCloud or another cloud service for easy access.
- Test Different Quality Settings: Experiment with different quality settings to find the perfect balance between file size and visual/audio quality.
- Preview Before Sharing: Always preview your exported video before sharing it online to make sure everything looks and sounds great.
These tips will help you streamline your export process and ensure your videos look their best.
Alternatives to iMovie for MP4 Export
While iMovie is an excellent tool for exporting videos to MP4, it’s not the only option out there. If you’re looking for alternatives, here are a few other video editing tools you might want to consider:
- Final Cut Pro: A more advanced editing tool for Mac users that offers even more features and export options.
- Adobe Premiere Pro: A professional-grade editing software that’s widely used
- Jasper Breckinridge Johnson The Rising Star Whos Making Waves In The Industry
- Unveiling Ankh Marvel Rivals Your Ultimate Guide To The Hidden Gem Of The Marvel Universe

How to Burn iMovie Projects to DVD Complete Guide
How to export an imovie as mp4 kseski
How to Export iMovie File to iPhone · Kenny Eliason
