How To Turn IMovie Into MP4: A Step-by-Step Guide For Everyday Creators
Ever wondered how to turn iMovie into MP4 without losing your mind or messing up your video? Well, you’re not alone! Millions of creators worldwide use iMovie as their go-to editing tool, but exporting in the right format can feel like solving a riddle. Don’t worry, we’ve got you covered. In this guide, we’ll break down everything you need to know about converting iMovie projects into MP4, making sure your videos look as smooth and professional as possible.
Let’s face it, iMovie is a game-changer for amateur filmmakers and content creators alike. It’s free, easy to use, and packed with features that make editing a breeze. But when it comes to exporting, things can get a little tricky. That’s why understanding how to turn iMovie into MP4 is essential if you want your videos to be compatible with platforms like YouTube, Vimeo, or even social media.
This article isn’t just about giving you the steps; it’s about equipping you with the knowledge to make informed decisions. Whether you’re a beginner or someone who’s been tinkering with iMovie for a while, by the end of this guide, you’ll feel confident enough to export your videos like a pro. So, let’s dive right in!
- Popcornflix Movies Free Your Ultimate Guide To Streaming Entertainment
- Discovering The Legacy Of Pearl Minnie Andersons Grandparents
Why Converting iMovie to MP4 Matters
Here’s the deal: iMovie exports videos in its native format, which isn’t always compatible with every platform out there. While MOV is great for macOS and some professional editing software, MP4 is the universal format that works across devices and platforms. This makes it the perfect choice for sharing your videos online or transferring them to different devices.
Imagine spending hours perfecting your masterpiece, only to find out that the file won’t play on your friend’s Android phone or won’t upload to Instagram. Frustrating, right? By converting your iMovie project to MP4, you eliminate these compatibility issues and ensure your videos are ready for the world to see.
Key Benefits of Using MP4
- Highly compatible with most devices and platforms
- Smaller file size compared to other formats, making it easier to share and upload
- Retains excellent video and audio quality
- Supported by almost all video players
So, whether you’re planning to upload your video to YouTube, send it to a client, or simply share it with friends and family, converting to MP4 is the way to go.
- Shane Gillis Girlfriend The Ultimate Guide To His Love Life And Relationships
- How Old Is Grace Brasser Unveiling The Life And Achievements Of A Rising Star
How to Turn iMovie Into MP4: The Basics
Now that we’ve established why converting to MP4 is important, let’s talk about the actual process. Don’t worry, it’s not as complicated as it sounds. In fact, iMovie makes it pretty straightforward. Here’s a quick overview of what you’ll need to do:
- Finish editing your project in iMovie
- Go to the Share menu
- Select the MP4 option
- Choose your desired settings
- Export your video
Simple, right? But there’s more to it than just clicking a few buttons. Let’s break it down step by step so you can get the best results.
Step-by-Step Guide: Turning iMovie Into MP4
Alright, let’s get into the nitty-gritty of how to turn iMovie into MP4. Follow these steps carefully, and you’ll have your video ready in no time.
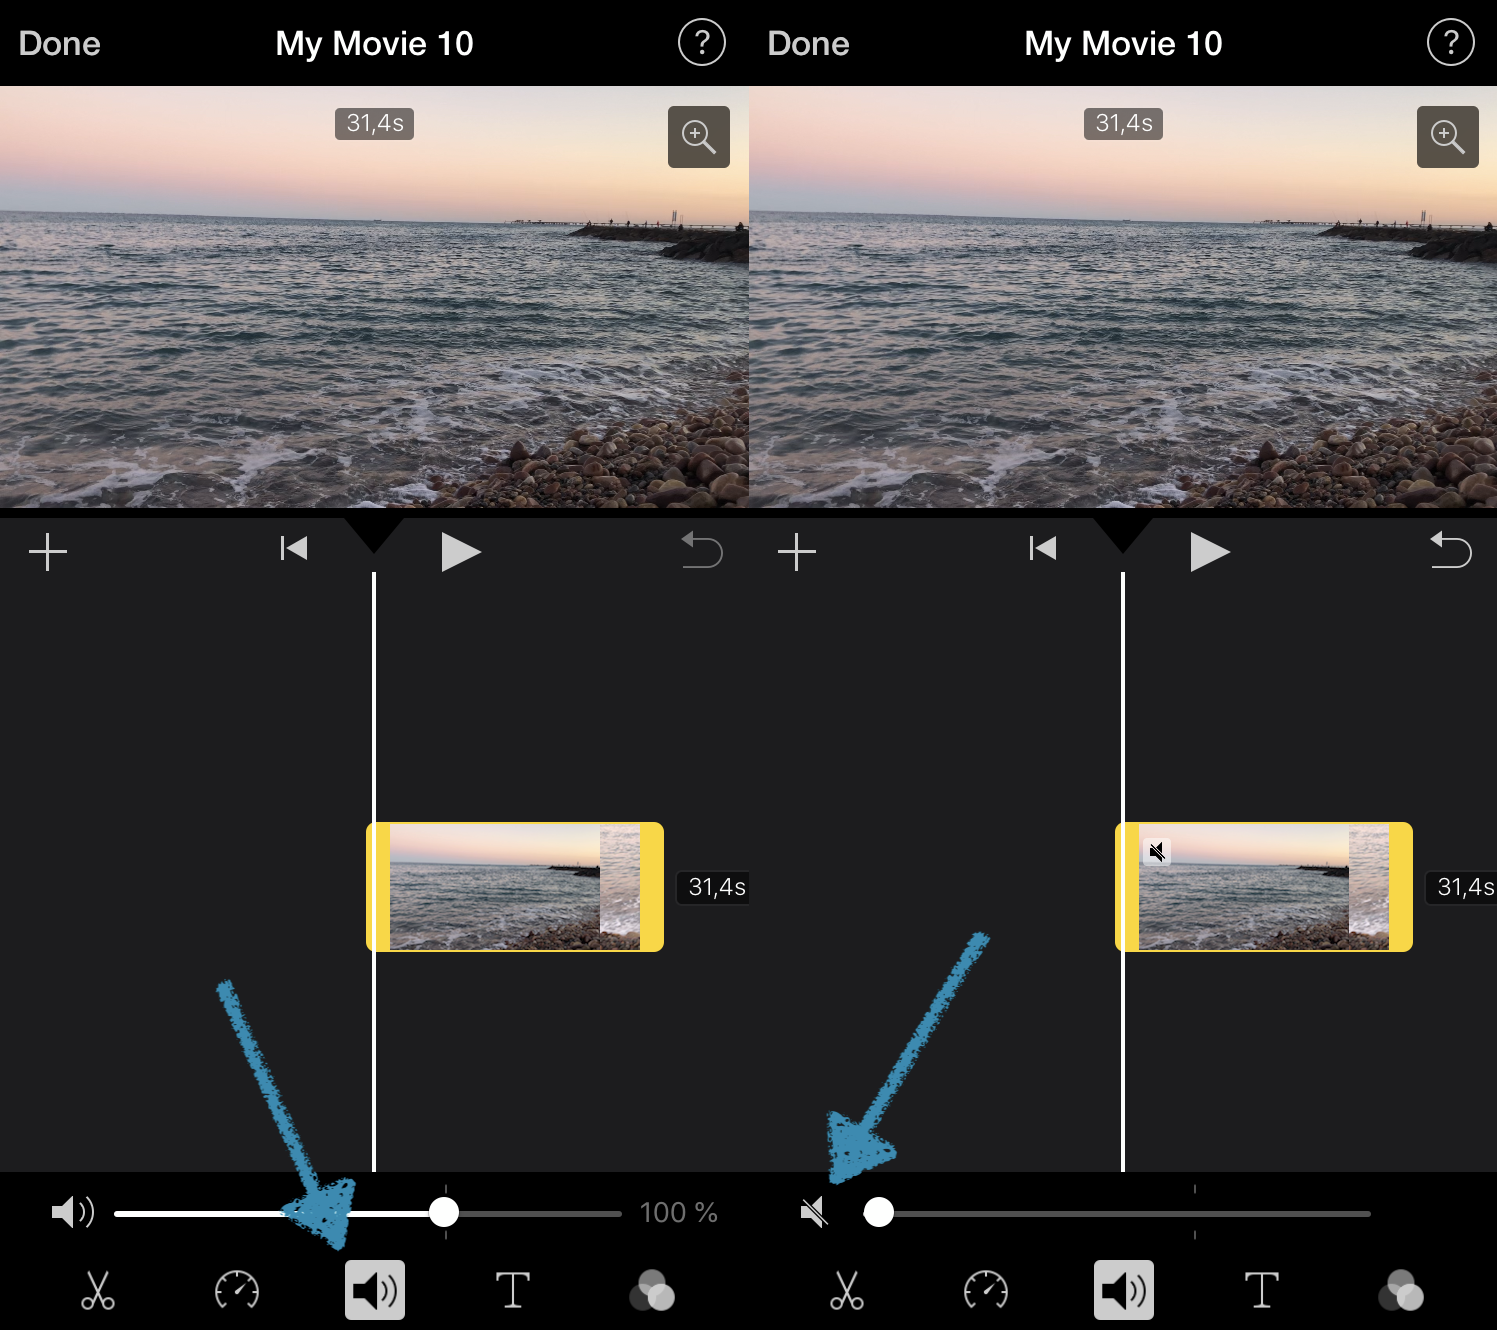
Step 1: Finalize Your iMovie Project
Before you start exporting, make sure your project is complete. Double-check your cuts, transitions, and effects to ensure everything looks the way you want it to. Once you’re satisfied, it’s time to move on to the next step.
Step 2: Access the Share Menu
Head over to the top menu bar in iMovie and click on “Share.” From there, you’ll see a list of export options. Look for the one that says “File” or “MP4” – this is where the magic happens.
Step 3: Choose Your Export Settings
When you select the MP4 option, you’ll be prompted to choose your export settings. This is where you can customize things like resolution, frame rate, and file size. Here’s a quick rundown of what each setting means:
- Resolution: Determines the clarity of your video. Higher resolutions (like 1080p or 4K) look better but result in larger file sizes.
- Frame Rate: Affects the smoothness of your video. Most videos are fine at 30fps, but action-packed scenes might benefit from 60fps.
- File Size: Balances quality with convenience. Smaller files are easier to share but may sacrifice some quality.
For most purposes, sticking with 1080p at 30fps is a safe bet. But if you’re planning to upload to YouTube or Vimeo, consider going for 4K if your device supports it.
Step 4: Export Your Video
Once you’ve set your preferences, click on “Export” or “Save.” iMovie will start processing your video, which might take a few minutes depending on its length and complexity. Once it’s done, your MP4 file will be ready to use!
Tips for Optimizing Your Export
Exporting a video isn’t just about clicking buttons; there are a few tricks you can use to make sure your MP4 turns out perfectly. Here are some tips to keep in mind:
First off, always preview your video before exporting. This will help you catch any last-minute issues and ensure everything looks good. Also, consider compressing your video if file size is a concern. iMovie has built-in compression tools that can reduce the file size without sacrificing too much quality.
Another thing to note is that different platforms have different requirements. For example, YouTube recommends using H.264 encoding for MP4 files, while Instagram has specific aspect ratio and resolution limits. Make sure to check the platform’s guidelines to avoid any surprises.
Common Issues and How to Fix Them
Even with the best intentions, things can go wrong sometimes. Here are a few common issues you might encounter and how to fix them:
- Export takes too long: Try reducing the resolution or frame rate to speed things up.
- Video quality is poor: Increase the resolution or file size settings for better quality.
- File won’t play: Ensure you’ve selected the correct format and settings for your intended platform.
Remember, practice makes perfect. The more you export videos, the better you’ll get at tweaking the settings to get the results you want.
Advanced Techniques for Power Users
If you’re feeling adventurous, there are a few advanced techniques you can try to take your MP4 exports to the next level. For instance, you can use third-party software like HandBrake or VLC to further optimize your files after exporting them from iMovie. These tools offer more granular control over encoding settings and can help you achieve even smaller file sizes without compromising quality.
Another option is to experiment with different codecs. While H.264 is the default codec for MP4 files, there are others like H.265 (HEVC) that offer better compression and quality. Just keep in mind that not all devices support these newer codecs, so it’s important to test them before sharing your video.
When to Use Third-Party Tools
While iMovie does a great job of exporting videos, there are times when you might need more advanced features. If you’re working on a large project or need to tweak specific settings, using a tool like HandBrake or Final Cut Pro can give you the flexibility you need.
That said, for most everyday creators, iMovie’s built-in export options should be more than sufficient. It’s all about finding the right balance between convenience and quality.
Conclusion: Your Journey to MP4 Mastery
And there you have it – a comprehensive guide on how to turn iMovie into MP4. By following the steps outlined in this article, you’ll be able to export your videos with confidence and share them with the world. Remember, the key to successful exporting is understanding your platform’s requirements and tweaking your settings accordingly.
So, what are you waiting for? Fire up iMovie, finish that project you’ve been working on, and turn it into an MP4 masterpiece. And don’t forget to share your creations with us in the comments below. We’d love to see what you come up with!
Daftar Isi
- Why Converting iMovie to MP4 Matters
- How to Turn iMovie Into MP4: The Basics
- Step-by-Step Guide: Turning iMovie Into MP4
- Tips for Optimizing Your Export
- Common Issues and How to Fix Them
- Advanced Techniques for Power Users
- When to Use Third-Party Tools
- Conclusion: Your Journey to MP4 Mastery
- Did Gabriel Iglesias Get Divorced The Full Story Behind The Comedians Love Life
- Brady Sarkisian Mother Unveiling The Story Behind The Scenes

Using iMovie to Turn you Students into Music Video Stars
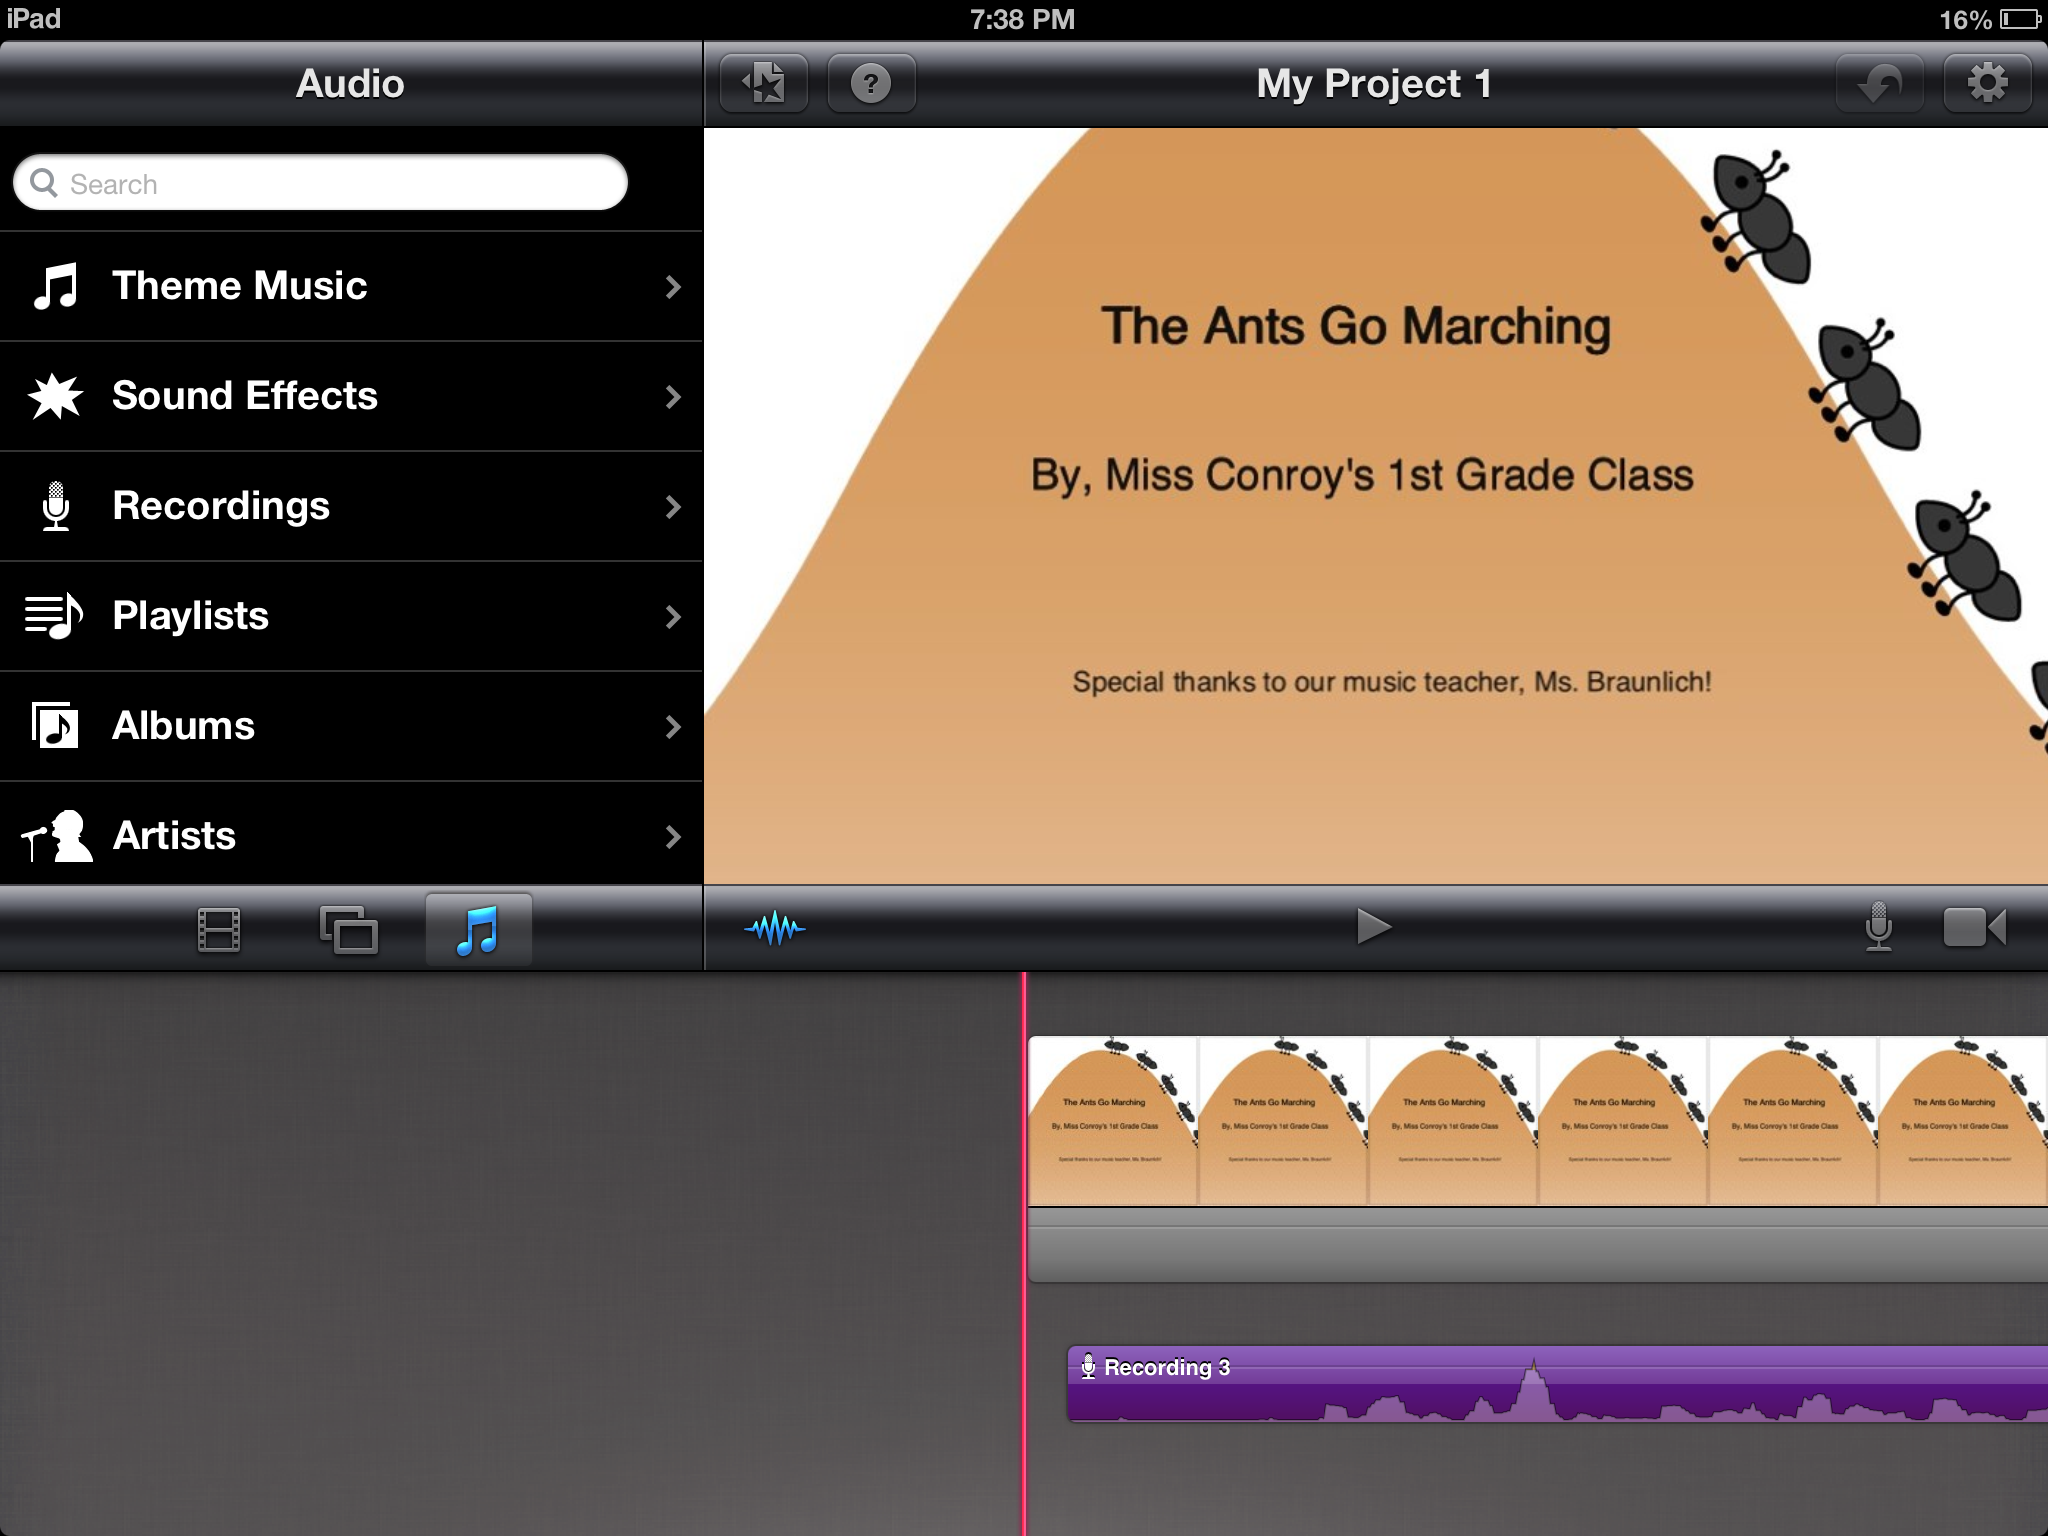
Using iMovie to Turn you Students into Music Video Stars
How to import movies into imovie for iphone vastcr
