How To Export IMovie Project To MP4: The Ultimate Guide For Video Enthusiasts
Have you ever wondered how to export iMovie project to MP4? Let’s be real—iMovie is one of those tools that’s super easy to use but can sometimes leave you scratching your head when it comes to exporting. You’ve spent hours perfecting your video—adding transitions, tweaking the audio, and fine-tuning every little detail. But now, the big question looms: how do you get it out of iMovie and into a format everyone can watch? That’s where MP4 comes in. This versatile file format is like the universal language of videos, making it perfect for sharing on social media, uploading to YouTube, or even sending to your friends via email.
Whether you’re a beginner dipping your toes into video editing or a seasoned pro looking to streamline your workflow, exporting your iMovie project as an MP4 is a must-know skill. In this guide, we’re going to break it down step by step so you can master the process in no time. No more frustration, no more guesswork—just pure, actionable tips that’ll make your life easier.
So grab your favorite drink, settle into your favorite editing chair, and let’s dive into the world of iMovie exporting. By the end of this article, you’ll be exporting like a pro and sharing your masterpiece with the world in no time. Let’s get started!
- Matt Leblanc Kids A Dive Into The Life Beyond Friends
- You Get The Idea Crossword Clue The Ultimate Guide For Puzzle Enthusiasts
Table of Contents
- Why MP4 is the Best Format for Your Videos
- Step-by-Step Guide to Export iMovie Project to MP4
- Pro Tips for Exporting iMovie Projects
- Managing File Size for Optimal Performance
- Ensuring Compatibility Across Devices
- Common Issues and How to Fix Them
- Alternative Methods for Exporting iMovie Projects
- Optimizing Your iMovie Project for Social Media
- Frequently Asked Questions About Exporting to MP4
- Conclusion: Take Your Editing Skills to the Next Level
Why MP4 is the Best Format for Your Videos
Alright, let’s talk about why MP4 is such a big deal. Imagine this: you’ve just finished editing your iMovie project, and you’re ready to share it with the world. But wait—what format should you use? MP4 is the go-to choice for a reason. It’s like the Swiss Army knife of video formats, offering excellent quality, small file sizes, and compatibility with virtually every device under the sun.
Here’s the deal: MP4 uses advanced compression techniques to keep your video looking sharp without eating up all your storage space. Plus, it’s widely supported by platforms like YouTube, Vimeo, and TikTok, making it super easy to upload and share your content. Whether you’re sharing your video on social media, embedding it on a website, or sending it via email, MP4 has got you covered.
Advantages of Using MP4
- High-quality video with minimal loss of resolution
- Small file size for easy sharing and storage
- Wide compatibility across devices and platforms
- Supports both video and audio tracks in a single file
So if you’re asking yourself, “Why should I export my iMovie project to MP4?” The answer is simple: because it’s the most versatile and user-friendly format out there. Now that we’ve covered the basics, let’s dive into the nitty-gritty of how to do it.
- The Blackest Women Celebrating Beauty Diversity And Resilience
- Who Is The Blackest Person Unpacking The Question Identity And Representation
Step-by-Step Guide to Export iMovie Project to MP4
Ready to export your iMovie project to MP4? Great! Follow these simple steps, and you’ll be on your way in no time:
Step 1: Finish Your Editing
Before you export, make sure your project is 100% ready to go. Double-check your cuts, transitions, and audio levels. Once you hit that export button, you won’t be able to make changes without starting over. Trust me—you don’t want to go through that hassle.
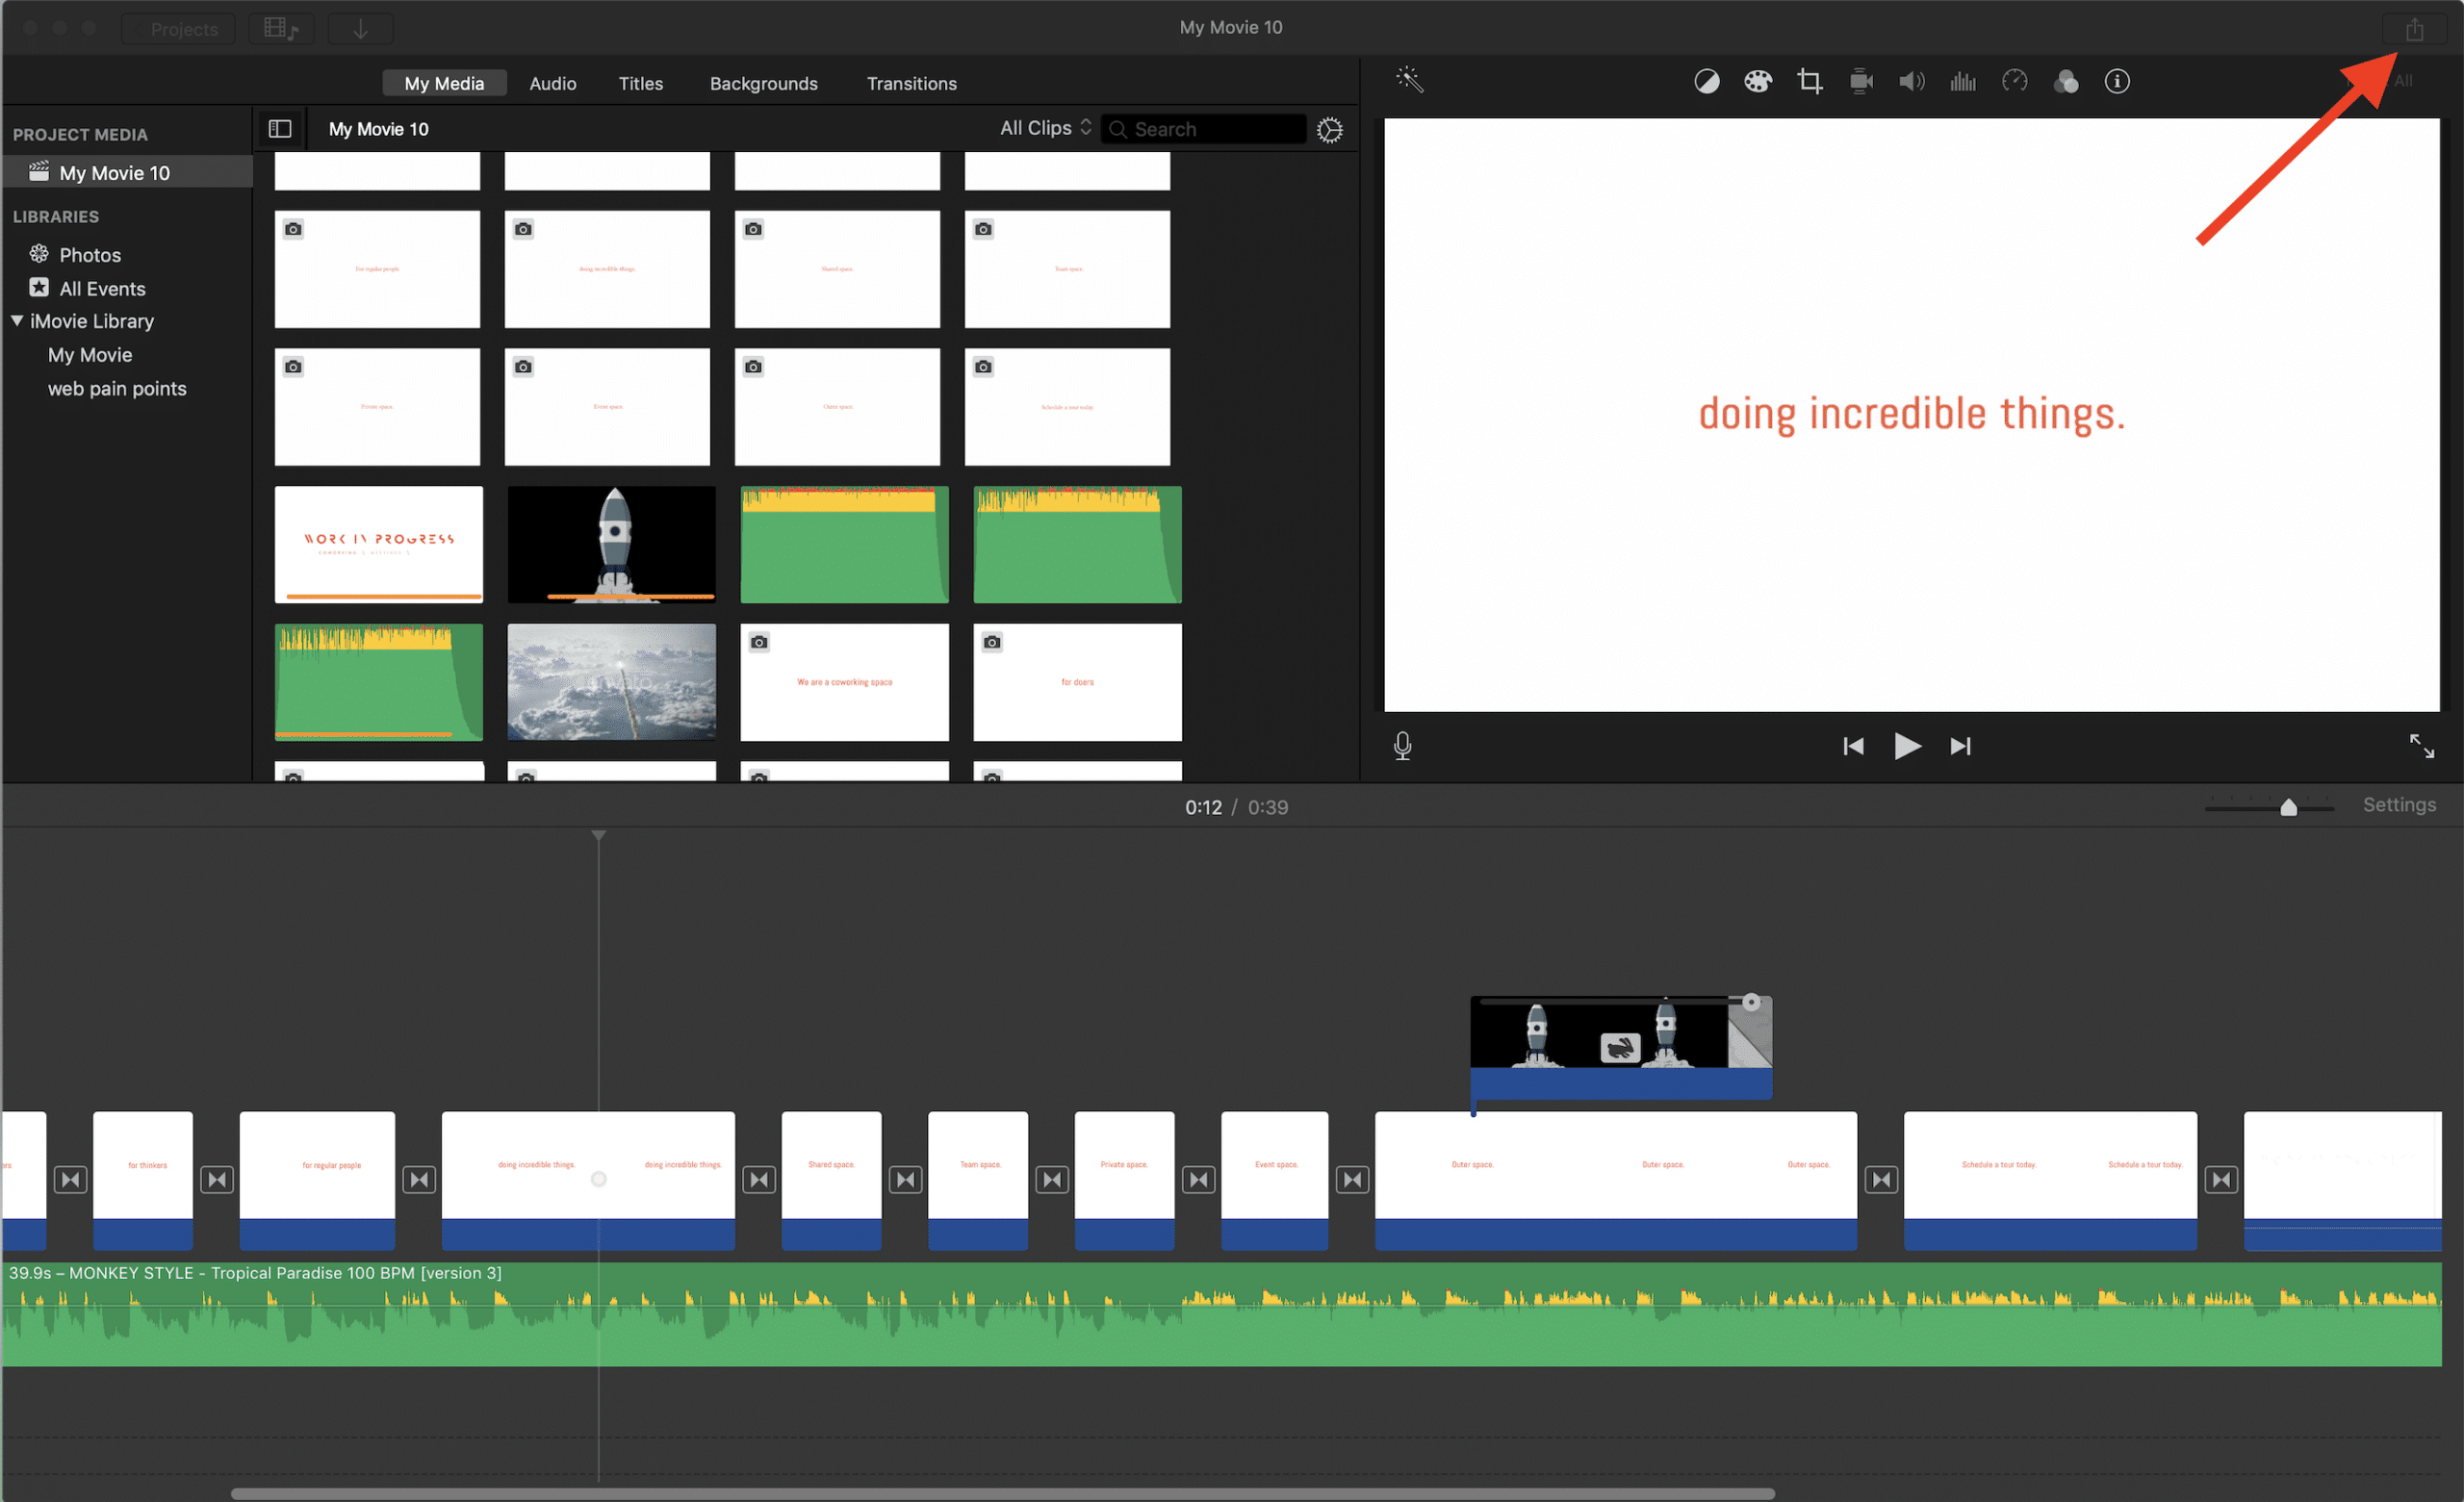
Step 2: Open the Share Menu
Once your project is ready, click on the “Share” button in the top menu bar. This will bring up a dropdown menu with various export options. Look for “File” and click on it. This is where the magic happens.
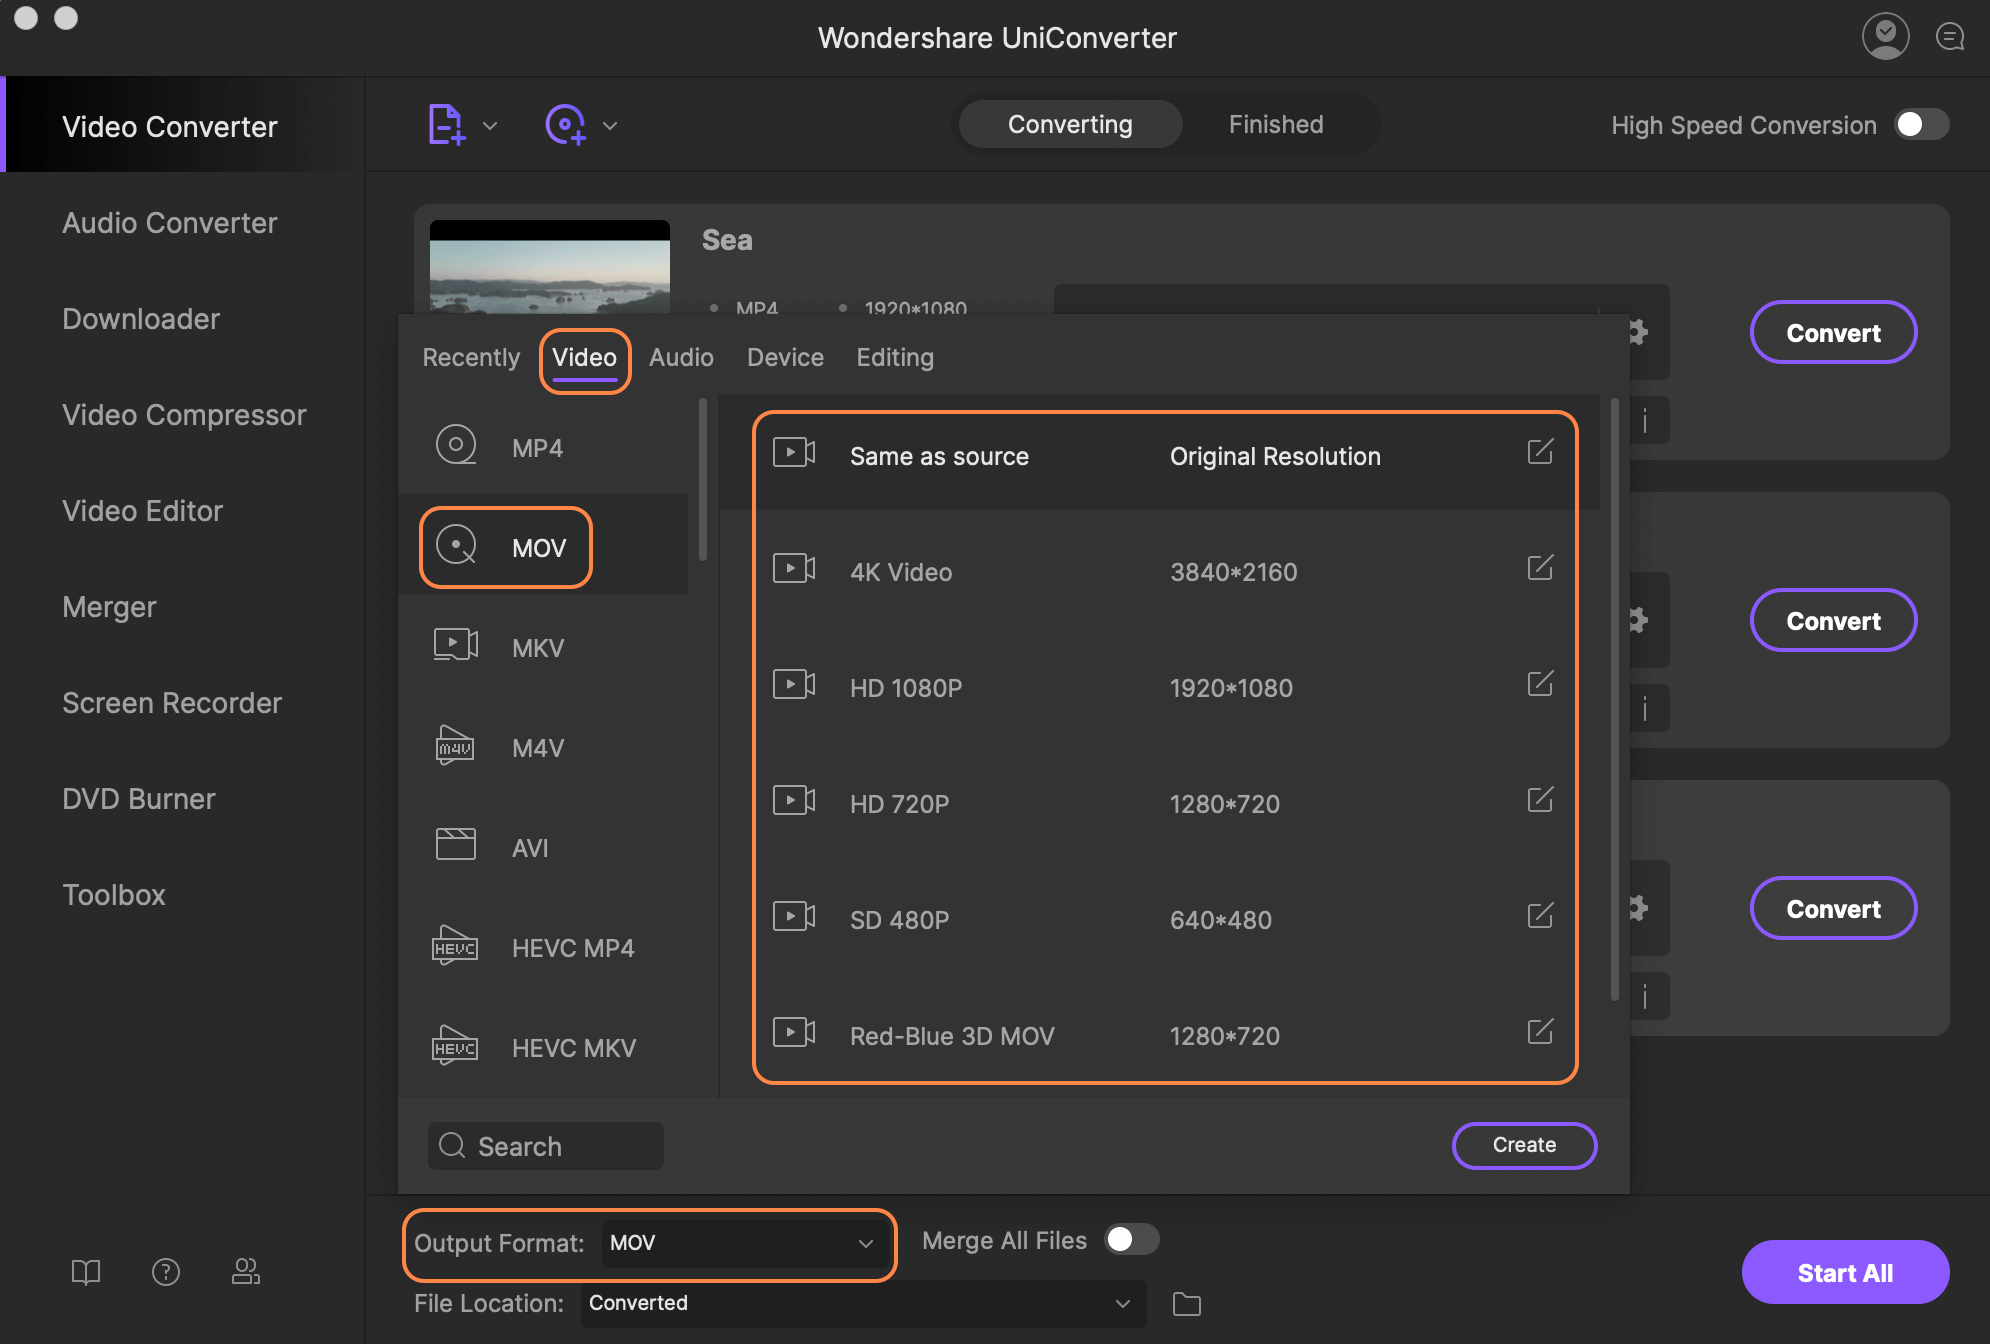
Step 3: Choose MP4 as Your Export Format
In the export window, you’ll see a few options for file format. Scroll down until you see “MP4” and select it. This ensures that your video will be exported in the best possible format for sharing and playback.
Step 4: Set Your Export Settings
Now it’s time to tweak your export settings. You can choose from different quality presets, such as 1080p, 4K, or even 8K if you’re feeling fancy. For most purposes, 1080p is a great balance between quality and file size. Don’t forget to set your audio settings too—44.1 kHz stereo is usually the way to go.
Step 5: Save Your File
Once you’ve set your settings, click on the “Next” button to save your file. Choose a location on your computer where you want to save your MP4 file, give it a name, and hit “Export.” Sit back and relax while iMovie does its thing. Depending on the length of your video, this might take a few minutes.
And there you have it—your very own MP4 file ready to share with the world!
Pro Tips for Exporting iMovie Projects
Exporting your iMovie project to MP4 doesn’t have to be a headache. With a few pro tips up your sleeve, you can streamline the process and ensure your video looks its best. Here are some insider secrets to help you out:
Tweak Your Resolution Settings
Not all videos need to be in 4K. If you’re sharing your video on social media or sending it via email, 1080p is usually more than enough. Lower resolutions mean smaller file sizes, which can save you storage space and make sharing easier.
Optimize Your Audio
Don’t forget about the audio! Make sure your audio levels are balanced and clear. You can adjust these in iMovie before exporting to ensure your video sounds as good as it looks.
Use Custom Export Presets
iMovie offers a variety of export presets, but you can also create your own custom presets for specific use cases. This can save you time in the long run, especially if you’re exporting multiple videos with the same settings.
Managing File Size for Optimal Performance
File size is a big deal when it comes to exporting videos. If your file is too large, it can be difficult to share or upload. On the flip side, if your file is too small, you might sacrifice quality. Here’s how to strike the perfect balance:
Compress Without Sacrificing Quality
iMovie offers several compression options that can help reduce your file size without compromising too much on quality. Experiment with different settings to find the sweet spot for your specific project.
Use Efficient Codecs
Codecs are the algorithms that compress your video. H.264 is one of the most efficient codecs out there, offering great quality at relatively small file sizes. Make sure you’re using the right codec for your project.
Ensuring Compatibility Across Devices
Compatibility is key when it comes to sharing your videos. You want to make sure your MP4 file plays smoothly on any device, whether it’s a smartphone, tablet, or computer. Here’s how to ensure maximum compatibility:
Stick to Standard Formats
While iMovie offers a variety of export options, sticking to standard formats like MP4 with H.264 codec is your safest bet. These formats are universally supported and will play on virtually any device.
Test on Different Devices
Before sharing your video with the world, test it on a few different devices to make sure it plays correctly. This will help you catch any compatibility issues before they become a problem.
Common Issues and How to Fix Them
Even the best-laid plans can go awry. If you run into any issues while exporting your iMovie project to MP4, don’t panic. Here are some common problems and how to fix them:
Export Takes Too Long
If your export is taking forever, try reducing your resolution or lowering your bit rate. This can help speed up the process without sacrificing too much quality.
File Won’t Play on Some Devices
Make sure you’re using a standard format and codec. If the problem persists, try re-exporting your file with different settings.
Alternative Methods for Exporting iMovie Projects
iMovie isn’t the only game in town when it comes to exporting videos. If you’re looking for alternative methods, here are a few options to consider:
Use Third-Party Software
Tools like HandBrake or Adobe Premiere Pro offer advanced export options that can give you more control over your final output. These programs are great if you need to fine-tune your settings or work with more complex projects.
Export to iCloud
If you’re an Apple fan, exporting directly to iCloud can be a convenient option. This allows you to access your video from any device without worrying about file size or compatibility issues.
Optimizing Your iMovie Project for Social Media
Social media is a great platform for sharing your videos, but each platform has its own requirements. Here’s how to optimize your iMovie project for different social media platforms:
Instagram videos should be no longer than 60 seconds and have a resolution of 1080x1350 for vertical videos. Make sure your audio is clear and your visuals are eye-catching.
YouTube
YouTube supports a wide range of resolutions, but 1080p is usually the sweet spot. Add captions and tags to make your video more discoverable and engaging.
Frequently Asked Questions About Exporting to MP4
Got questions? We’ve got answers. Here are some of the most common questions about exporting iMovie projects to MP4:
Can I Export Directly to YouTube?
Absolutely! iMovie offers a “YouTube” export option that allows you to upload your video directly to YouTube without having to save it to your computer first.
What’s the Best File Format for Editing?
While MP4 is great for sharing, you might want to use a different format for editing. ProRes is a popular choice among editors because it offers high quality with less compression.
Conclusion: Take Your Editing Skills to the Next Level
Exporting your iMovie project to MP4 doesn’t have to be a daunting task. With the right tools and knowledge, you can master the process in no time. Whether you’re sharing your video on social media, uploading it to YouTube, or sending it to a friend, MP4 is the perfect format for getting your message across.
So what are you waiting for? Grab your iMovie project, follow the steps we’ve outlined, and start exporting like a pro. And don’t forget to share your masterpiece with the world. Your followers, friends, and family will be impressed—and you’ll be one step closer to becoming a video editing guru.
Got any questions or tips of your own? Drop them in the comments below. Let’s keep the conversation going and help each other take our editing skills to the next level. Happy exporting!
- Kaynette Williams New Husband A Deep Dive Into Love Life And Everything Inbetween
- Eams Case Nbr The Ultimate Guide To Understanding And Managing Your Cases

How to Burn iMovie Projects to DVD Complete Guide
How to export an imovie as mp4 kseski
How to Export iMovie File to iPhone · Kenny Eliason
