Master The Art Of Exporting IMovie To MP4: Your Ultimate Guide
Exporting iMovie to MP4 might sound intimidating, but trust me, it’s simpler than you think. If you’re diving into the world of video editing or just trying to save your masterpiece in the right format, this guide has got you covered. Whether you’re a beginner or a seasoned editor, exporting your iMovie project as an MP4 file is a skill that will come in handy more often than you’d expect.
Let’s face it, iMovie is one of the most user-friendly video editing tools out there, but sometimes the process of exporting can feel like navigating through a maze. Fear not! In this article, we’ll break down everything you need to know about how to export iMovie to MP4. From the basics to advanced tips, we’ve got all the tricks up our sleeve.
Before we dive deep, let’s quickly address why MP4 is such a big deal. It’s not just another file format; it’s the go-to choice for sharing videos across platforms. Whether you’re uploading to YouTube, sharing on social media, or sending it to a client, MP4 ensures your video looks sharp and plays smoothly on almost any device. So, let’s get started and make exporting iMovie to MP4 a breeze!
- Duckie Thot The Phenomenon Thats Got Everyone Talking
- Gena O Kelley The Untold Story Of A Remarkable Figure
Why Exporting to MP4 Matters
Okay, let’s talk about why you should care about exporting your iMovie project to MP4. First off, MP4 is like the universal language of video files. It’s compatible with pretty much every device and platform out there. From smartphones to smart TVs, from YouTube to Instagram, MP4 is the format that just works.
But wait, there’s more! MP4 files are also known for their excellent balance between quality and file size. You don’t want your video to be so huge that it takes forever to upload or download, right? MP4 strikes that perfect balance, ensuring your video looks great without eating up all your storage space.
Understanding iMovie’s Export Options
When it comes to exporting in iMovie, you’ve got a few options to choose from. But let’s be real, if you’re here, you’re probably looking for the MP4 route. So, let’s break it down:
- Oj Simpsons Daughter Died Unveiling The Truth Behind The Tragic Story
- Meet Andre Hakkaks Wife The Untold Story Behind The Scenes
- Share Menu: This is where the magic happens. You’ll find all your export options under the “Share” menu.
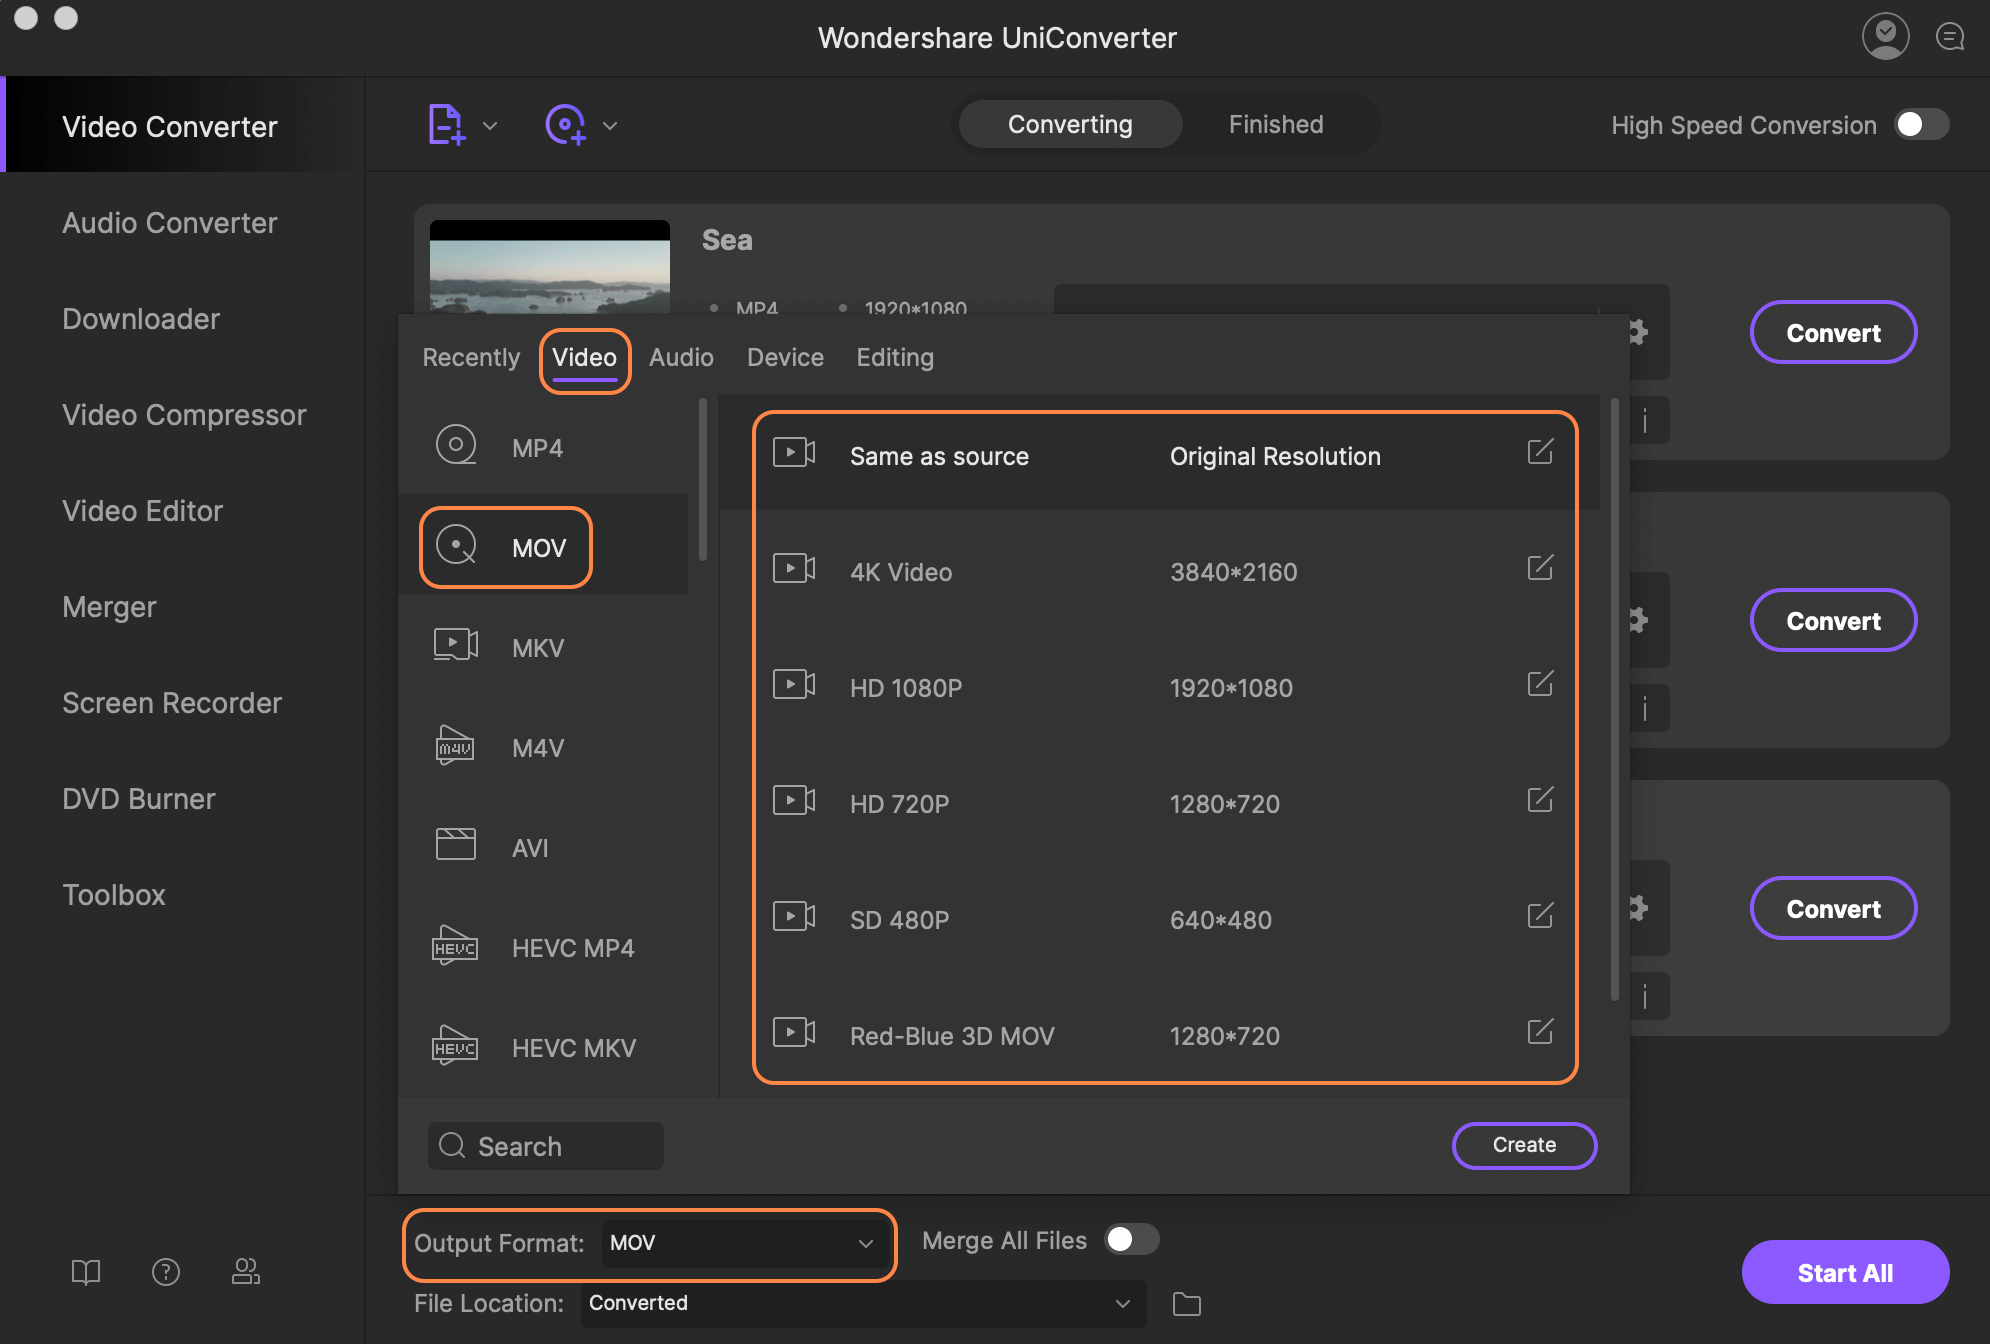
- File Types: iMovie lets you export in different formats like MOV, MPEG-4, and of course, MP4.
- Quality Settings: You can choose from presets like “Medium,” “Large,” and “HD 1080p” to ensure your video looks its best.
Now that you know what’s on the table, let’s move on to the nitty-gritty of the process.
Step-by-Step Guide: How to Export iMovie to MP4
Alright, let’s get down to business. Here’s a step-by-step guide to help you export your iMovie project to MP4 like a pro:
First things first, make sure your project is all set and ready to go. Once you’ve fine-tuned every clip and added those awesome transitions, it’s time to export. Follow these steps:
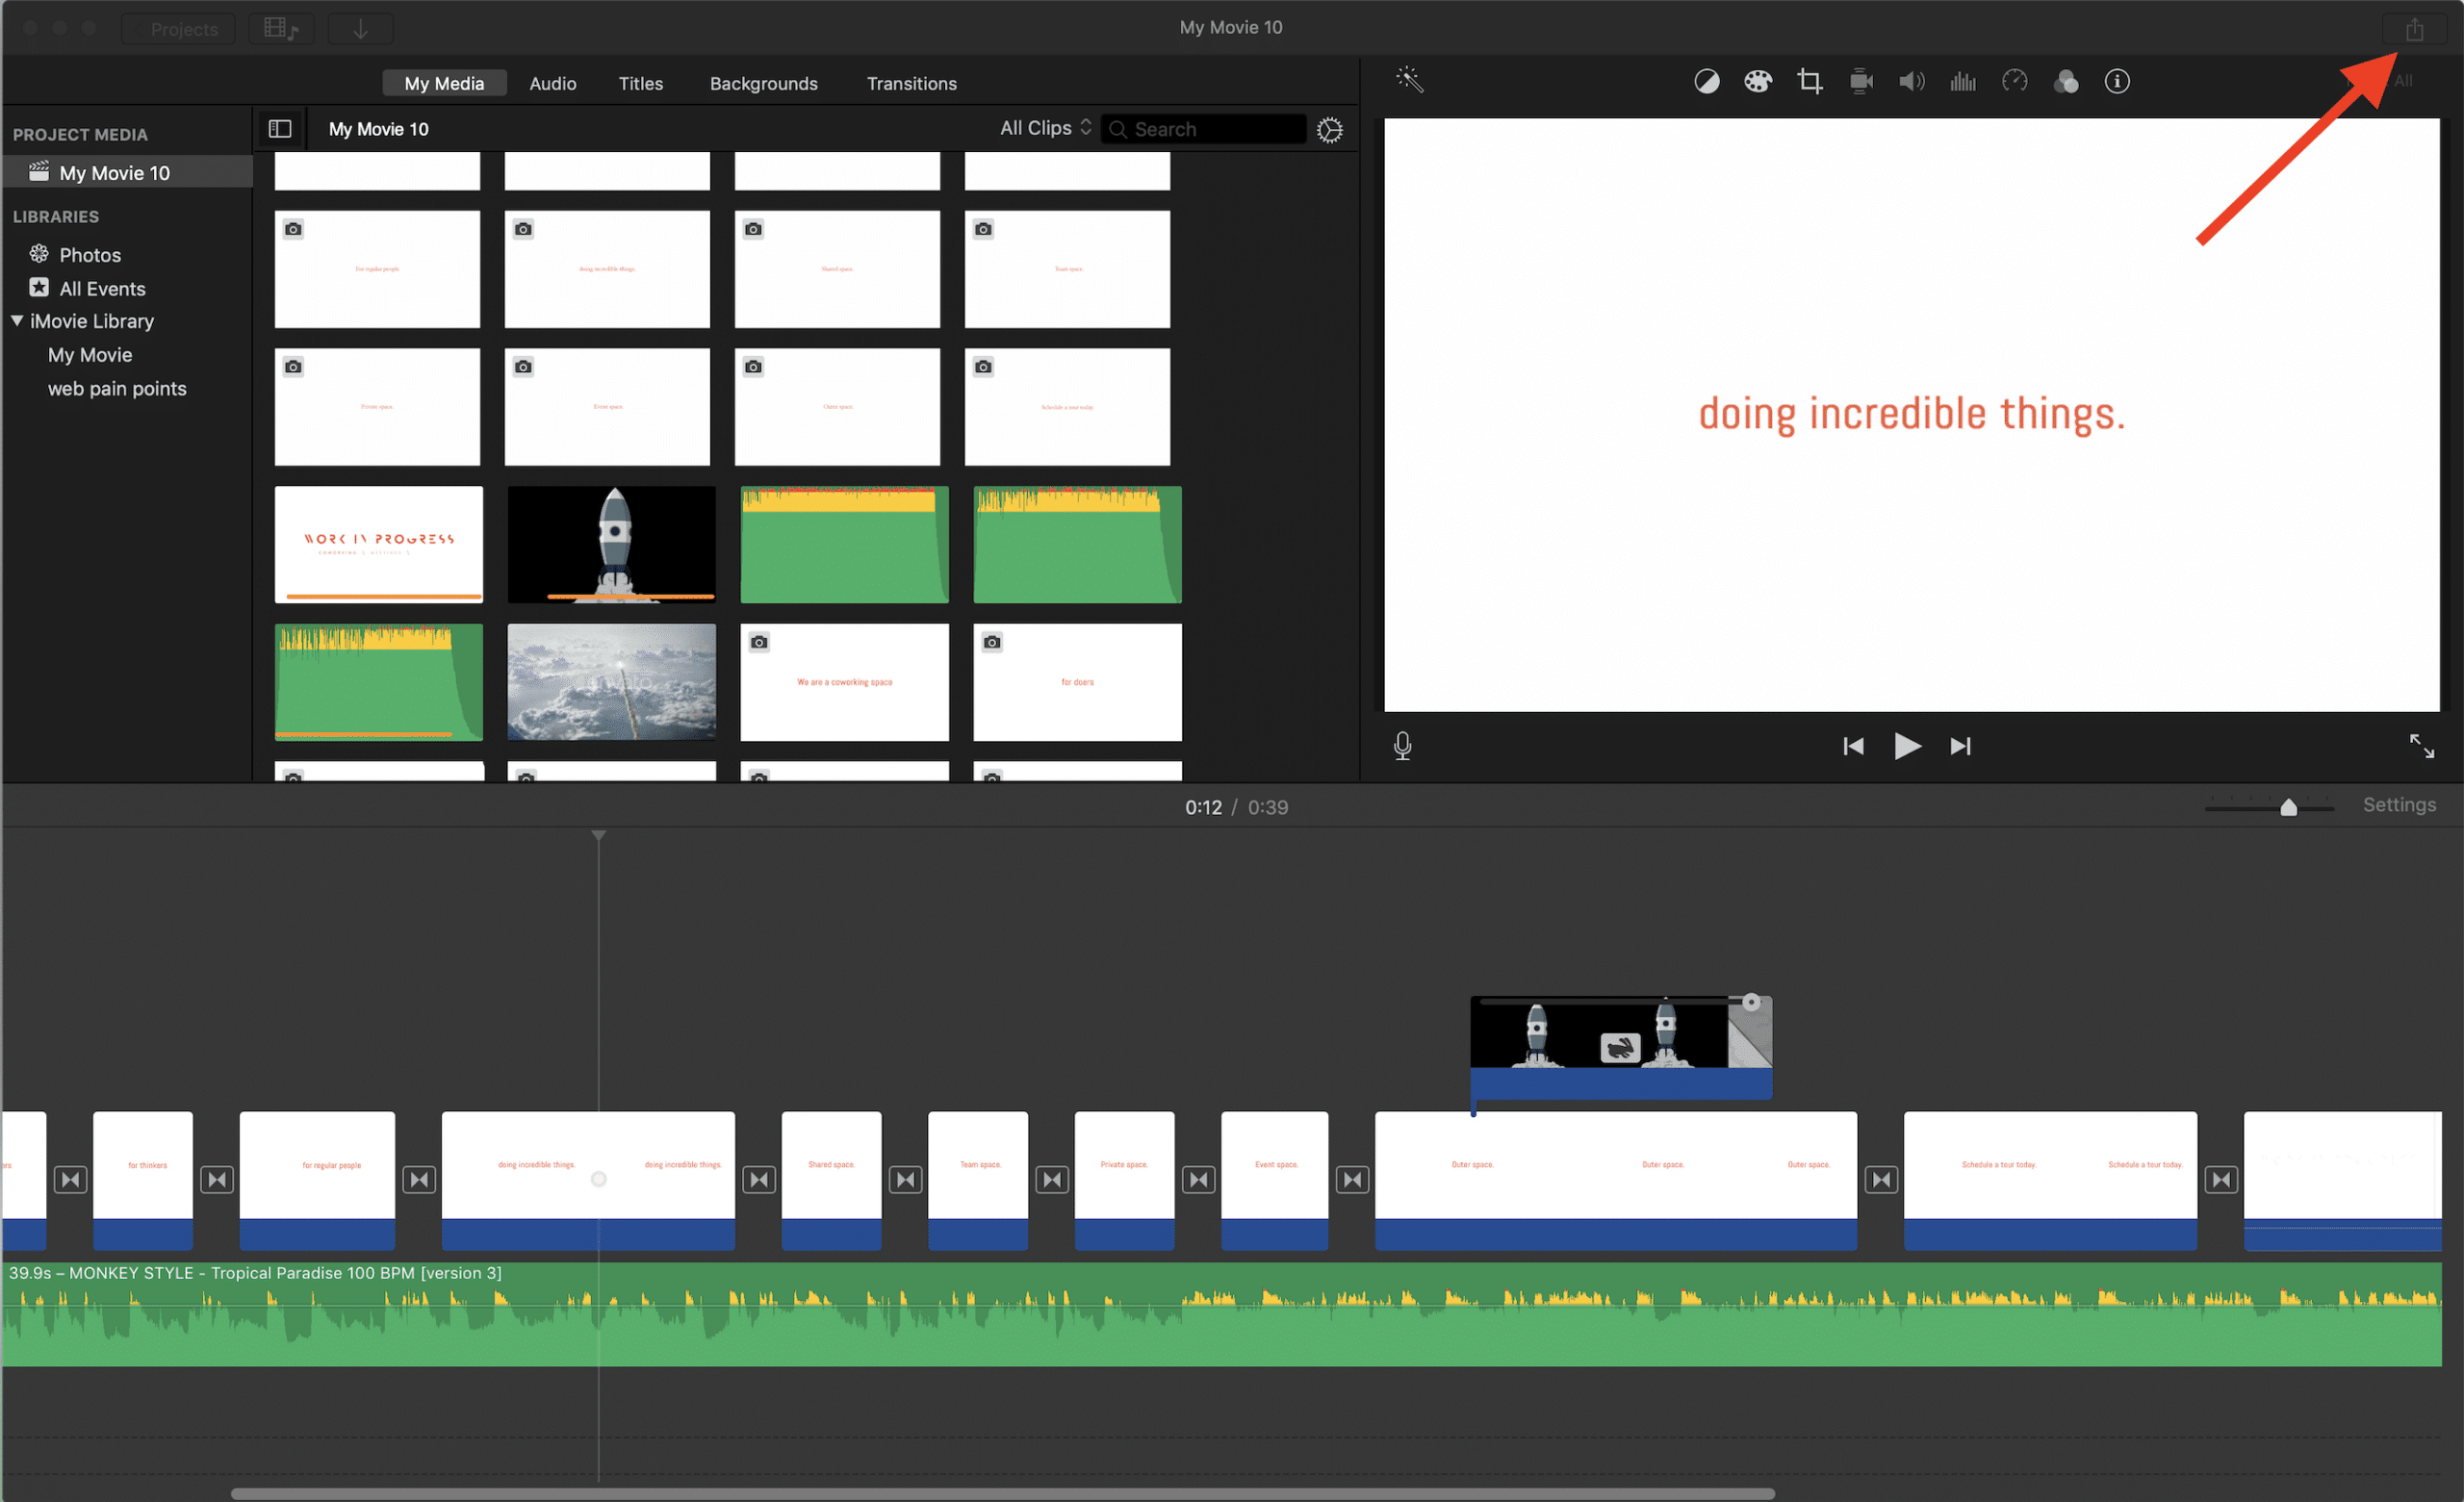
- Open your iMovie project and head over to the top menu.
- Click on “File” and then select “Share.”
- From the options, choose “File.”
- Select “MP4” as your export format.
- Pick your desired quality setting. For most purposes, “HD 1080p” is a safe bet.
- Name your file and choose where you want to save it.
- Hit “Export” and let iMovie do its thing.
And voila! Your iMovie project is now an MP4 file ready to be shared with the world.
Tips for Faster Export Times
Exporting can sometimes take a while, especially if you’ve got a long video or high-quality settings. Here are a few tips to speed things up:
- Lower the Resolution: If you’re not planning to show your video on a big screen, consider exporting at a lower resolution like 720p.
- Optimize Your Mac: Close any unnecessary apps to free up processing power for iMovie.
- Use Compressed Settings: Choosing a compressed format can reduce the file size and export time.
Remember, patience is key. But with these tips, you’ll be exporting like a champ in no time!
Common Issues When Exporting iMovie to MP4
Now, let’s talk about some common hiccups you might face when exporting to MP4 and how to fix them:
Issue 1: Export Takes Forever
Sometimes, exporting can feel like watching paint dry. If this happens, try lowering the resolution or using a compressed format. Also, make sure your Mac isn’t bogged down with other tasks.
Issue 2: File Won’t Play
If your exported MP4 file refuses to play, double-check your export settings. Make sure you’ve selected the right format and quality. Also, try opening the file on a different device to rule out any compatibility issues.
Issue 3: Audio Out of Sync
Audio and video not lining up? This can happen if your project is too complex. Try simplifying your timeline or rendering your project before exporting.
Advanced Tips for Pro Editors
If you’re already a pro at iMovie, here are some advanced tips to take your exporting game to the next level:
- Custom Presets: Create your own export presets to save time and ensure consistency across projects.
- Batch Exporting: Need to export multiple projects? Use batch exporting to save time and effort.
- Third-Party Tools: Consider using tools like HandBrake to further optimize your MP4 files.
These tips will help you streamline your workflow and make exporting a breeze.
The Importance of File Size and Quality
File size and quality are two sides of the same coin. You want your video to look great, but you also don’t want it to take up all your storage space. Here’s how to strike the right balance:
When exporting to MP4, iMovie gives you a few quality presets to choose from. “HD 1080p” is usually the sweet spot, offering excellent quality without being too heavy. But if you’re short on space, consider going with “720p” or even “480p” for smaller files.
Remember, the platform you’re uploading to also matters. For example, YouTube is pretty forgiving when it comes to file size, but Instagram has strict limits. So, tailor your settings accordingly.
How to Optimize Your MP4 File
Optimizing your MP4 file can make a huge difference. Here are a few tricks to keep in mind:
- Compress Without Sacrificing Quality: Use compression settings to reduce file size while maintaining good quality.
- Trim Unnecessary Clips: Cut out any parts of your video that you don’t need to save space.
- Adjust Bitrate: Lowering the bitrate can reduce file size, but be careful not to go too low or your video will look pixelated.
With these optimization techniques, your MP4 files will be lean, mean, and ready to share.
Best Practices for Sharing Your MP4 Files
Once you’ve successfully exported your iMovie project to MP4, it’s time to share it with the world. But before you hit that upload button, here are a few best practices to keep in mind:
1. Check Compatibility: Make sure the platform you’re uploading to supports MP4 files. Most do, but it’s always good to double-check.
2. Test Your File: Open your MP4 file on different devices to ensure it plays smoothly everywhere.
3. Add Metadata: Include relevant metadata like title, description, and tags to make your video more discoverable.
By following these best practices, you’ll ensure your video looks great and reaches the right audience.
Platforms That Love MP4
MP4 is the favorite format of many popular platforms. Here are a few where your MP4 files will shine:
- YouTube: The go-to platform for video sharing, YouTube loves MP4 files.
- Instagram: Perfect for short clips and reels, Instagram accepts MP4 files with ease.
- Vimeo: Known for its high-quality video playback, Vimeo is another great option for sharing your MP4 files.
So, wherever you decide to share your video, MP4 has got your back.
Conclusion: Your Journey to MP4 Mastery
And there you have it, folks! Exporting iMovie to MP4 doesn’t have to be a headache. With the right steps and a little practice, you’ll be exporting like a pro in no time.
Remember, the key to successful exporting is understanding your options, optimizing your settings, and testing your files before sharing. Whether you’re a beginner or a seasoned editor, these tips and tricks will help you master the art of exporting iMovie to MP4.
Now, it’s your turn! Try exporting your next project to MP4 and see how it goes. And don’t forget to leave a comment below or share this article with your friends. Happy editing, and see you in the next one!
Table of Contents
- Why Exporting to MP4 Matters
- Understanding iMovie’s Export Options
- Step-by-Step Guide: How to Export iMovie to MP4
- Common Issues When Exporting iMovie to MP4
- Advanced Tips for Pro Editors
- The Importance of File Size and Quality
- How to Optimize Your MP4 File
- Best Practices for Sharing Your MP4 Files
- Platforms That Love MP4
- Conclusion: Your Journey to MP4 Mastery
- Shayanna Jenkins And Her Sister Relationship Now A Closer Look
- Omari Hardwick Sister The Untold Story Of Family Ties And Fame

How to Burn iMovie Projects to DVD Complete Guide
How to export an imovie as mp4 kseski
How to Export iMovie File to iPhone · Kenny Eliason
