How To Convert IMovie Into MP4: The Ultimate Guide
Ever wondered how to convert iMovie into MP4 without losing quality? Well, you’re not alone. Millions of people who use iMovie for editing their videos face this challenge daily. Whether you’re trying to upload your video to YouTube, share it on social media, or simply store it in a widely compatible format, converting iMovie projects to MP4 is a must-know skill. In this guide, we’ll break it down step by step so you can master the process like a pro.
Look, editing videos with iMovie is awesome, right? It’s user-friendly, packed with features, and perfect for both beginners and pros. But here’s the thing—sometimes iMovie’s default export formats just don’t cut it when you need something more universal. That’s where MP4 comes in. This file format is like the golden standard of video sharing, and knowing how to convert your iMovie project into MP4 opens up endless possibilities.
Don’t worry if you’re new to this whole thing. By the time you finish reading this article, you’ll have all the tools and knowledge you need to convert your iMovie project into MP4 seamlessly. Let’s dive in, shall we?
- Alexis Maas The Rising Star Whorsquos Turning Heads In Hollywood
- Sp5der Hoodie The Untold Story Of Its Origins And Creator
Here’s a quick overview of what we’ll cover:
- Why You Need to Convert iMovie to MP4
- Getting Started with iMovie
- Understanding Export Options in iMovie
- What Makes MP4 So Popular?
- Step-by-Step Guide to Convert iMovie to MP4
- Third-Party Tools for Conversion
- Pro Tips for Better Results
- Common Issues and How to Fix Them
- Alternatives to iMovie
- Wrapping It Up
Why You Need to Convert iMovie to MP4
First things first, why should you even bother converting your iMovie project into MP4? Well, there are a bunch of reasons, and they’re pretty important if you want your videos to reach a wider audience. MP4 is like the universal language of video files—it’s supported by almost every platform out there, from YouTube and Vimeo to social media apps like Instagram and TikTok.
Plus, MP4 offers great compression without sacrificing quality. This means your videos will be smaller in size but still look sharp and clear. If you’re planning to share your videos online or store them on your device, MP4 is definitely the way to go.
- Wife Obituary Debby Clarke Belichick The Life Legacy And Age Of A Belichick Family Pillar
- Christine Astin The Rising Star You Need To Know
Key Benefits of MP4
- High compatibility across devices and platforms
- Excellent quality with efficient compression
- Wide support for different codecs
- Perfect for streaming and sharing
So yeah, converting iMovie to MP4 isn’t just a nice-to-have skill—it’s a must-have. Let’s move on and see how you can get started with iMovie.
Getting Started with iMovie
Before we dive into the conversion process, let’s talk about iMovie itself. If you’re already familiar with it, you can skip ahead, but for those who are new to this app, here’s a quick rundown.
iMovie is Apple’s free video editing software that comes pre-installed on most Macs. It’s super easy to use and packed with features that make editing a breeze. From trimming clips to adding effects, transitions, and music, iMovie has got you covered. But here’s the deal—it doesn’t export videos in MP4 by default. Instead, it uses MOV, which is another popular video format but not as widely supported as MP4.
Don’t panic, though. Converting iMovie projects to MP4 is easier than you think. Just follow the steps we’ll outline in this guide, and you’ll be good to go.
Understanding Export Options in iMovie
Now that you know why converting to MP4 is essential, let’s explore the export options available in iMovie. When you finish editing your video, you’ll want to export it in a format that suits your needs. Here’s what you need to know:
iMovie offers several export options, including:
- 4K: For ultra-high-definition videos
- 1080p: For full HD quality
- 720p: For standard HD quality
- 480p: For lower-resolution videos
While these options give you flexibility, they don’t directly export to MP4. To get your video in MP4 format, you’ll need to take an extra step. But don’t worry—it’s not complicated at all.
Choosing the Right Export Settings
When exporting your video, make sure to select the resolution and quality that best fits your purpose. If you’re uploading to YouTube or another platform, 1080p is usually a safe bet. For social media, 720p might be sufficient, depending on the platform’s requirements.
Remember, the higher the resolution, the larger the file size. So, if storage space is a concern, you might want to go for a lower resolution.
What Makes MP4 So Popular?
Alright, let’s talk about why MP4 is the king of video formats. It’s not just because it’s widely supported—it’s also because of its versatility and efficiency. MP4 uses advanced compression algorithms that allow it to store high-quality video and audio in a relatively small file size. This makes it perfect for sharing and storing videos.
But that’s not all. MP4 also supports multiple codecs, which means you can use different video and audio formats within the same file. This flexibility is one of the reasons why MP4 is the go-to format for most video platforms.
Common MP4 Codecs
Here are some of the most popular codecs used in MP4 files:
- H.264: Widely used for high-definition video
- H.265 (HEVC): Offers better compression than H.264
- AAC: Commonly used for audio in MP4 files
Choosing the right codec can make a big difference in the quality and size of your video. For most purposes, H.264 is a great choice, but if you’re dealing with 4K or higher resolutions, H.265 might be a better option.
Step-by-Step Guide to Convert iMovie to MP4
Alright, here’s the part you’ve been waiting for—the step-by-step guide to convert your iMovie project into MP4. Follow these steps carefully, and you’ll have your video ready in no time.
Step 1: Finish Editing Your Video
Before you start the conversion process, make sure your video is fully edited and ready to go. This includes trimming clips, adding transitions, effects, and music. Once you’re happy with your project, it’s time to move on to the next step.
Step 2: Export Your Video
Go to the top menu in iMovie and click on File, then select Share. From the dropdown menu, choose File. This will open a new window where you can select the export settings.
Choose the resolution and quality that best suits your needs. For most purposes, 1080p is a good choice. Once you’ve set your preferences, click on Next to proceed.
Step 3: Convert to MP4
After exporting your video, you’ll get a MOV file. To convert it to MP4, you have a couple of options. The easiest way is to use QuickTime Player, which is also pre-installed on Macs. Here’s how:
- Open QuickTime Player and go to File >Open File.
- Select the MOV file you just exported from iMovie.
- Once the file is open, go to File >Export As >MP4.
- Save the MP4 file to your desired location.
And that’s it! Your video is now in MP4 format and ready to be shared or uploaded wherever you want.
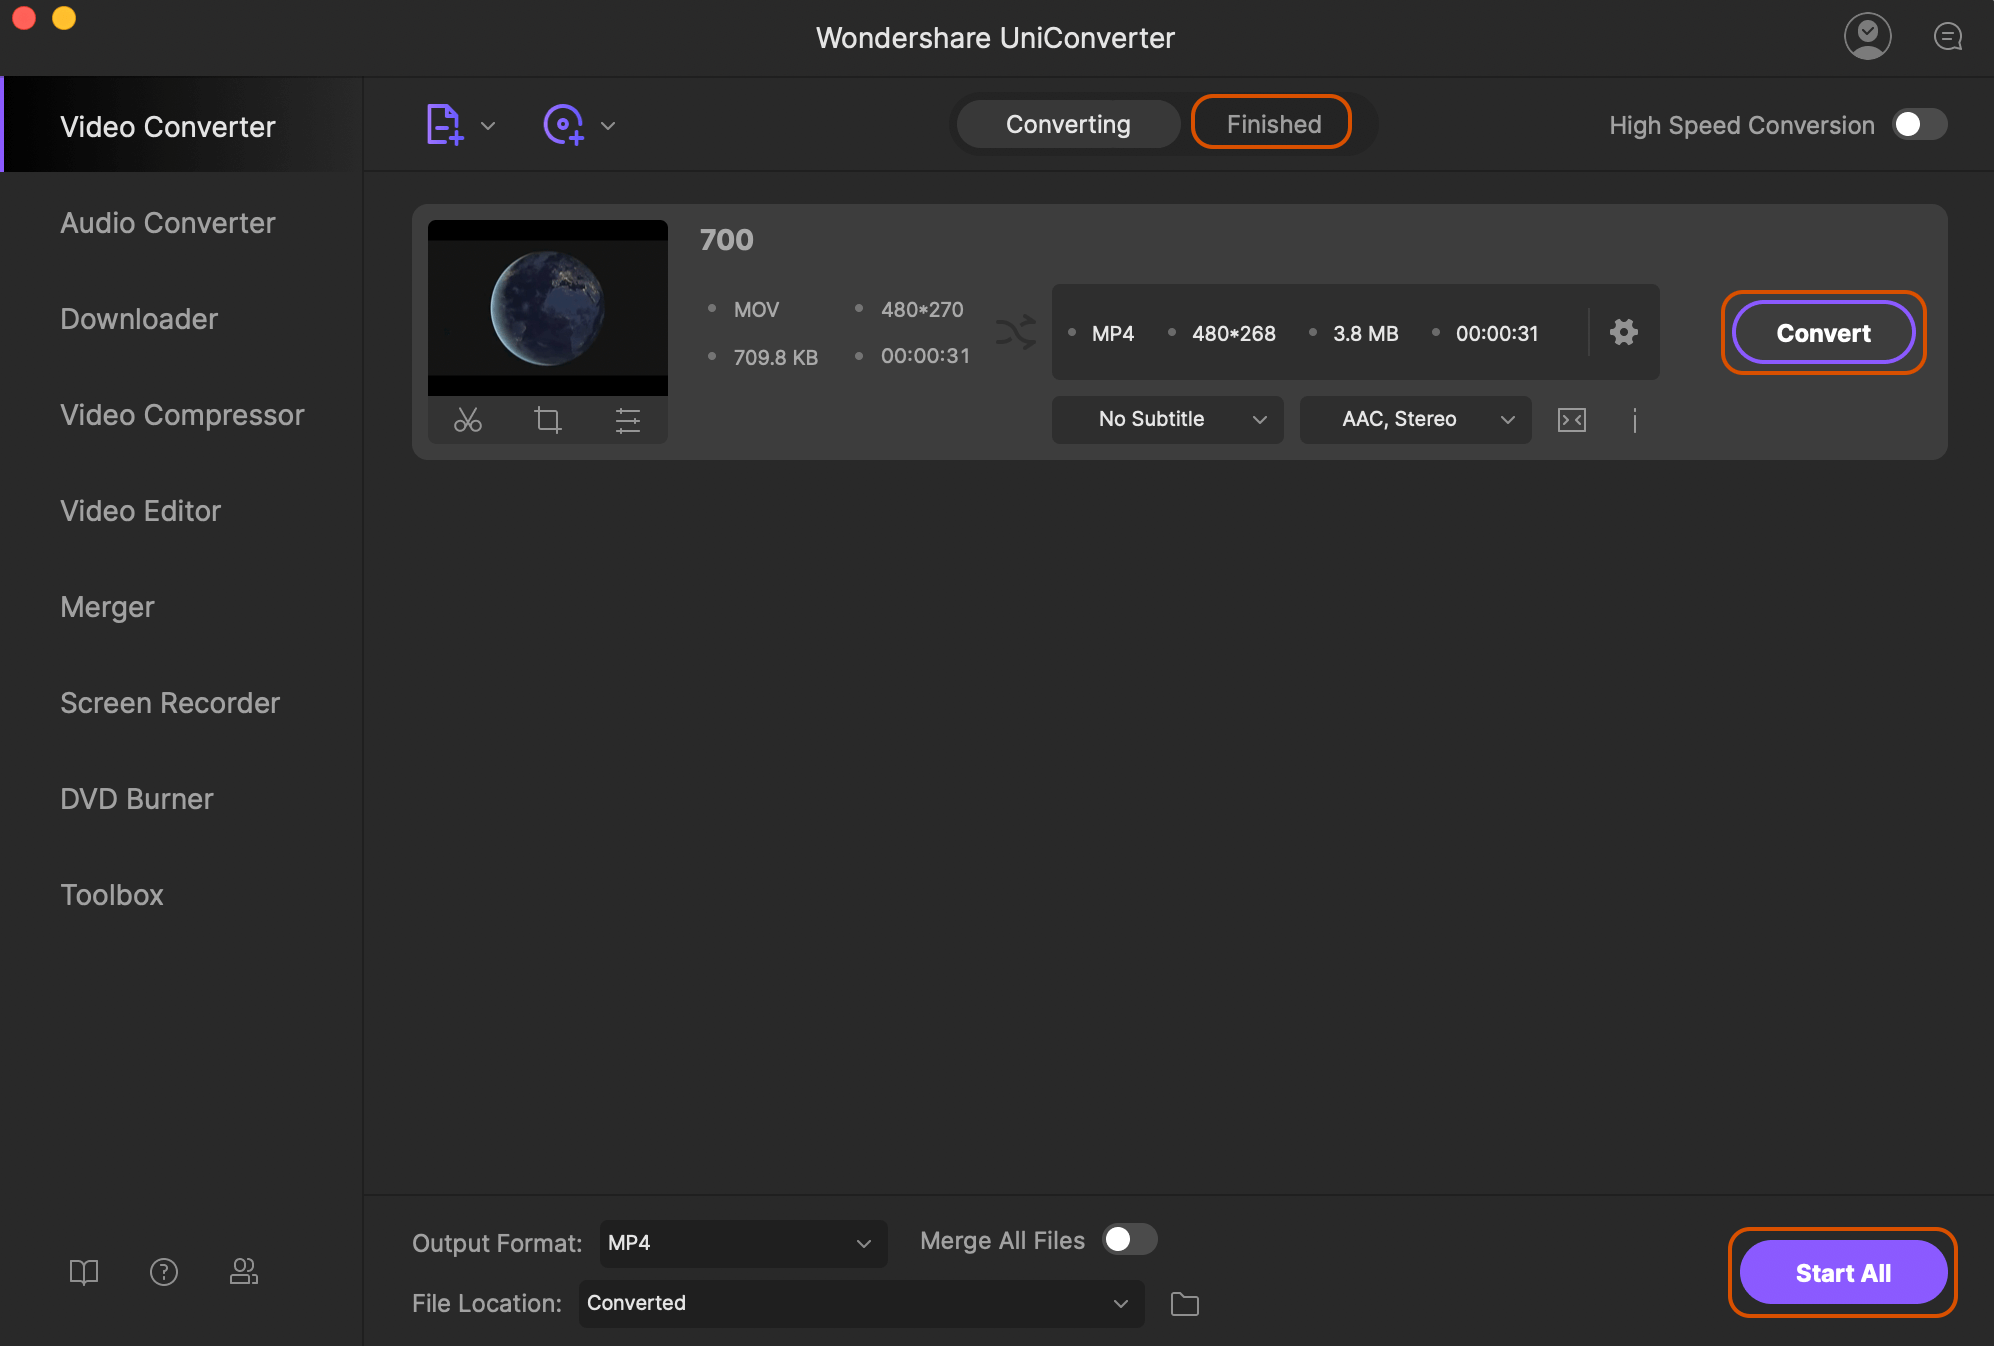
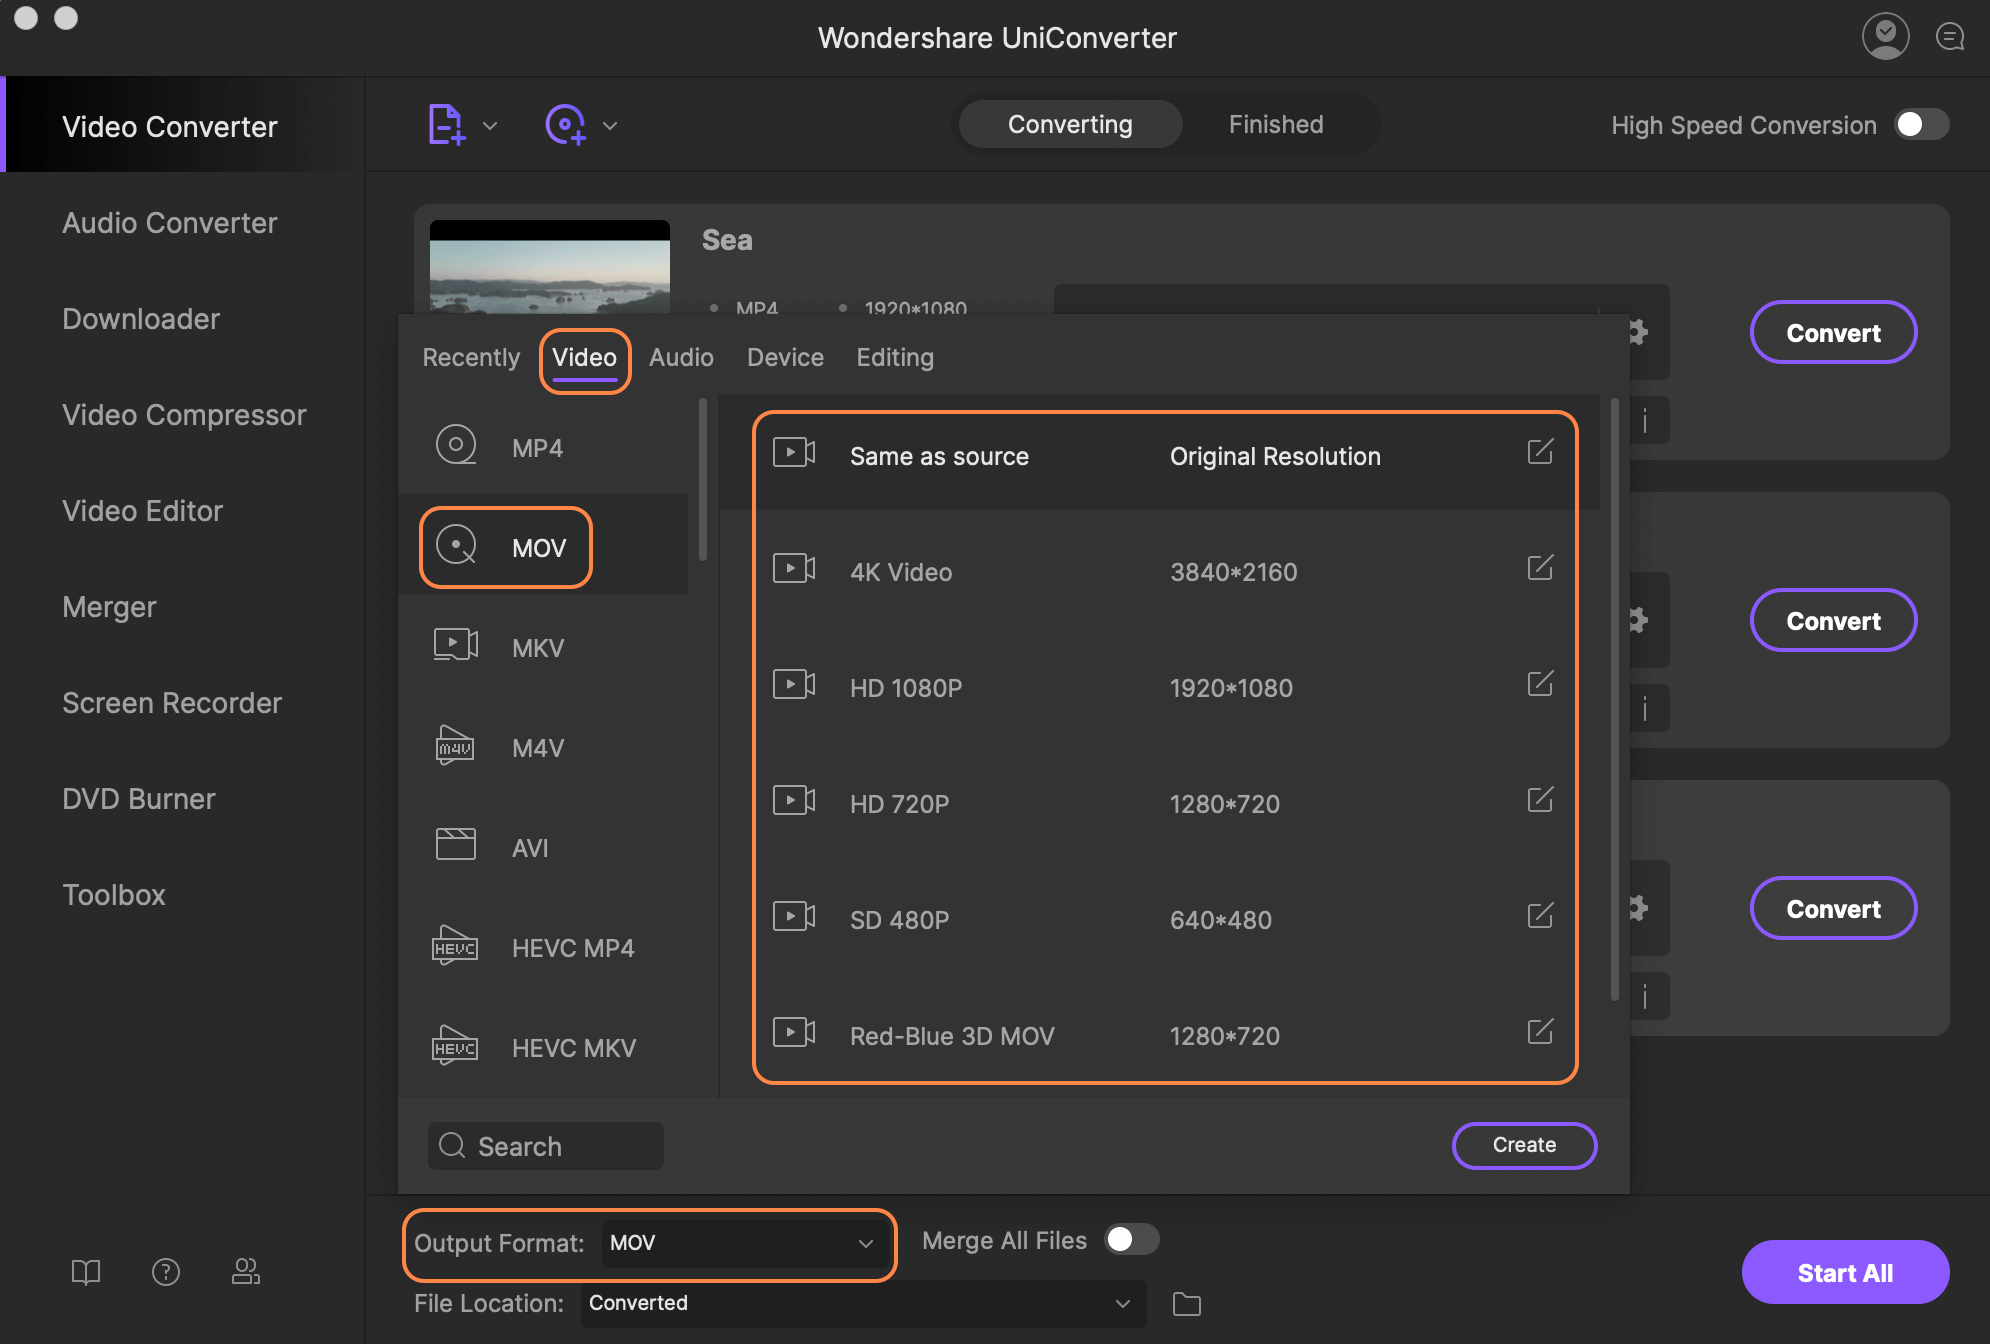
Third-Party Tools for Conversion
If you’re looking for more advanced options or prefer using third-party tools, there are plenty of great software and online converters that can help you convert iMovie to MP4. Here are a few recommendations:
- Handbrake: A free and open-source tool that offers a wide range of customization options.
- VLC Media Player: Another free option that’s great for converting videos to MP4.
- Online Converters: Websites like CloudConvert and Online-Convert offer easy-to-use interfaces for converting videos to MP4.
Just be careful when using online converters, as they might have limitations on file size or require you to create an account.
Pro Tips for Better Results
Here are a few tips to help you get the best results when converting your iMovie project to MP4:
- Optimize Your Settings: Choose the right resolution and quality settings based on your purpose.
- Use the Right Codec: H.264 is usually a safe choice, but if you’re dealing with high-resolution videos, consider using H.265.
- Check File Size: If your MP4 file is too large, try reducing the resolution or adjusting the bit rate.
- Test Your Video: Always play back your converted video to ensure it looks and sounds the way you want.
By following these tips, you’ll be able to create high-quality MP4 files that look great on any platform.
Common Issues and How to Fix Them
Even with the best tools and techniques, you might encounter some issues during the conversion process. Here are a few common problems and how to fix them:
- Video Quality is Poor: Make sure you’ve selected the right resolution and quality settings. Also, check the codec you’re using.
- File Won’t Play: Ensure the platform or device you’re using supports MP4 files. If it doesn’t, try using a different format.
- Conversion Takes Too Long: This could be due to a large file size or low processing power. Try reducing the resolution or using a faster computer.
If you run into any other issues, don’t hesitate to reach out to the support team of the tool you’re using.
Alternatives to iMovie
While iMovie is a fantastic tool, it’s not the only video editing software out there. If you’re looking for alternatives, here are a few options to consider:
- Final Cut Pro: A professional-grade video editing software for Mac users.
- Adobe Premiere Pro: A powerful tool used by professionals worldwide.
- Davinci Resolve: A free and feature-rich editing software that’s great for both beginners and pros.
Each of these alternatives has its own strengths and weaknesses, so choose the one that best fits your needs and skill level.
Wrapping It Up
So there you have it—a comprehensive guide on how to convert iMovie into MP4. By following the steps outlined in this article, you should now be able to convert your iMovie projects into MP4 with ease. Whether you’re sharing your videos online, storing them on your device, or sending them to friends and family, MP4 is the format to go with.
Remember, practice makes perfect. The more you experiment with different settings and tools, the better you’ll get at converting your videos. And who knows? You might just discover a new passion for video editing along the way.
Now it’s your turn. Have you tried converting iMovie to MP4
- Halle Berrys Parents A Journey Through Fame Family And Legacy
- Chuck Norris Sad News The Truth Behind The Legends Heartbreaking Moments
How to Convert iMovie to MP4 on Mac iMovie to MP4 Converter
Easy Steps to Convert and Import MP4 to iMovie on Mac

How to Convert MOV to MP4 on Mac • macReports
