How To Change IMovie To MP4: The Ultimate Guide
So, you're wondering how to change iMovie to MP4? Don't worry, you're not alone. Converting iMovie projects into MP4 is a common need for creators who want to share their videos on platforms like YouTube, Instagram, or even email. But where do you start? Let's dive right in and make sure you’ve got all the info you need to get this done smoothly.
You might be thinking, “Why MP4?” Well, it’s simple. MP4 has become the go-to format for sharing videos online because it’s compatible with almost every device and platform out there. Whether you’re on a Mac, PC, or smartphone, MP4 is widely supported. This means fewer headaches when sharing your creations with friends, family, or even your growing audience.
But let’s face it—iMovie doesn’t exactly scream “easy conversion” at first glance. That’s why we’ve put together this comprehensive guide to help you navigate through the process without losing your mind. By the end of this article, you’ll be a pro at exporting your iMovie projects as MP4 files, ready to take on the digital world. So, grab a coffee, sit back, and let’s get started!
- How To Create A Youtube Short Your Ultimate Guide To Shortform Viral Success
- Taylor Sheridans Net Worth The Inside Story Of Hollywoods Most Talented Creator
Understanding iMovie and MP4 Formats
Before we dive into the nitty-gritty of changing iMovie to MP4, it’s important to understand what these terms actually mean. iMovie is Apple’s built-in video editing software that’s designed to be user-friendly and packed with features for both beginners and pros. On the other hand, MP4 is a file format that stores video, audio, and metadata in one compact package.
Think of it like this: iMovie is like your kitchen where you cook up your masterpiece, but MP4 is the plate you serve it on. You can create the most amazing video in iMovie, but if you want others to enjoy it, you need to export it in a format they can easily consume—and that’s where MP4 comes in.
Why is MP4 the Preferred Format?
- Compatibility: MP4 works across almost all devices, from iPhones to Androids and PCs.
- File Size: MP4 compresses videos without sacrificing much quality, making it easier to share and store.
- Wide Support: Most social media platforms, streaming services, and websites support MP4, ensuring your video reaches a broader audience.
Step-by-Step Guide to Change iMovie to MP4
Alright, now that you know why MP4 is the way to go, let’s break down the steps to convert your iMovie project into an MP4 file. It’s simpler than you think, but there are a few tricks to make sure your video looks as good as possible.
- Shane Gillis And Grace Brasseal The Hottest Comedy Duo You Need To Know
- Eams Insurance Search The Ultimate Guide To Simplify Your Insurance Needs
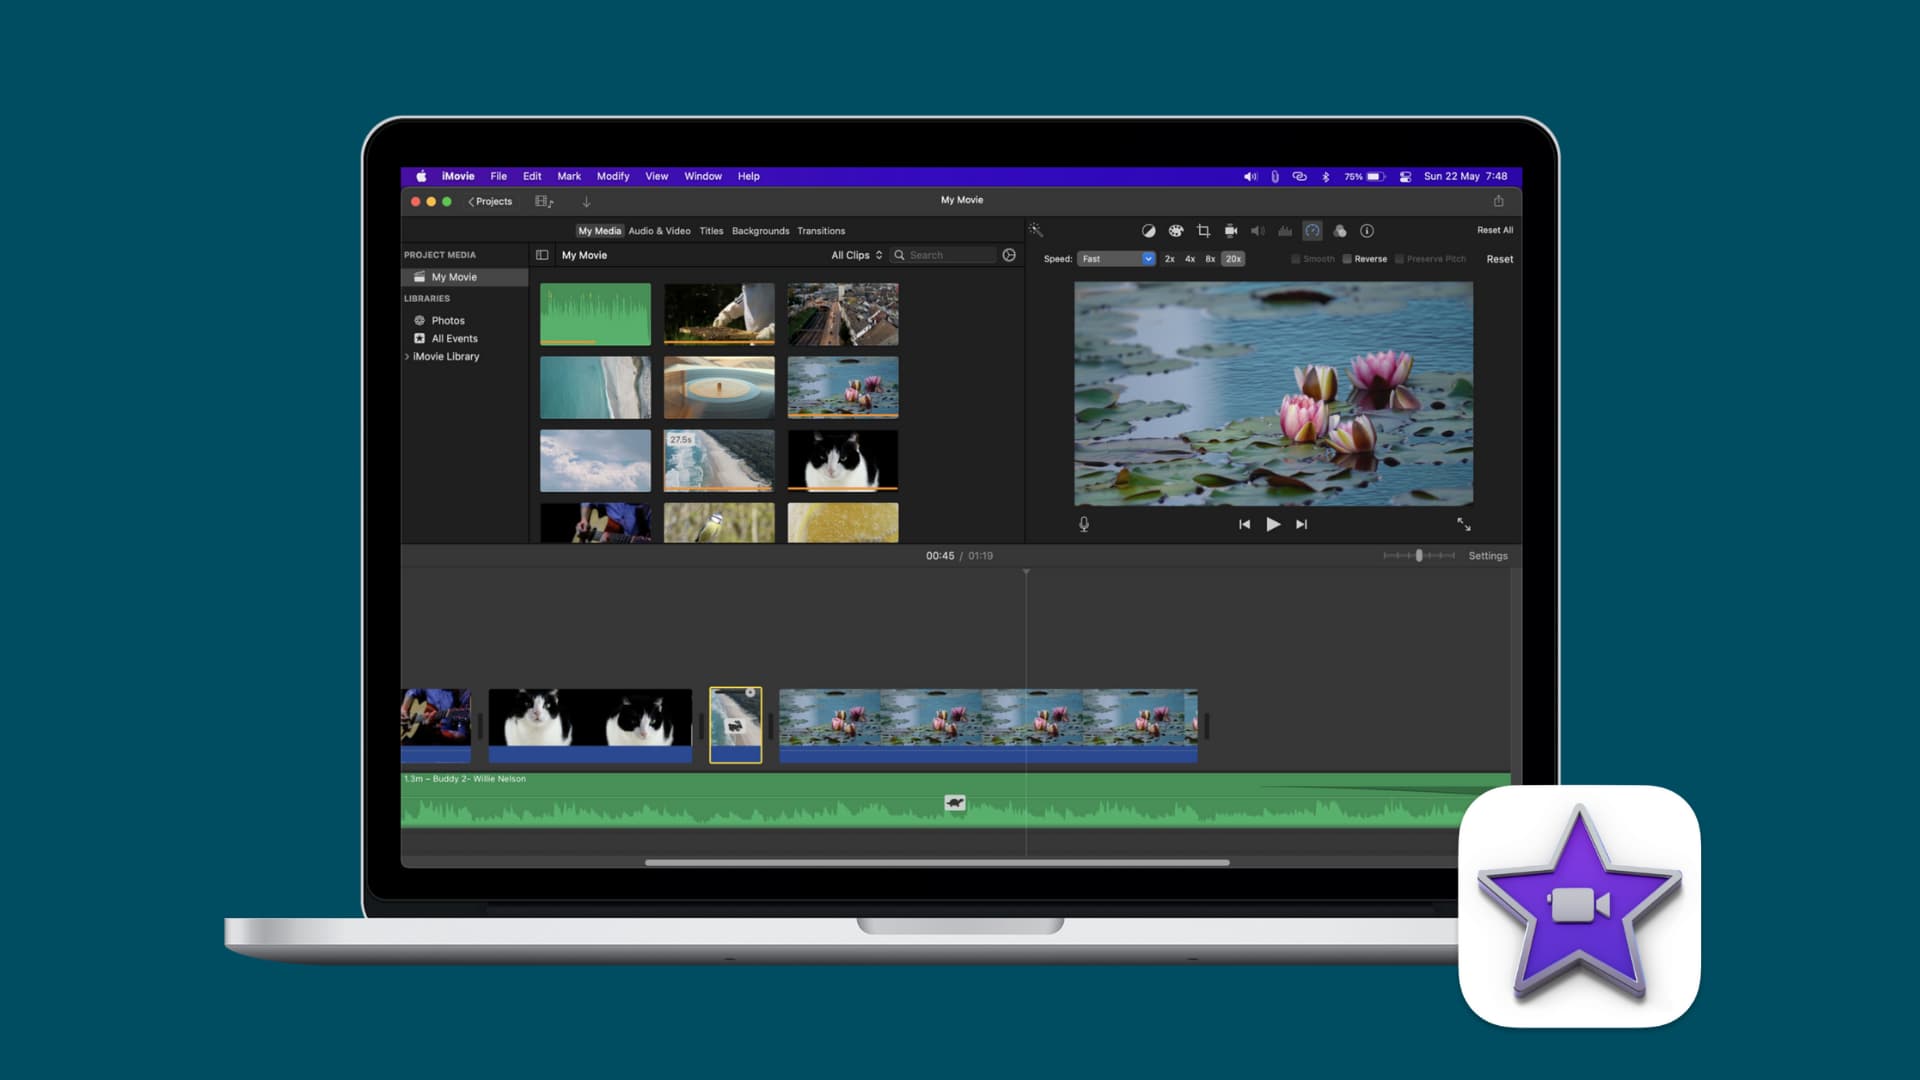
Exporting from iMovie
Here’s how you can export your iMovie project as an MP4:
- Open your iMovie project on your Mac.
- Click on the “Share” button located at the top-right corner of the screen.
- Select “File” from the dropdown menu.
- Choose the desired resolution and quality settings. For most purposes, 1080p HD is a safe bet.
- Name your file and choose a location to save it.
- Make sure the format is set to MP4 (it usually defaults to this, but double-check just in case).
- Hit “Export” and let iMovie do its magic.
Pro Tip: If you’re planning to upload your video to YouTube or Vimeo, consider exporting in 4K for that cinematic touch. Just keep in mind that larger resolutions mean bigger file sizes.
Common Issues and How to Fix Them
As with any tech-related task, things don’t always go as planned. Here are some common issues you might encounter while changing iMovie to MP4, along with solutions to fix them:
Issue 1: Export Takes Forever
Problem: Your video is taking ages to export, and you’re losing patience.
Solution: Try reducing the resolution or lowering the quality settings. Sometimes, exporting in 720p instead of 1080p can significantly speed up the process without compromising too much on quality.
Issue 2: File Won’t Play
Problem: After exporting, you find that the MP4 file won’t play on certain devices.
Solution: Ensure that your iMovie software is up to date. Older versions may have compatibility issues. Also, try converting the file using a third-party converter if necessary.
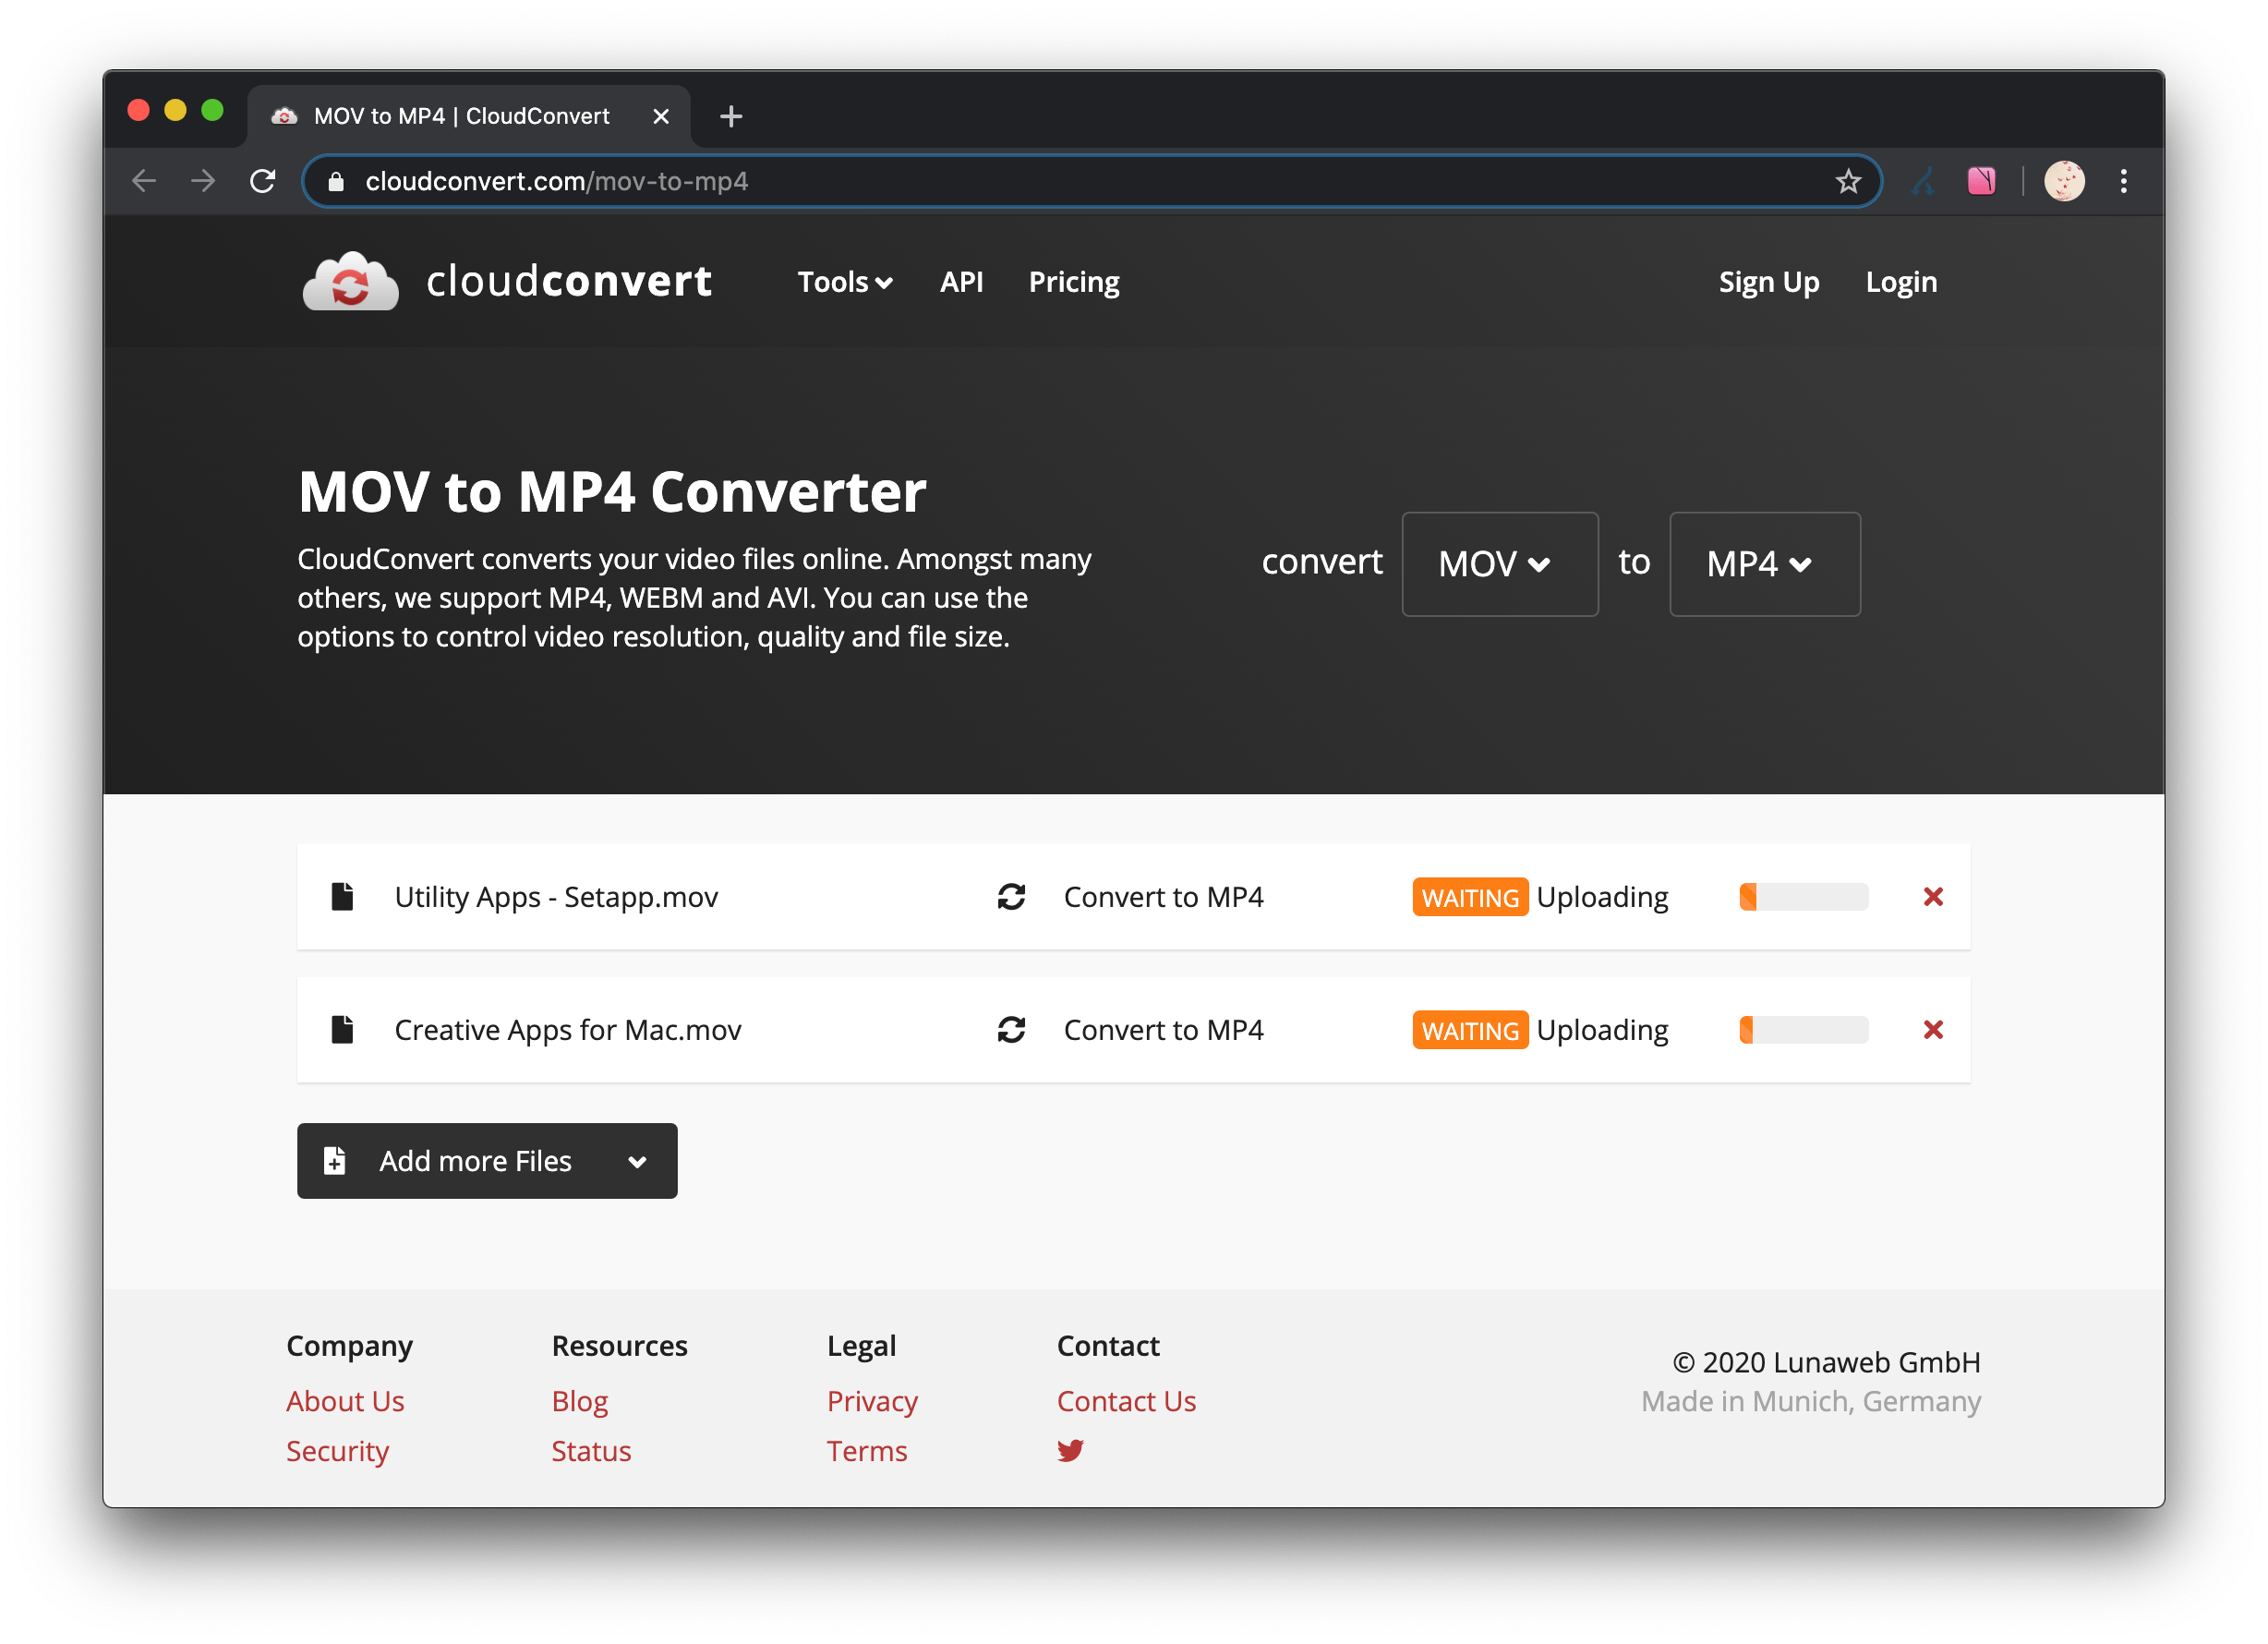
Using Third-Party Converters
If for some reason iMovie isn’t cooperating, or if you’re working on a PC instead of a Mac, third-party converters can come to the rescue. Tools like Handbrake, VLC Media Player, and Online Converters can help you change iMovie to MP4 effortlessly.
Handbrake: The Free Solution
Handbrake is a powerful, open-source tool that lets you convert virtually any video file into MP4. Here’s how to use it:
- Download and install Handbrake from their official website.
- Open the program and click on “Source” to import your iMovie file.
- Select the destination folder where you want to save the converted file.
- Choose the preset that matches your desired output (e.g., Normal, High Profile).
- Click “Start Encode” and wait for the process to finish.
Handbrake might seem intimidating at first, but trust me, it’s worth learning. Plus, it’s free!
Tips for Optimizing Your MP4 Files
Now that you’ve successfully converted your iMovie project to MP4, here are a few tips to optimize your files for better performance:
- Compress Your Videos: Use tools like Handbrake or FFmpeg to reduce file size without losing too much quality.
- Add Metadata: Include relevant tags, descriptions, and titles to make your videos more discoverable on platforms like YouTube.
- Test on Multiple Devices: Before sharing, test your MP4 file on different devices to ensure compatibility.
Best Practices for Sharing MP4 Files
Once your MP4 file is ready, it’s time to share it with the world. Here are some best practices to keep in mind:
Hosting Platforms
Choose the right platform to host your video. YouTube, Vimeo, and Wistia are popular choices for video sharing. Each platform has its own pros and cons, so pick the one that aligns with your goals.
File Naming Conventions
Use descriptive and SEO-friendly file names. Instead of naming your file “video1.mp4,” try something like “how-to-change-imovie-to-mp4.mp4.” This makes it easier for both users and search engines to understand what your video is about.
Data and Statistics on Video Sharing
Did you know that by 2025, video content is expected to account for 82% of all global internet traffic? That’s a staggering statistic that highlights the importance of mastering video sharing techniques. In fact, studies show that videos with higher production quality tend to perform better in terms of engagement and views.
So, whether you’re a seasoned YouTuber or just starting out, investing time in learning how to change iMovie to MP4 can pay off big time. Not only will you be able to share your creations more effectively, but you’ll also be part of a growing trend that’s shaping the future of digital communication.
Tools and Resources for Video Editing
Here’s a quick rundown of some tools and resources that can enhance your video editing experience:
- iMovie: Perfect for beginners and intermediate users. Free on all Apple devices.
- Final Cut Pro: For more advanced editing needs. A paid option but worth it for serious creators.
- Handbrake: Your go-to tool for converting videos into MP4 format.
- VLC Media Player: Not just a player, but also a handy converter.
Remember, the right tools can make all the difference in your workflow. Experiment with different options until you find what works best for you.
Conclusion: Take Action!
And there you have it—your ultimate guide to changing iMovie to MP4. Whether you’re exporting directly from iMovie or using a third-party converter, the process is straightforward once you know the ropes. By following the steps outlined in this article, you’ll be able to create high-quality MP4 files that are ready to rock the digital world.
But don’t stop here! Now’s the time to put your newfound knowledge into practice. Export your next iMovie project as an MP4 file and share it with the world. And while you’re at it, don’t forget to leave a comment below telling us how it went. Your feedback helps us improve, and who knows, maybe we’ll feature your story in a future article!
Until next time, keep creating, keep sharing, and most importantly, keep learning. The world needs more awesome content like yours!
Table of Contents
- Understanding iMovie and MP4 Formats
- Step-by-Step Guide to Change iMovie to MP4
- Common Issues and How to Fix Them
- Using Third-Party Converters
- Tips for Optimizing Your MP4 Files
- Best Practices for Sharing MP4 Files
- Data and Statistics on Video Sharing
- Tools and Resources for Video Editing
- Conclusion: Take Action!
- Seth Rollins Daughter Age A Deep Dive Into Family Life And Wwe Stardom
- Larry Birds Girlfriend The Untold Story Behind The Nba Legends Love Life
How to change speed of a video in iMovie on Mac and iOS
runnerroc Blog
MP4 Converter 100 Free
