How Do I Host A Gimkit? Your Ultimate Guide To Hosting Fun And Interactive Learning Games
Have you ever wondered how do I host a Gimkit? Well, you're not alone. Gimkit has become the go-to platform for teachers and students who want to make learning more engaging and interactive. Whether you're hosting a Gimkit for a classroom or a casual group of friends, this guide will walk you through everything you need to know.
Gimkit isn't just another quiz app—it’s a game-changer in the world of education. Imagine a classroom where students are so excited to learn that they forget they’re even studying. That's exactly what Gimkit offers. But how do you get started? Stick around, and we’ll break it down step by step.
In this article, we’ll dive deep into everything related to hosting a Gimkit. From setting up your account to customizing your game, we’ve got you covered. Whether you’re a tech-savvy teacher or someone who’s just curious about educational tools, this guide will help you master Gimkit in no time.
- Taylor Fritz Married The Inside Scoop You Didnrsquot Know You Needed
- Debra Lin The Inspiring Journey Of A True Changemaker
What is Gimkit? A Quick Overview
Before we dive into how do I host a Gimkit, let’s talk about what exactly Gimkit is. Gimkit is an interactive learning platform designed to make studying fun. It combines elements of gaming with traditional quizzes, creating an engaging experience for users. Think of it as a modern-day version of flashcards, but way cooler.
Here are some key features of Gimkit:
- Real-time multiplayer gameplay
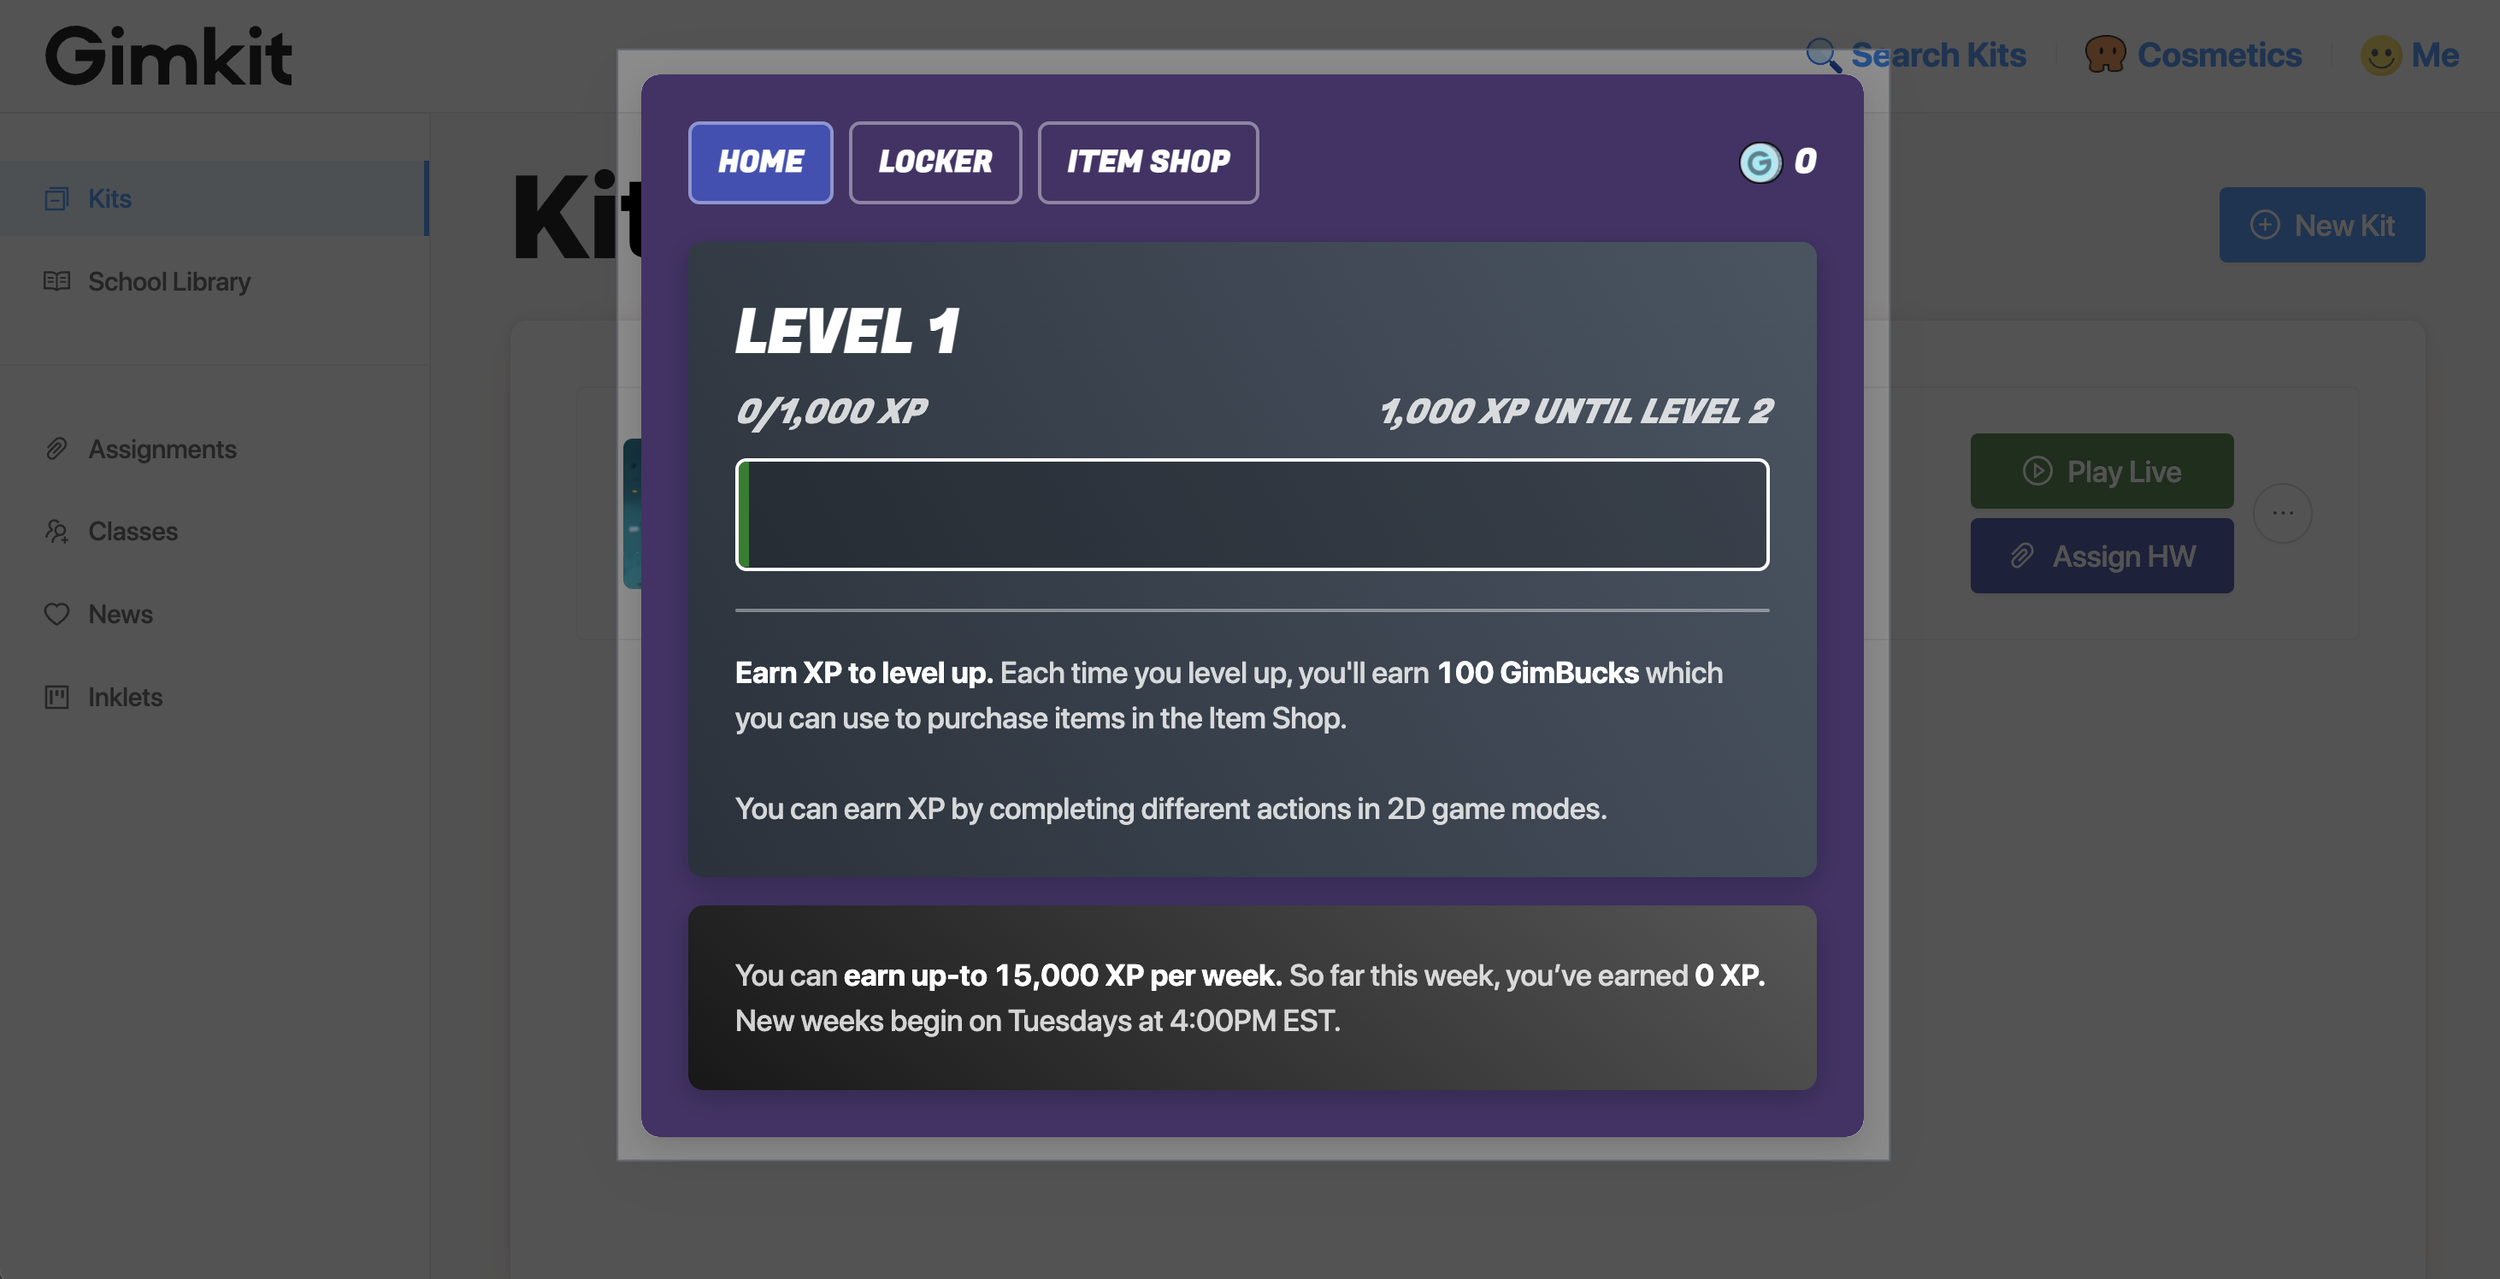
- Earning virtual money to unlock power-ups
- Customizable quizzes tailored to your needs
- Integration with platforms like Google Classroom
Gimkit is perfect for classrooms, study groups, or even casual gatherings. It’s versatile, easy to use, and most importantly, fun!
- Andrea Bocelli Exwife The Untold Story Behind Love Fame And Heartbreak
- Movies Joy Your Ultimate Guide To Discovering Cinema Bliss
Why Should You Use Gimkit?
Now that you know what Gimkit is, let’s talk about why you should use it. If you’re wondering how do I host a Gimkit, chances are you’re already interested in its benefits. Here are a few reasons why Gimkit stands out:
Engagement: Students are more likely to participate when learning feels like a game. Gimkit keeps them engaged by adding a competitive edge to their studies.
Customization: You can tailor your quizzes to fit any subject or topic. From math to history, Gimkit has got you covered.
Feedback: As a host, you can track your students’ progress in real time. This allows you to identify areas where they might need extra help.
Fun Factor: Let’s be honest—learning doesn’t have to be boring. With Gimkit, students earn money, unlock power-ups, and compete with their peers, making the experience unforgettable.
Step-by-Step Guide: How Do I Host a Gimkit?
Alright, let’s get to the good stuff. Here’s a step-by-step guide on how do I host a Gimkit:
Step 1: Create an Account
First things first, you need to sign up for a Gimkit account. You can do this by visiting their official website and clicking on the “Sign Up” button. You can sign up using your Google or Microsoft account, or create a new account manually.
Once you’re signed in, take a moment to explore the dashboard. Familiarizing yourself with the layout will make the hosting process smoother.
Step 2: Create Your First Kit
A Kit is essentially a quiz. To create one, click on the “Create” button and start adding questions. You can import questions from other platforms like Quizlet or type them in manually.
Here are some tips for creating a great Kit:
- Use a mix of easy and challenging questions
- Add images or videos to make it more engaging
- Include explanations for each answer
Step 3: Customize Your Game
Once your Kit is ready, it’s time to customize your game. You can choose from different game modes, such as Classic, Team, or Tournament. Each mode offers a unique experience, so feel free to experiment and see what works best for your group.
You can also adjust settings like time limits, point values, and power-ups. These options allow you to tailor the game to fit your specific needs.
Step 4: Invite Players
Now that your game is set up, it’s time to invite players. You can share the game code with your students or friends, and they can join using the Gimkit app or website.
Make sure everyone has access to a device with internet connection. While Gimkit works on both desktops and mobile devices, some features might be limited on smaller screens.
Step 5: Start the Game
Once all players are ready, hit the “Start” button and watch the magic happen. As the host, you’ll have control over the game and can pause or stop it at any time.
Encourage your players to engage with each other and have fun. Remember, the goal is to make learning enjoyable!
Tips for Hosting a Successful Gimkit
Hosting a Gimkit might seem simple, but there are a few tips and tricks that can make your experience even better. Here are some pro tips to keep in mind:
1. Keep It Short and Sweet: While it’s tempting to create a long quiz, shorter games tend to hold players’ attention better. Aim for around 10-15 questions per game.
2. Mix Up the Questions: Variety is key to keeping things interesting. Use a mix of multiple-choice, true/false, and open-ended questions to keep players on their toes.
3. Use Power-Ups Wisely: Power-ups are a great way to add excitement, but don’t overdo it. Too many power-ups can make the game chaotic, so use them sparingly.
4. Encourage Collaboration: If you’re hosting a team game, encourage players to work together. This not only makes the game more fun but also promotes teamwork and communication.
Common Mistakes to Avoid
Even the best hosts make mistakes. Here are some common pitfalls to watch out for:
1. Overloading the Game: Too many questions or power-ups can overwhelm players. Keep things simple and focused.
2. Ignoring Feedback: Pay attention to your players’ feedback. If they’re struggling with certain questions, it might be time to adjust the difficulty level.
3. Forgetting to Engage: Hosting a Gimkit isn’t just about setting up the game—it’s about engaging with your players. Make sure to interact with them throughout the game to keep them motivated.
How Do I Host a Gimkit for Different Groups?
Hosting a Gimkit for different groups requires a slightly different approach. Here’s how you can adapt your strategy:
Classroom Setting
In a classroom setting, focus on creating educational content that aligns with your curriculum. Use Gimkit as a tool to reinforce key concepts and assess students’ understanding.
Encourage students to participate by offering rewards like extra credit or class points. This will motivate them to take the game seriously while still having fun.
Study Groups
For study groups, keep the games more casual and relaxed. Allow players to collaborate and discuss answers, turning the game into a group learning experience.
You can also use Gimkit as a review tool before exams. Create Kits focused on specific topics or chapters to help students prepare.
Casual Gatherings
When hosting a Gimkit for friends or family, the focus should be on fun. Use trivia questions or pop culture references to keep things light and entertaining.
Don’t be afraid to get creative with your Kits. Add memes, jokes, or inside jokes to make the game more personal and enjoyable.
Advanced Features for Power Users
Once you’ve mastered the basics, it’s time to explore some advanced features. Here are a few options to take your Gimkit hosting skills to the next level:
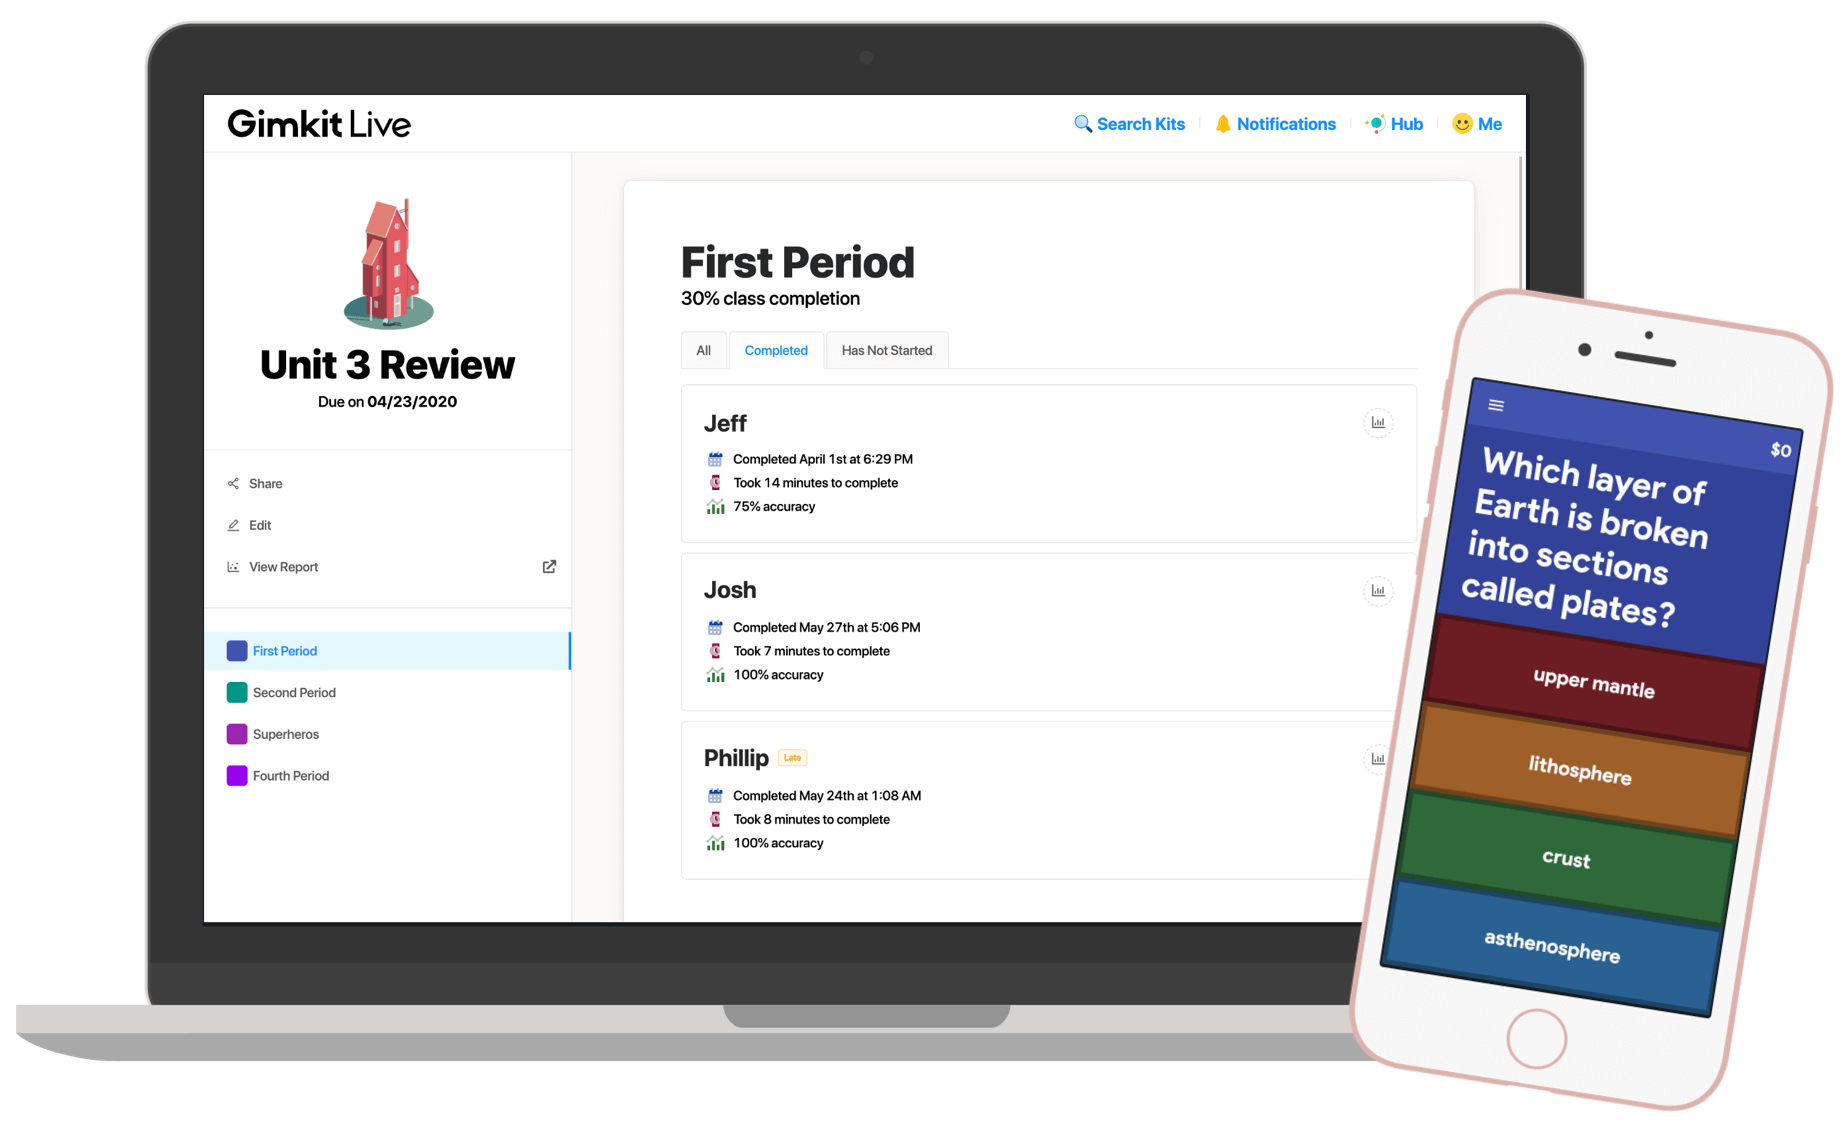
1. Gimkit Live: This feature allows you to host live games with real-time feedback. Perfect for large groups or events.
2. Gimkit Remix: Use existing Kits from other users and remix them to fit your needs. This saves time and effort while still providing high-quality content.
3. Gimkit Reports: Analyze your players’ performance with detailed reports. These reports can help you identify areas where students might need extra help.
Conclusion: How Do I Host a Gimkit Like a Pro?
So there you have it—your ultimate guide to hosting a Gimkit. Whether you’re a teacher, student, or just someone looking to have fun, Gimkit offers endless possibilities for learning and engagement.
Remember, the key to hosting a successful Gimkit is preparation and interaction. Take the time to create high-quality Kits and engage with your players throughout the game. With a little practice, you’ll be hosting like a pro in no time.
Now it’s your turn! Try hosting a Gimkit and see how it transforms your learning experience. Don’t forget to share your thoughts and experiences in the comments below. And if you found this guide helpful, be sure to check out our other articles for more tips and tricks.
Table of Contents
- What is Gimkit? A Quick Overview
- Why Should You Use Gimkit?
- Step-by-Step Guide: How Do I Host a Gimkit?
- Tips for Hosting a Successful Gimkit
- Common Mistakes to Avoid
- How Do I Host a Gimkit for Different Groups?
- Advanced Features for Power Users
- Conclusion: How Do I Host a Gimkit Like a Pro?
- Duckie Thot The Phenomenon Thats Got Everyone Talking
- Who Is Scott Eastwoods Mother Discover The Fascinating Story Behind The Iconic Figure

Gimkit Creative
Gimkit live learning game show
Introducing Cosmetics! — Gimkit Blog
