IMovie Export MP4: The Ultimate Guide To Mastering Video Exporting
Have you ever found yourself stuck trying to export your iMovie project as an MP4 file? Don’t worry, you’re not alone! iMovie export MP4 is one of the most searched topics by video creators, whether you're a beginner or a seasoned pro. Exporting your video in the right format can make all the difference when it comes to sharing your masterpiece with the world. So, let’s dive into this guide and make sure you never face export issues again!
iMovie is one of the most user-friendly video editing tools out there, but sometimes, even the simplest things can trip us up. When it comes to exporting your project, knowing how to convert iMovie files into MP4 format is crucial. Why MP4, you ask? Well, it’s because MP4 is widely accepted across platforms, making it the go-to format for sharing videos online, on social media, or even with friends.
Before we get into the nitty-gritty details, let’s address the elephant in the room. If you’re here, chances are you’ve already spent some time Googling “how to export iMovie as MP4” or “iMovie export MP4 settings.” Don’t worry, we’ve got you covered. In this guide, we’ll break down everything you need to know, from the basics to advanced tips, so you can become an iMovie export guru in no time!
- Stephanie Sarkisian Wife The Story Behind The Woman Everyonersquos Talking About
- Matt Leblanc Children The Family Life Of A Hollywood Icon
Now, let’s get started with the real deal. Here’s a quick overview of what we’ll cover:
- Understanding iMovie export formats
- Why MP4 is the best choice
- Step-by-step guide to exporting MP4 from iMovie
- Tips for optimizing your export settings
- Common issues and how to fix them
Understanding iMovie Export Formats
When you’re working on iMovie, you’ll notice that there are several export options available. But why does it matter which format you choose? Well, each format has its own pros and cons, and your choice should depend on what you plan to do with the video.
For instance, if you’re sharing your video on YouTube, Facebook, or Instagram, MP4 is the way to go. But if you’re creating a DVD or Blu-ray disc, you might want to consider other formats like MOV or MPEG-4. Let’s break it down a bit more:
- Samantha Speno Age The Rising Star You Need To Know About
- Dee Jay Mathis Movies The Rising Star Shining Bright In The Film Industry
- MP4: Universally accepted, small file size, perfect for online sharing
- MOV: High-quality, great for professional use, but larger file size
- MPEG-4: Similar to MP4, but less widely used
So, why is MP4 the king of video formats? Simple. It strikes the perfect balance between quality and file size, making it ideal for almost any purpose.
Why Choose MP4 Over Other Formats?
Now that we’ve established that MP4 is the best choice for most users, let’s explore why it’s so popular. First off, MP4 is compatible with almost every device and platform out there. Whether you’re sharing your video on YouTube, Vimeo, or even WhatsApp, MP4 will work seamlessly.
Secondly, MP4 files are relatively small in size without compromising much on quality. This means you can easily upload and share your videos without worrying about long upload times or exceeding file size limits.
Lastly, MP4 supports both audio and video in a single file, which makes it super convenient for sharing. No more dealing with separate audio and video files!
Step-by-Step Guide to Exporting MP4 from iMovie
Alright, let’s get to the main event. Here’s a step-by-step guide on how to export your iMovie project as an MP4 file:
- Open your iMovie project
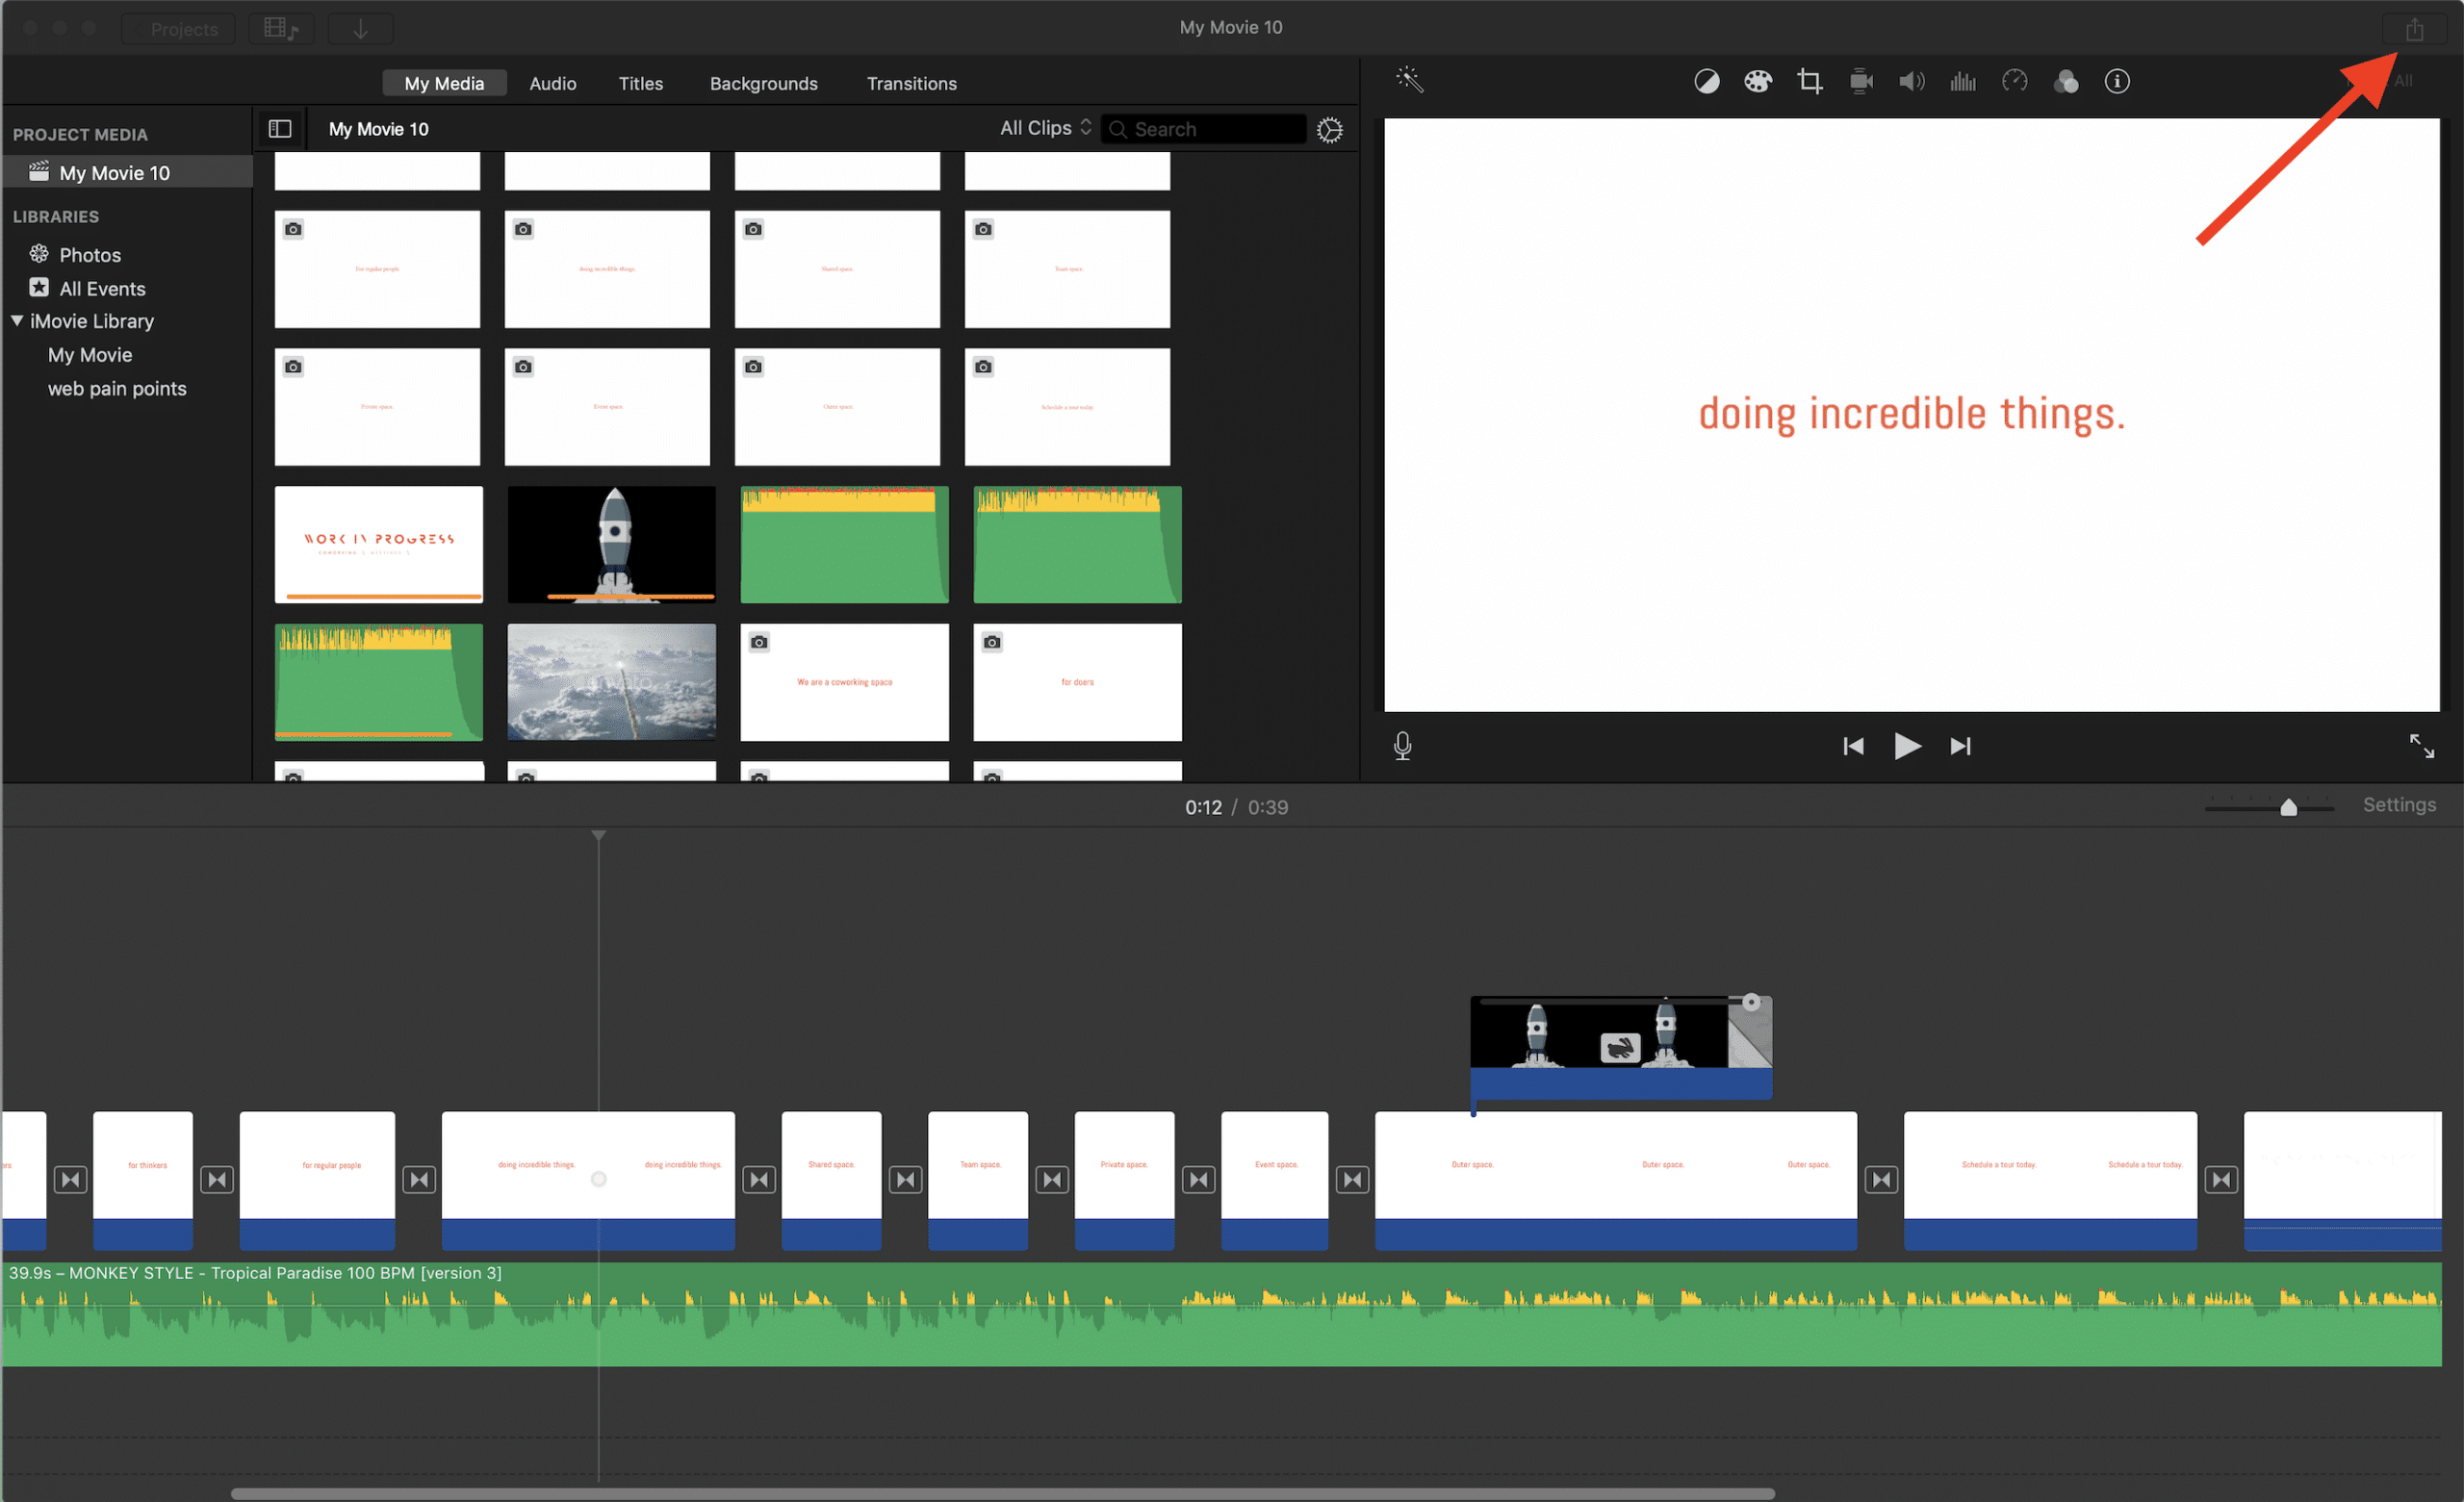
- Click on the “Share” button in the top menu
- Select “File” from the dropdown menu
- Choose the desired resolution (720p, 1080p, etc.)
- Select “Compressed” for smaller file size or “Original” for higher quality
- Name your file and choose the location to save it
- Click “Export” and wait for the process to finish
And just like that, your video is ready to be shared with the world! But wait, there’s more. Let’s dive deeper into some of the export settings to help you fine-tune your video.
Export Settings Explained
When you’re exporting your video, you’ll come across a few settings that might seem confusing at first. Don’t worry, we’ll break it down for you:
- Resolution: Choose between 720p (HD), 1080p (Full HD), or 4K depending on your needs
- Compression: “Compressed” will give you a smaller file size, while “Original” will preserve the highest quality
- Frame Rate: Stick to 30fps for most purposes, unless you’re shooting slow-motion or high-speed footage
These settings can have a big impact on your final video, so it’s important to choose wisely. If you’re unsure, start with the default settings and adjust as needed.
Tips for Optimizing Your Export Settings
Now that you know the basics, let’s talk about how to optimize your export settings for the best results. Here are a few tips to keep in mind:
- Always choose the highest resolution your platform supports
- Use “Compressed” for sharing on social media and “Original” for professional use
- Keep the frame rate consistent with your original footage
- Export in smaller chunks if your file is too large
By tweaking these settings, you can ensure that your video looks its best while still being easy to share.
Common Issues and How to Fix Them
Even with the best intentions, things can sometimes go wrong. Here are some common issues you might face when exporting MP4 from iMovie, along with their solutions:
- Export taking too long: Try reducing the resolution or using the “Compressed” setting
- File size too large: Opt for “Compressed” instead of “Original”
- Audio out of sync: Make sure your original footage doesn’t have any sync issues
Remember, troubleshooting is all about patience and persistence. If something doesn’t work the first time, don’t give up. Keep trying until you get it right!
Advanced Tips for iMovie Export MP4
For those of you who want to take your video exporting skills to the next level, here are a few advanced tips:
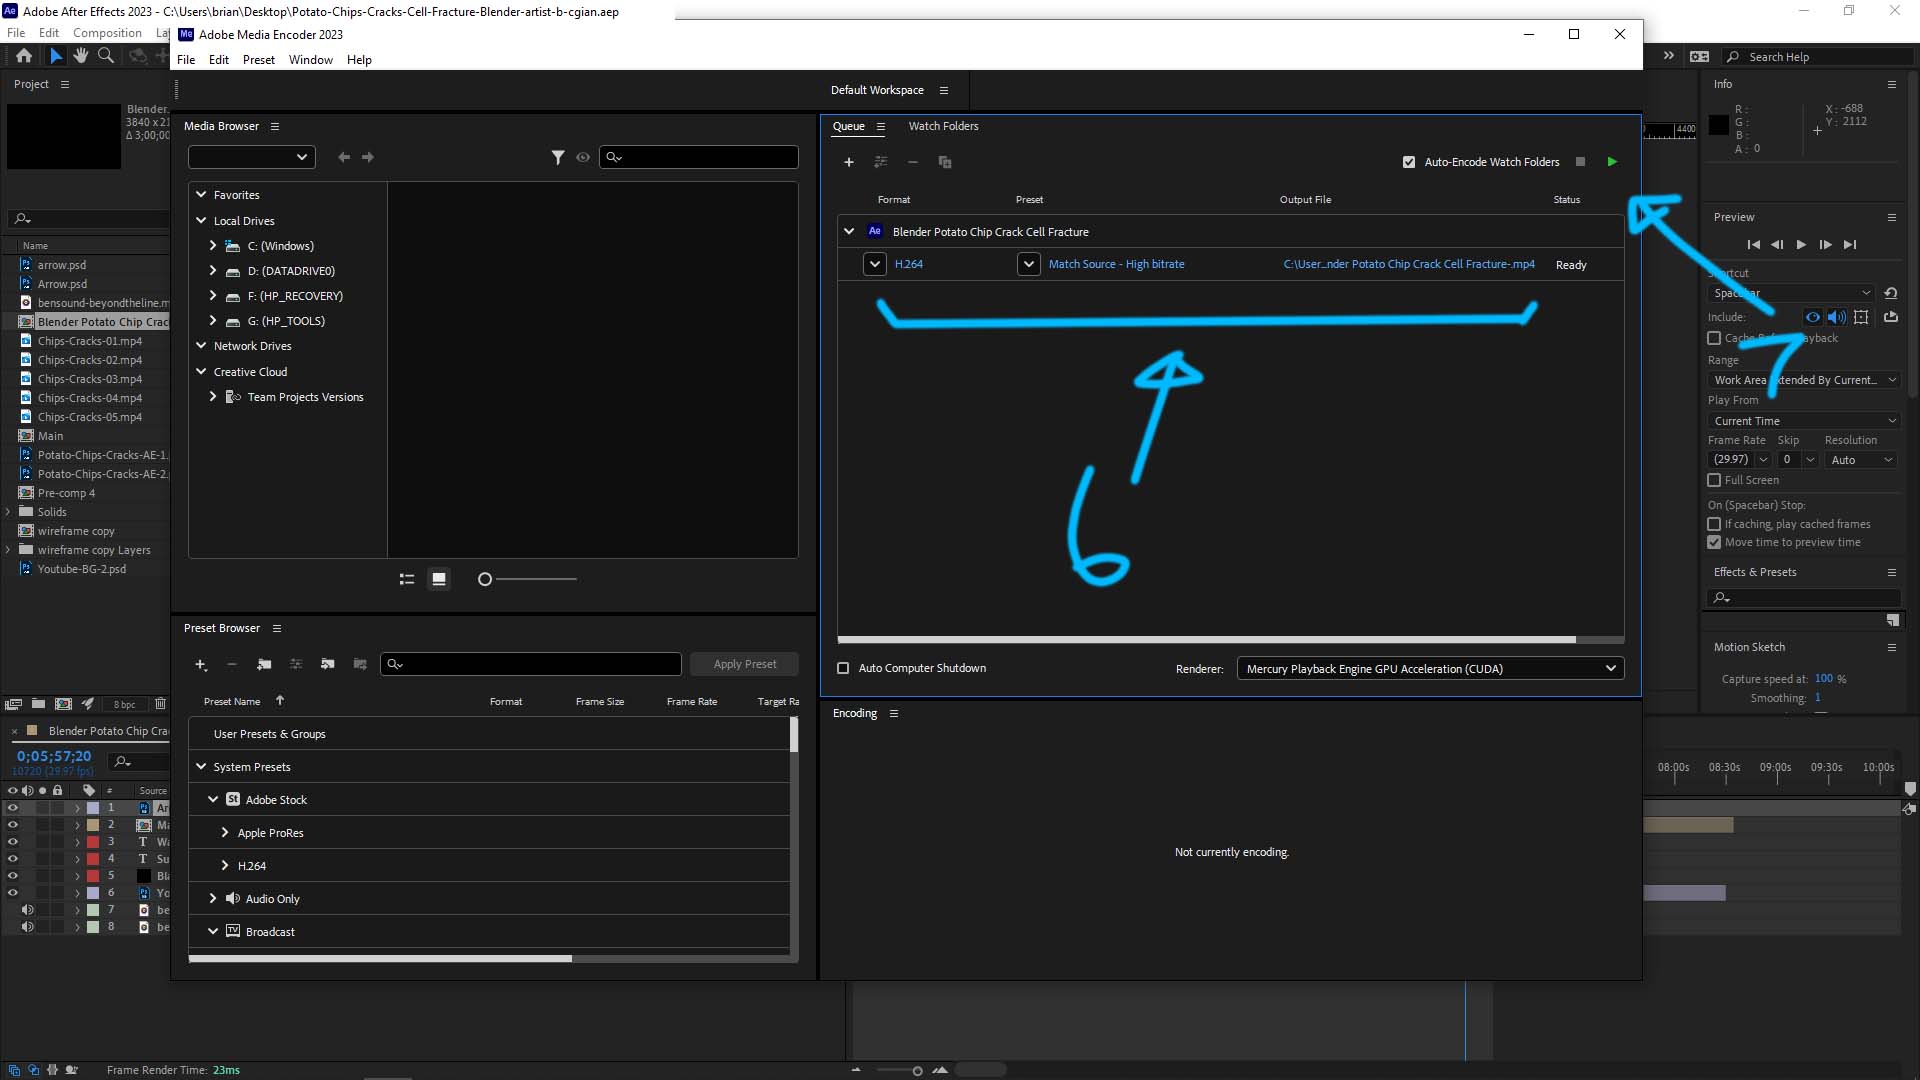
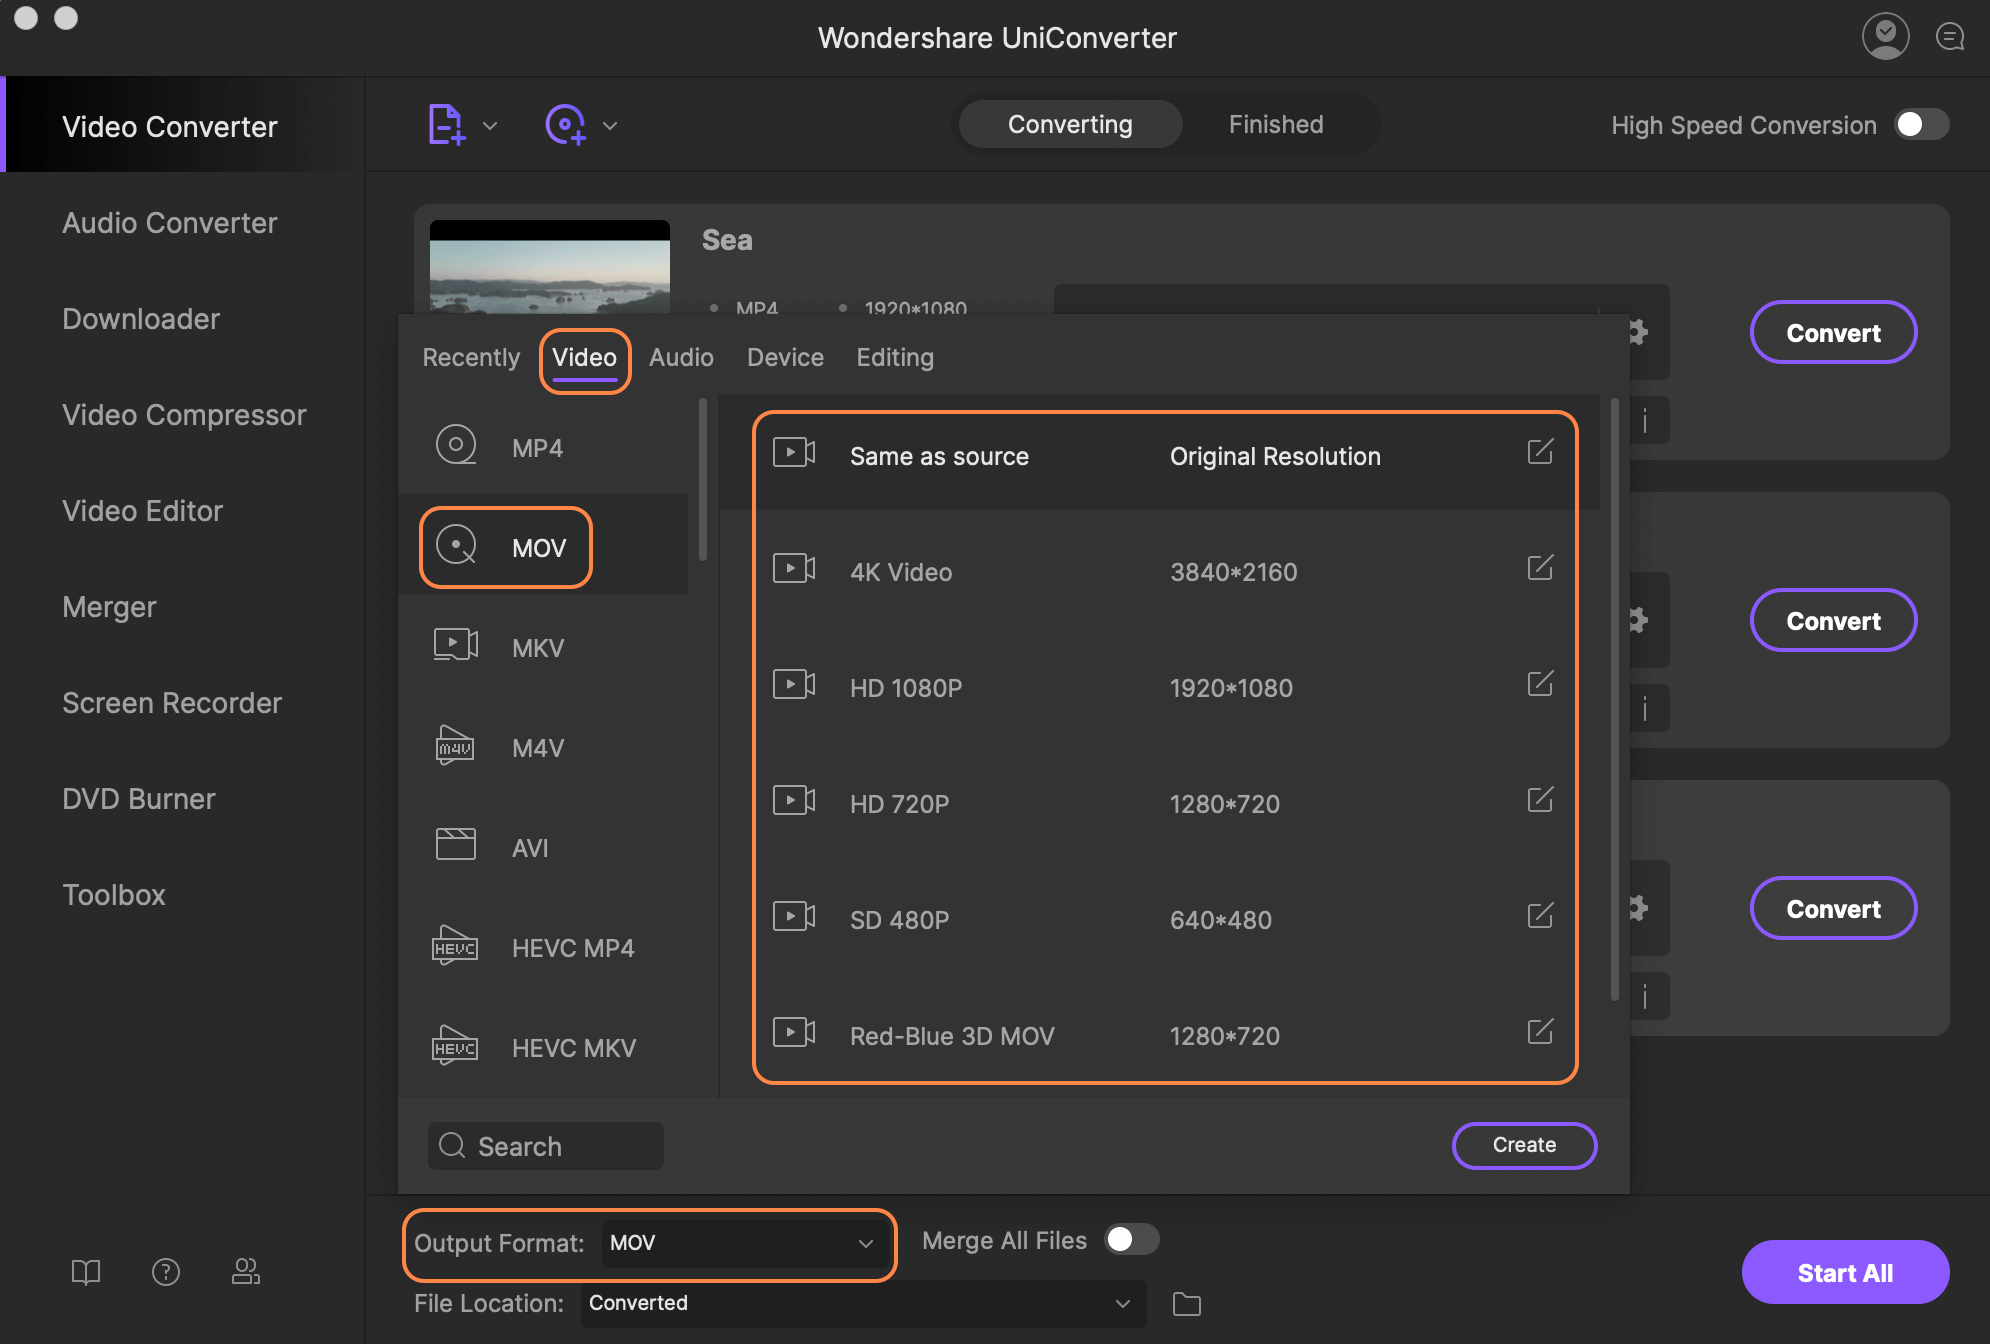
- Use third-party tools like Handbrake for more control over your export settings
- Experiment with different codecs to find the one that works best for your needs
- Consider exporting in multiple resolutions for different platforms
These tips might seem a bit daunting at first, but once you get the hang of them, they’ll open up a whole new world of possibilities for your video projects.
How to Share Your MP4 File
Once you’ve successfully exported your MP4 file, it’s time to share it with the world. Here are a few platforms where you can upload your video:
- YouTube
- Vimeo
Each platform has its own requirements, so make sure to check their guidelines before uploading. And don’t forget to optimize your video for each platform to get the best results.
Conclusion: Mastering iMovie Export MP4
There you have it, folks! A comprehensive guide to exporting MP4 from iMovie. Whether you’re a beginner or a seasoned pro, mastering this skill will take your video projects to the next level.
Remember, the key to successful exporting is understanding your needs and choosing the right settings. Don’t be afraid to experiment and find what works best for you. And most importantly, have fun creating amazing videos!
So, what are you waiting for? Go ahead and try out these tips and tricks. And don’t forget to leave a comment below if you have any questions or feedback. Happy editing!
- Did Gabriel Iglesias Cheat On His Wife The Truth Behind The Laughter
- Solarmovie Not Loading Herersquos The Fix Yoursquove Been Waiting For
How to export as mp4 in After Effects
How to export an imovie as mp4 kseski
How to Export iMovie File to iPhone · Kenny Eliason
