How To Convert IMovie To MP4: A Simple Guide For Everyday Creators
So, you’ve been working on your masterpiece in iMovie, but now you need to convert it into an MP4 file. What do you do? Don’t panic! Converting iMovie projects to MP4 is easier than you think. Whether you’re a beginner or a seasoned content creator, this guide has got you covered. We’ll walk you through every step, from exporting your project to tweaking settings for the best results.
Let’s face it, iMovie is one of the most user-friendly video editing tools out there. But sometimes, you just need that final touch—like exporting your project in a widely compatible format like MP4. This is especially important if you’re planning to share your video on platforms like YouTube, Vimeo, or even social media.
In this article, we’ll dive deep into the world of iMovie and MP4 conversion. You’ll learn tips, tricks, and shortcuts to make the process seamless. Plus, we’ll throw in some bonus info about optimizing your video for different devices and platforms. Ready? Let’s go!
- Claudia Haro Net Worth Unveiling The Success Story Behind The Numbers
- Debby Clarke And Bill Belichick A Story Thats Got Everyone Talking
Here’s what we’ll cover:
- Understanding iMovie and MP4 basics
- How to export your iMovie project as an MP4
- Tips for optimizing video quality
- Common issues and how to fix them
- Alternative tools for converting iMovie to MP4
What is iMovie and Why Convert to MP4?
iMovie is Apple’s go-to app for video editing. It’s free, easy to use, and packed with features that let you create professional-looking videos without breaking the bank. But here’s the thing—iMovie saves your projects in its own proprietary format. That’s great for editing, but not so great if you want to share your video with the world.
Enter MP4. This is one of the most widely used video formats out there. It’s compatible with almost every device, platform, and browser. So, whether you’re sharing your video on social media, sending it to a client, or uploading it to a website, converting your iMovie project to MP4 ensures that everyone can watch it without any hassle.
- Who Is Kevin Costners Son Unveiling The Life And Legacy Of A Hollywood Legacy
- Jasper Breckinridge Johnson The Rising Star Whos Making Waves In The Industry
Why is MP4 So Popular?
MP4 isn’t just popular because it’s compatible with everything. It’s also super efficient. The format uses advanced compression techniques to reduce file size without sacrificing too much quality. This means your videos load faster and take up less storage space, which is a win-win for both creators and viewers.
Here are some quick stats:
- MP4 accounts for over 80% of all video traffic on the internet.
- It’s the default format for most streaming platforms, including YouTube and Netflix.
- MP4 files are up to 50% smaller than other formats without noticeable loss in quality.
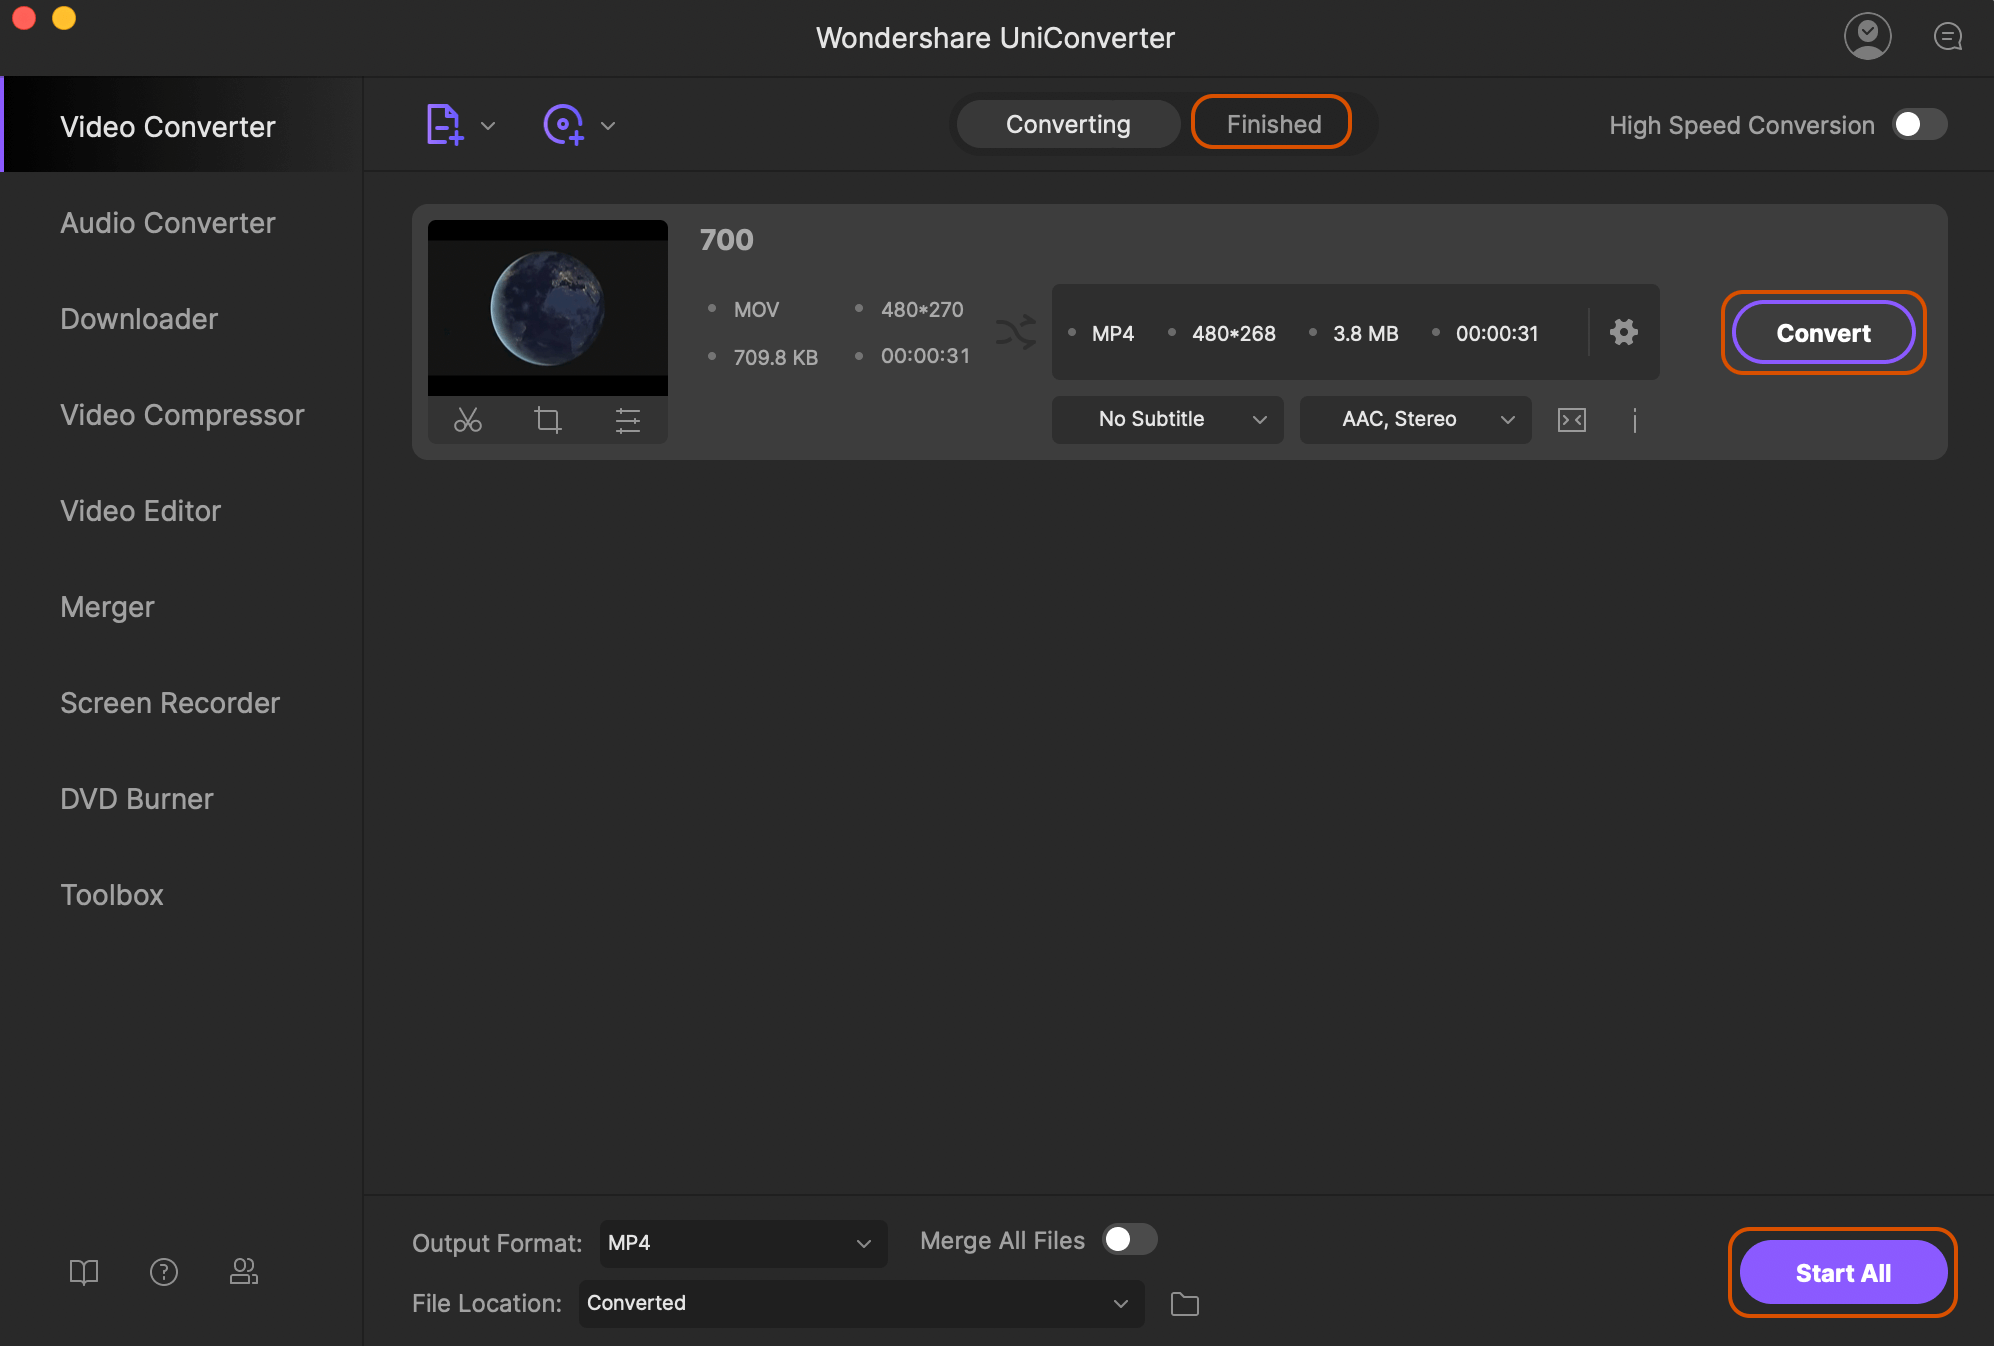
Step-by-Step Guide to Convert iMovie to MP4
Now that you know why converting to MP4 is important, let’s get into the nitty-gritty of how to do it. Don’t worry—it’s not as complicated as it sounds. Follow these steps, and you’ll have your MP4 file in no time.
Step 1: Finish Your iMovie Project
Before you start exporting, make sure your project is complete. Double-check everything—audio, visuals, transitions, and effects. Once you’re happy with the final result, it’s time to move on to the next step.
Step 2: Export Your Project
Head over to the top menu and click on “File.” From there, select “Share” and choose “File.” This will open a new window where you can customize your export settings.
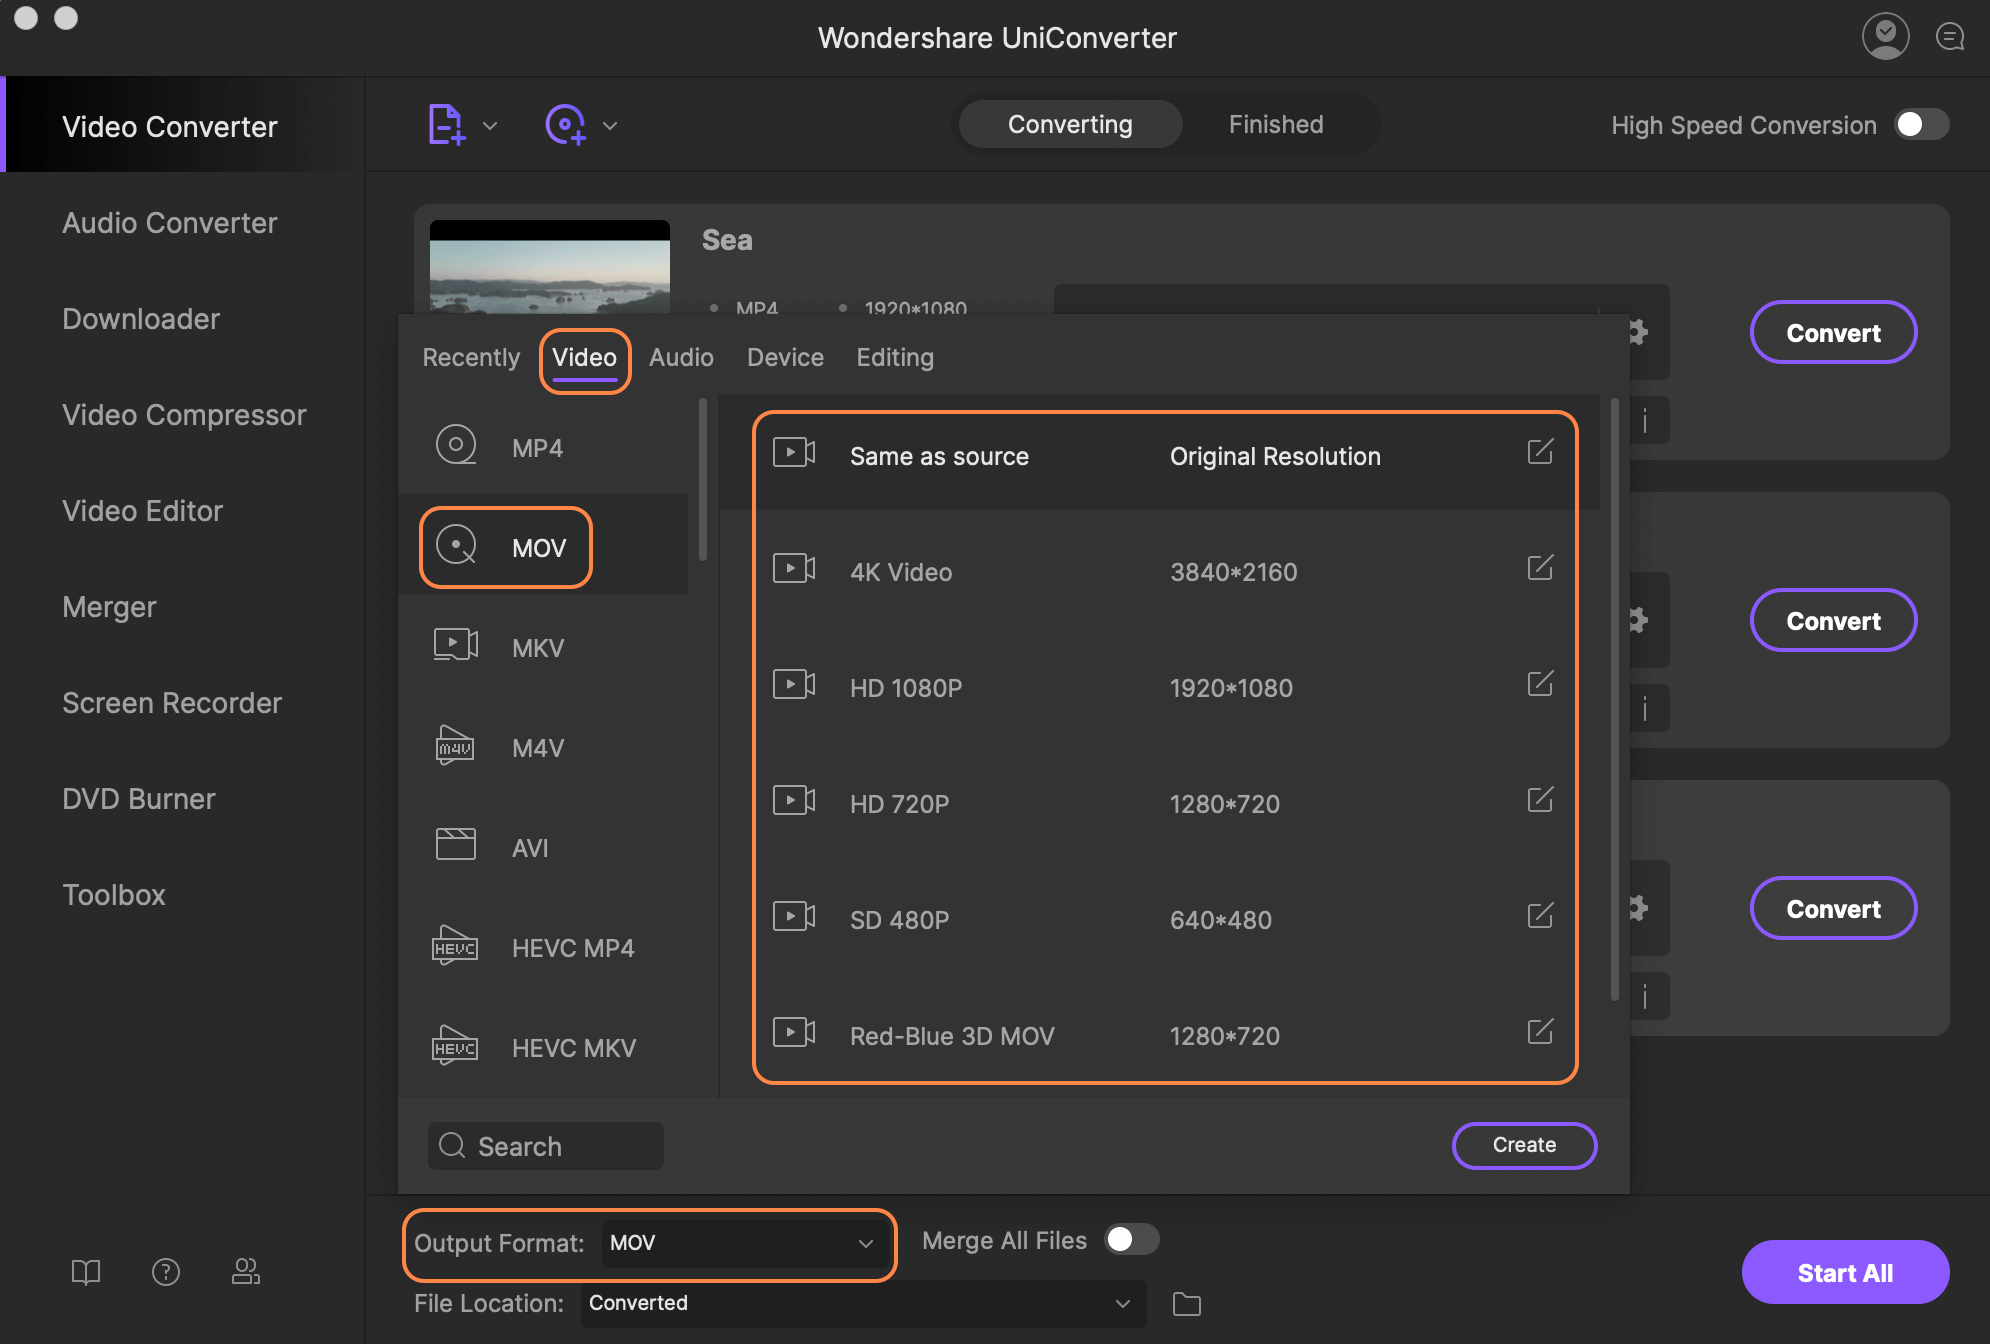
Step 3: Choose MP4 as Your Export Format
In the export window, you’ll see a dropdown menu labeled “Format.” Select “MP4” from the options. This ensures that your video will be saved in the correct format for sharing.
Step 4: Adjust Quality Settings
Below the format dropdown, you’ll see options for video quality. You can choose between “Medium,” “High,” and “Best.” If you’re uploading to the web, “High” is usually a good balance between quality and file size. For professional use, go with “Best.”
Step 5: Save Your File
Once you’ve set everything up, click on “Next” and choose a location to save your file. Give it a name that’s easy to recognize, and hit “Export.” Depending on the length of your video and your computer’s processing power, this might take a few minutes.
Tips for Optimizing Your MP4 File
Exporting your video is just the beginning. To make sure it looks great on every device, you’ll want to optimize your MP4 file. Here are a few tips to help you out:
1. Adjust Resolution and Frame Rate
Higher resolution and frame rates mean better quality, but they also mean bigger file sizes. For most purposes, 1080p at 30fps is more than enough. If you’re targeting mobile devices, consider going down to 720p to save space.
2. Compress Your Video
If your file is too large, you can use tools like Handbrake or Adobe Media Encoder to compress it further. Just be careful not to over-compress, or you’ll lose too much quality.
3. Add Metadata
Metadata like titles, descriptions, and tags can help search engines and platforms understand what your video is about. This is especially important if you’re uploading to YouTube or other video-sharing sites.
Common Issues and How to Fix Them
Even with the best intentions, things can go wrong. Here are some common issues you might encounter when converting iMovie to MP4, along with solutions:
Issue 1: Export Takes Too Long
Solution: Try reducing the resolution or quality settings. If you’re working with a long video, consider splitting it into smaller clips.
Issue 2: Video Quality is Poor
Solution: Check your export settings. Make sure you’re using the right resolution and frame rate for your intended platform. If necessary, re-export with higher quality settings.
Issue 3: Audio is Out of Sync
Solution: This can happen if your audio and video tracks aren’t properly aligned. Go back to your iMovie project and double-check your timeline. If the issue persists, try exporting again.
Alternative Tools for Converting iMovie to MP4
While iMovie’s built-in export feature is usually sufficient, there are times when you might need a little extra help. Here are some alternative tools you can use:
1. Handbrake
Handbrake is a free, open-source tool that lets you convert almost any video format into MP4. It’s great for fine-tuning settings and compressing files without losing quality.
2. Adobe Media Encoder
If you’re already using Adobe Premiere Pro, Media Encoder is a no-brainer. It integrates seamlessly with other Adobe apps and offers advanced customization options.
3. Online Converters
There are plenty of online tools that can convert iMovie files to MP4. Just be cautious—some of them might not be secure or could introduce watermarks to your video.
How to Share Your MP4 Video
Once you’ve converted your iMovie project to MP4, it’s time to share it with the world. Here are a few platforms where you can upload your video:
1. YouTube
YouTube is the biggest video-sharing platform out there. It’s perfect for reaching a global audience and building a community around your content.
2. Vimeo
Vimeo is known for its high-quality video streaming and ad-free experience. It’s a great option if you’re targeting a more professional audience.
3. Social Media
Platforms like Instagram, TikTok, and Twitter are perfect for short-form content. Just make sure to adjust your video’s aspect ratio and resolution to fit each platform’s requirements.
Frequently Asked Questions About Converting iMovie to MP4
Still have questions? Here are some of the most common ones we hear from creators like you:
Q1: Can I convert iMovie projects to MP4 on Windows?
A1: Unfortunately, iMovie is only available on macOS. However, you can use third-party tools like Handbrake or online converters to achieve the same result.
Q2: Will my video quality suffer during the conversion process?
A2: Not if you use the right settings. Stick to high-quality exports and avoid over-compressing your file. If you’re unsure, test with a short clip first.
Q3: How long does it take to convert a video?
A3: It depends on the length of your video and your computer’s processing power. Short clips usually take just a few minutes, while longer videos might take longer.
Final Thoughts: Your Journey from iMovie to MP4
And there you have it—a comprehensive guide to converting iMovie projects to MP4. Whether you’re a casual creator or a professional editor, this process is essential for sharing your work with the world. Remember, the key is to balance quality with file size, so your videos look great without taking up too much space.
Now it’s your turn. Have you tried converting your iMovie projects to MP4? What challenges did you face, and how did you overcome them? Share your thoughts in the comments below, and don’t forget to check out our other articles for more tips and tricks. Happy creating!
- Kniko Howard Age Unveiling The Life And Legacy Of A Remarkable Woman
- Peter Thiels Husband The Untold Story
How to Convert iMovie to MP4 on Mac iMovie to MP4 Converter
Easy Steps to Convert and Import MP4 to iMovie on Mac

How to Convert MOV Files to MP4 Format Digital Trends
